

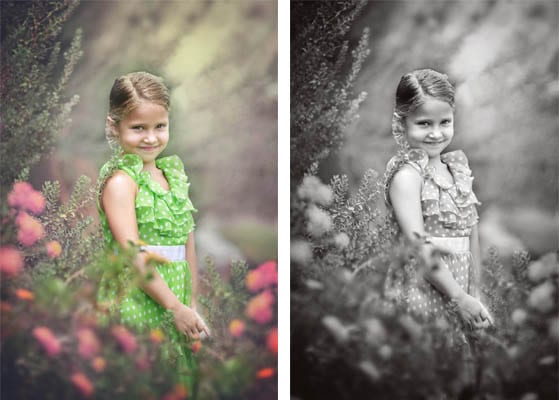
Want to learn how to create an image in black and white? Like most things in Photoshop, there are several different ways to achieve any desired effect. The same is true with creating black and white images. Here I’ll show you 3 different ways you can create black and white photos so you can have more control over your images.
The Easy Way
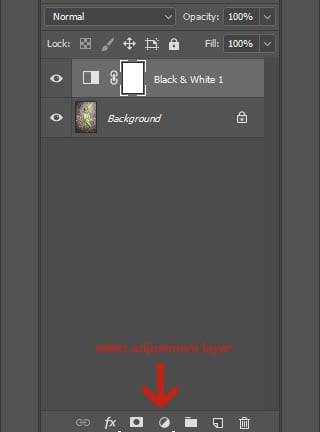
This way is pretty straight forward. After opening your photo up into Photoshop you will choose an adjustment layer. Simply pick black and white. That’s it! Simple, easy, to the point.
Using A Gradient Map
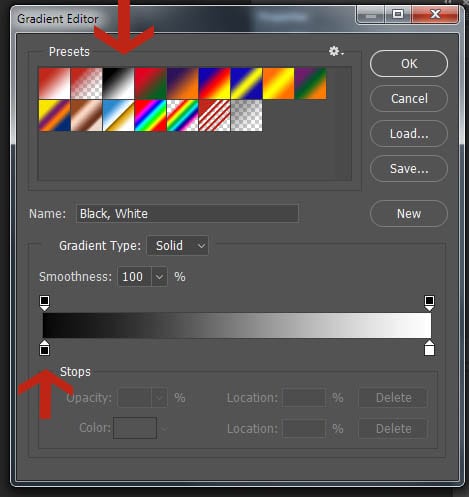
Changing a photo to black and white using this technique is pretty fun and gives you more control. To do it, you need to first have your photo pulled into Photoshop. Next create a “gradient map” adjustment layer. There is most likely a black and white gradient already preset for you. Select that one. (if not, not a big deal, you can watch the tutorial below and I’ll show you how to adjust your colors) From there slide each of the arrows to the left or right to get the added contrast you desire. ( For more cool tricks with this method, watch the video below!)
Working with Curves
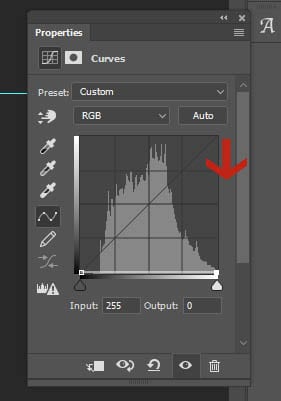
Using curves is yet another way to change a photo to black and white. Again have your photo open. This time choose the “curves” adjustment layer. Bring the upper right hand point of the curve all the way down to the bottom right. Switch your blending mode to “hue” and voila! Your photo is now black and white.
Give it a try, play around with these different methods and see which one works best for you! Leave me a comment below and let me know which way you prefer!
Prefer using Lightroom? There are a great selection of black and white presets available in the Simply Beautiful Preset Collection for Lightroom right here.

Â
