

Â
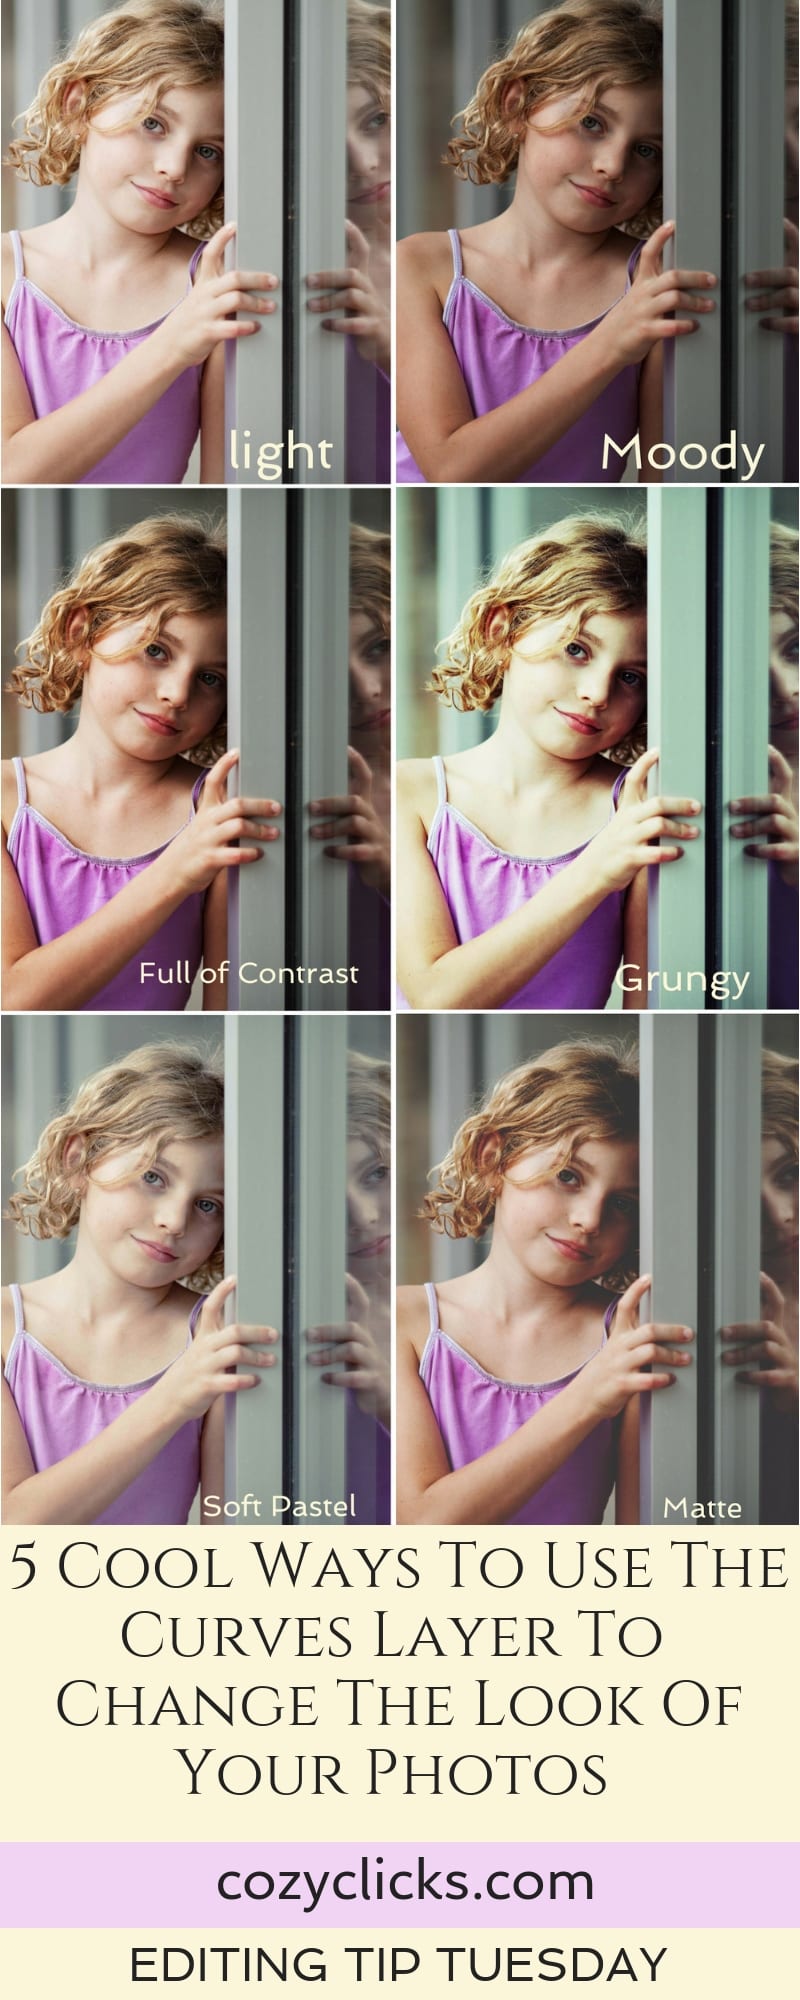
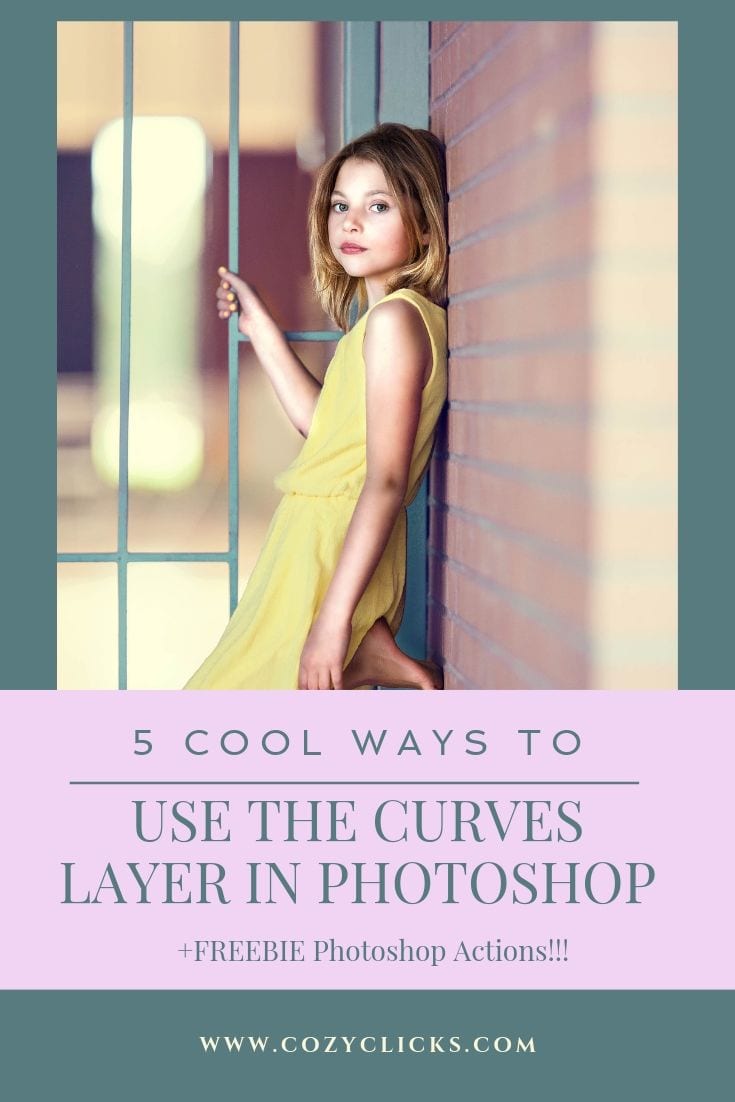
The curves adjustment layer is a powerful but fun layer to use in Photoshop! There are endless possibilities to what you can create when using curves. In this tutorial, you will learn 5 Cool Ways To Use The Curves Layer In Photoshop! Yay! Simply watch the tutorial below or read to see how you can change to look of your photos! (Make sure to scroll to the end where you can get your FREEBIE pack of curves Photoshop actions!!)
Related Tutorial: How To Get Your Subject To POP from the Background In Photoshop
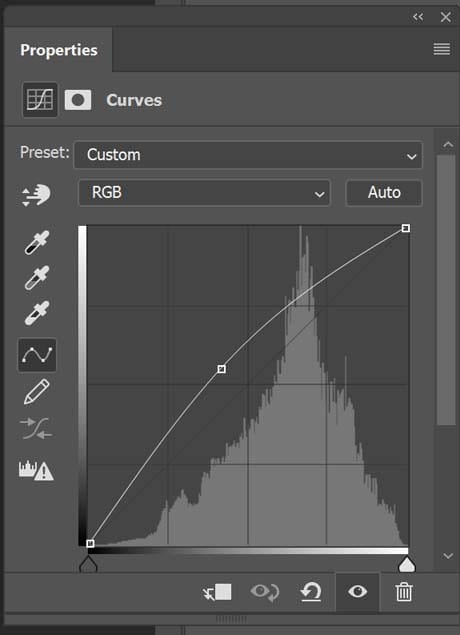
Lighten
To lighten your photo and give it a more light and airy feel, simply create a new curves adjustment layer. Place your cursor in the middle of that curve line and drag up to your liking!

Related Article: 4 Quick Ways To Get A Light And Airy Look in Photoshop
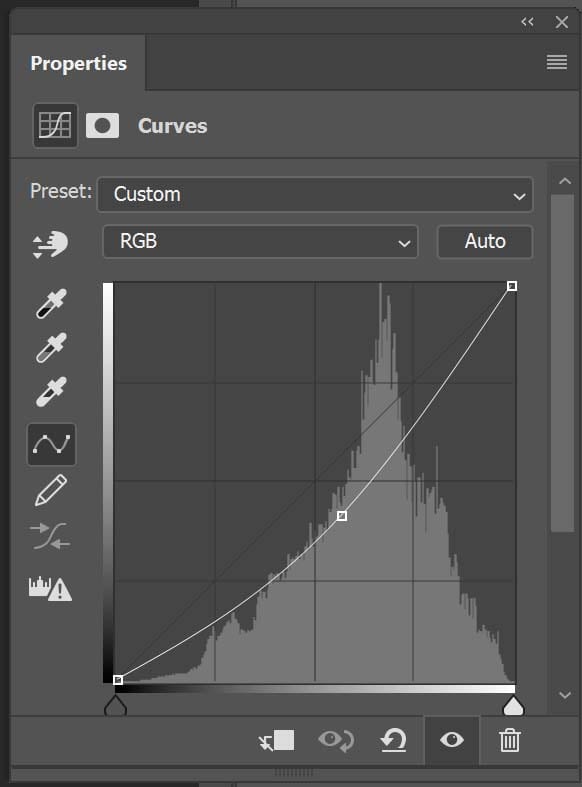
Dark And Moody
To get a dark and moody look in your photo, create a curves adjustment layer. This time, you will place that cursor in the middle and drag the curve down slightly.

(Photo taken with the Canon 5d Mark ii & 135mm 2.0 lens)
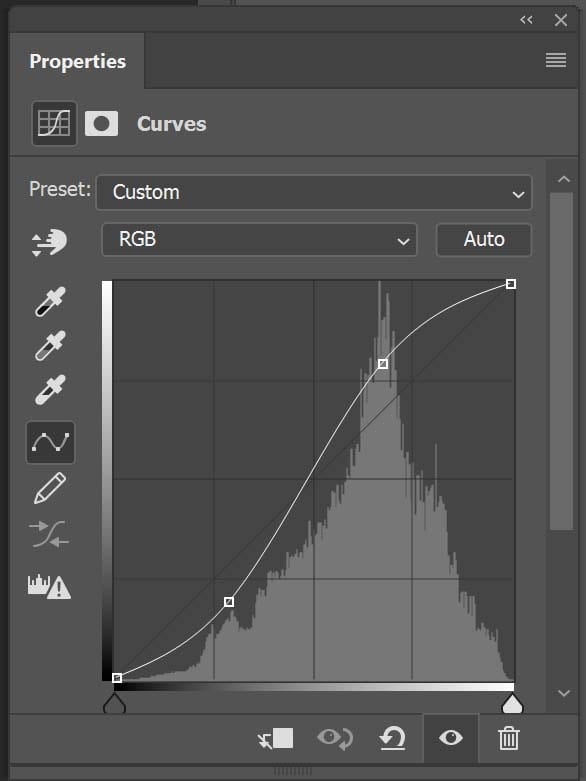
Full Of Contrast
To give your image more contrast using curves, you’ll want to create a curve that looks similar to the letter S. On the top third of that line , click your cursor and drag the line up.? On the bottom third of that line, click your cursor and drag down. The curve should resemble the letter S and your photo should have a pop of contrast.

Â
Grungy
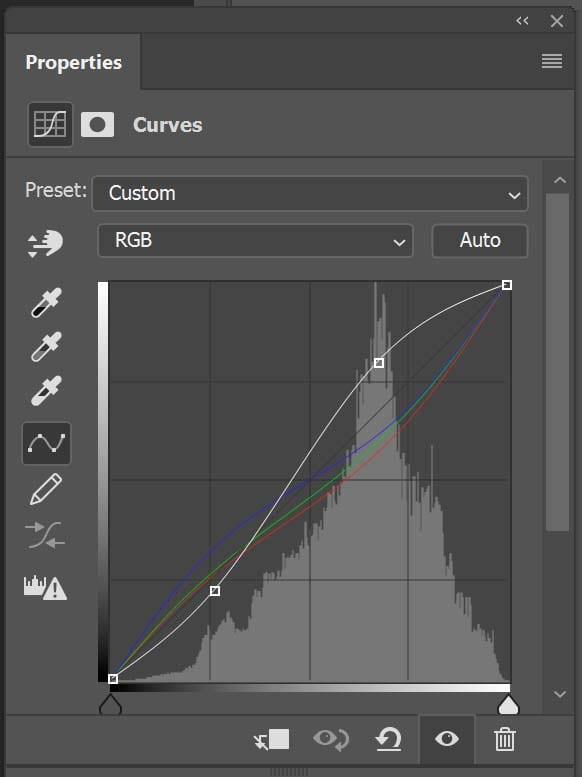
This is a cool and unique look that you could give your images! You will start this the same way you did to create added contrast by making that S curve (see directly above). But then you’re going to do something else. Directly above that curve you’ll see a drop down box that should say “RGB”, click there. When you do three more colors will drop down, red, green and blue (see the video for a more detailed look) Select each of these colors individually and create and another S curve with each color layer.

(Photo taken with the Canon 5d Mark ii & 135mm 2.0 lens)
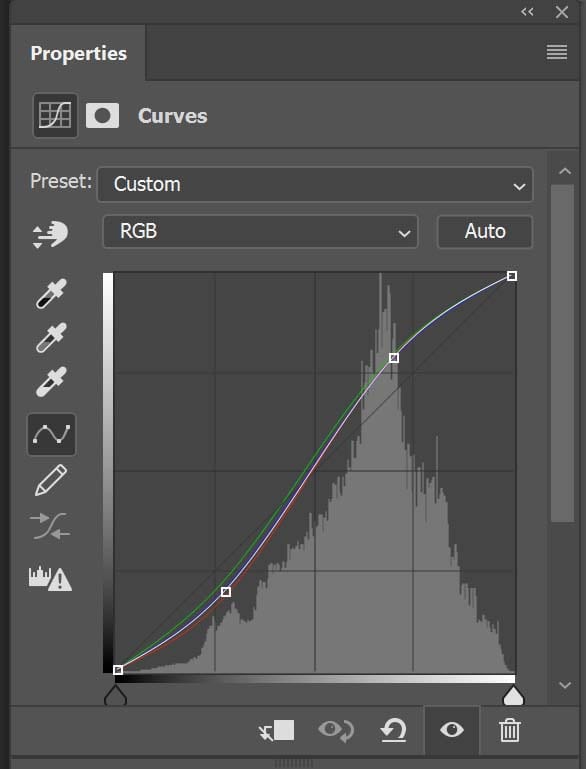
Soft and Pastel
I love this soft and pastel look that can be created easily with a curves layer! To achieve this look, start again with that initial S curve in the RGB channel (see above in the added contrast description) Then you are going to drop down to those color channels again like you did for the “grunge” look. BUT, this time you will create and inverted S curve on each color. On each color curve, place your cursor on the top third of the line and drag down. Then again on the bottom third of the line and drag up. (Watch the video for even more explanation!)

(Photo taken with the Canon 5d Mark ii & 135mm 2.0 lens)
Matte Look
While not explained in the video, curves will also give you an awesome matte finish! See the complete tutorial here on how to achieve a matte look in your photos using curves (and a couple other tricks too!)

Have fun editing and playing around with the curves layer! If you do try this tutorial and post a photo of yours over on Instagram, make sure to mention or tag me @cozyclicks so I can check out what you’re creating!? And to make things even simpler for you, I’ve created the Cozy Clicks Curves Photoshop Action Pack, as my gift to you! Download below! (compatible in Adobe Photoshop CC)

Â
