Adding in Extra Glow To Your Photos Using A Gradient in Photoshop
Adding that extra glow or bit of light to your photos in Photoshop might be just what you were looking for to give your picture a bit of magic! It’s really simple to do! By using the gradient adjustment layer in Photoshop you can create instant glow in your photo. Learn how here!
RELATED ARTICLE: HOW TO ADD IN SUN RAYS IN PHOTOSHOP
First
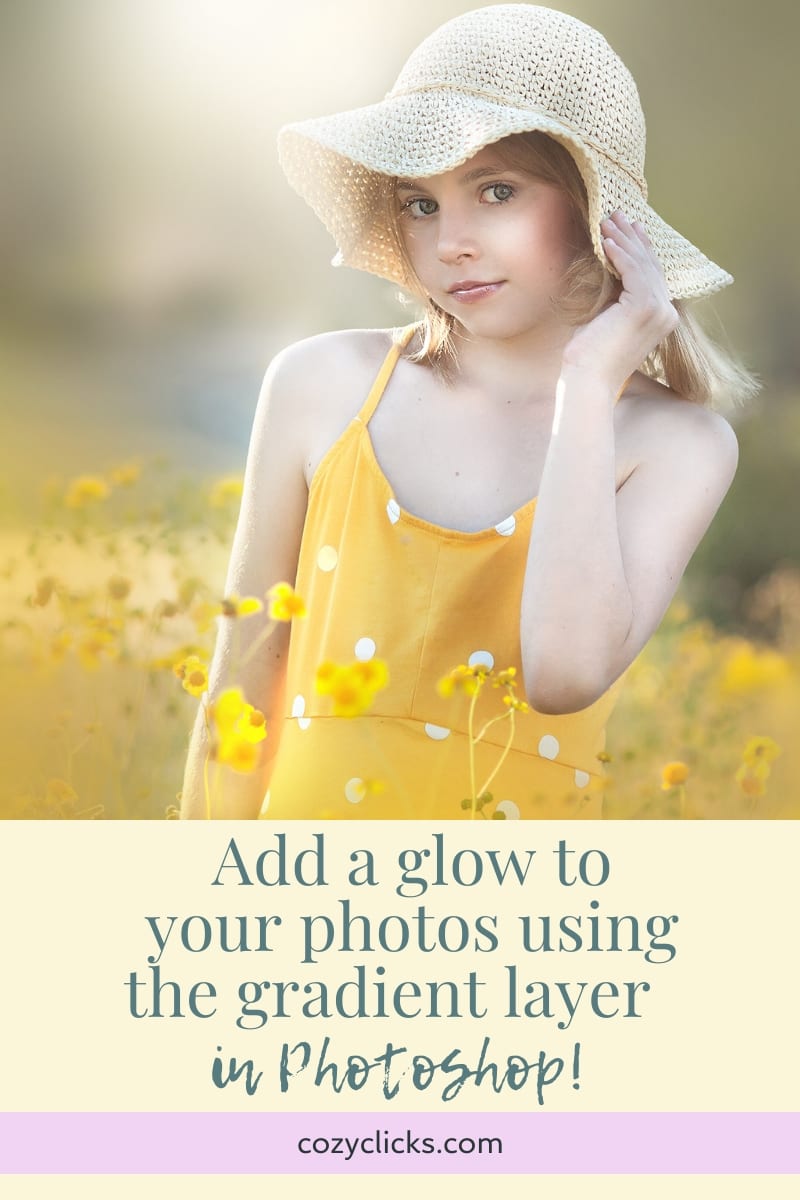
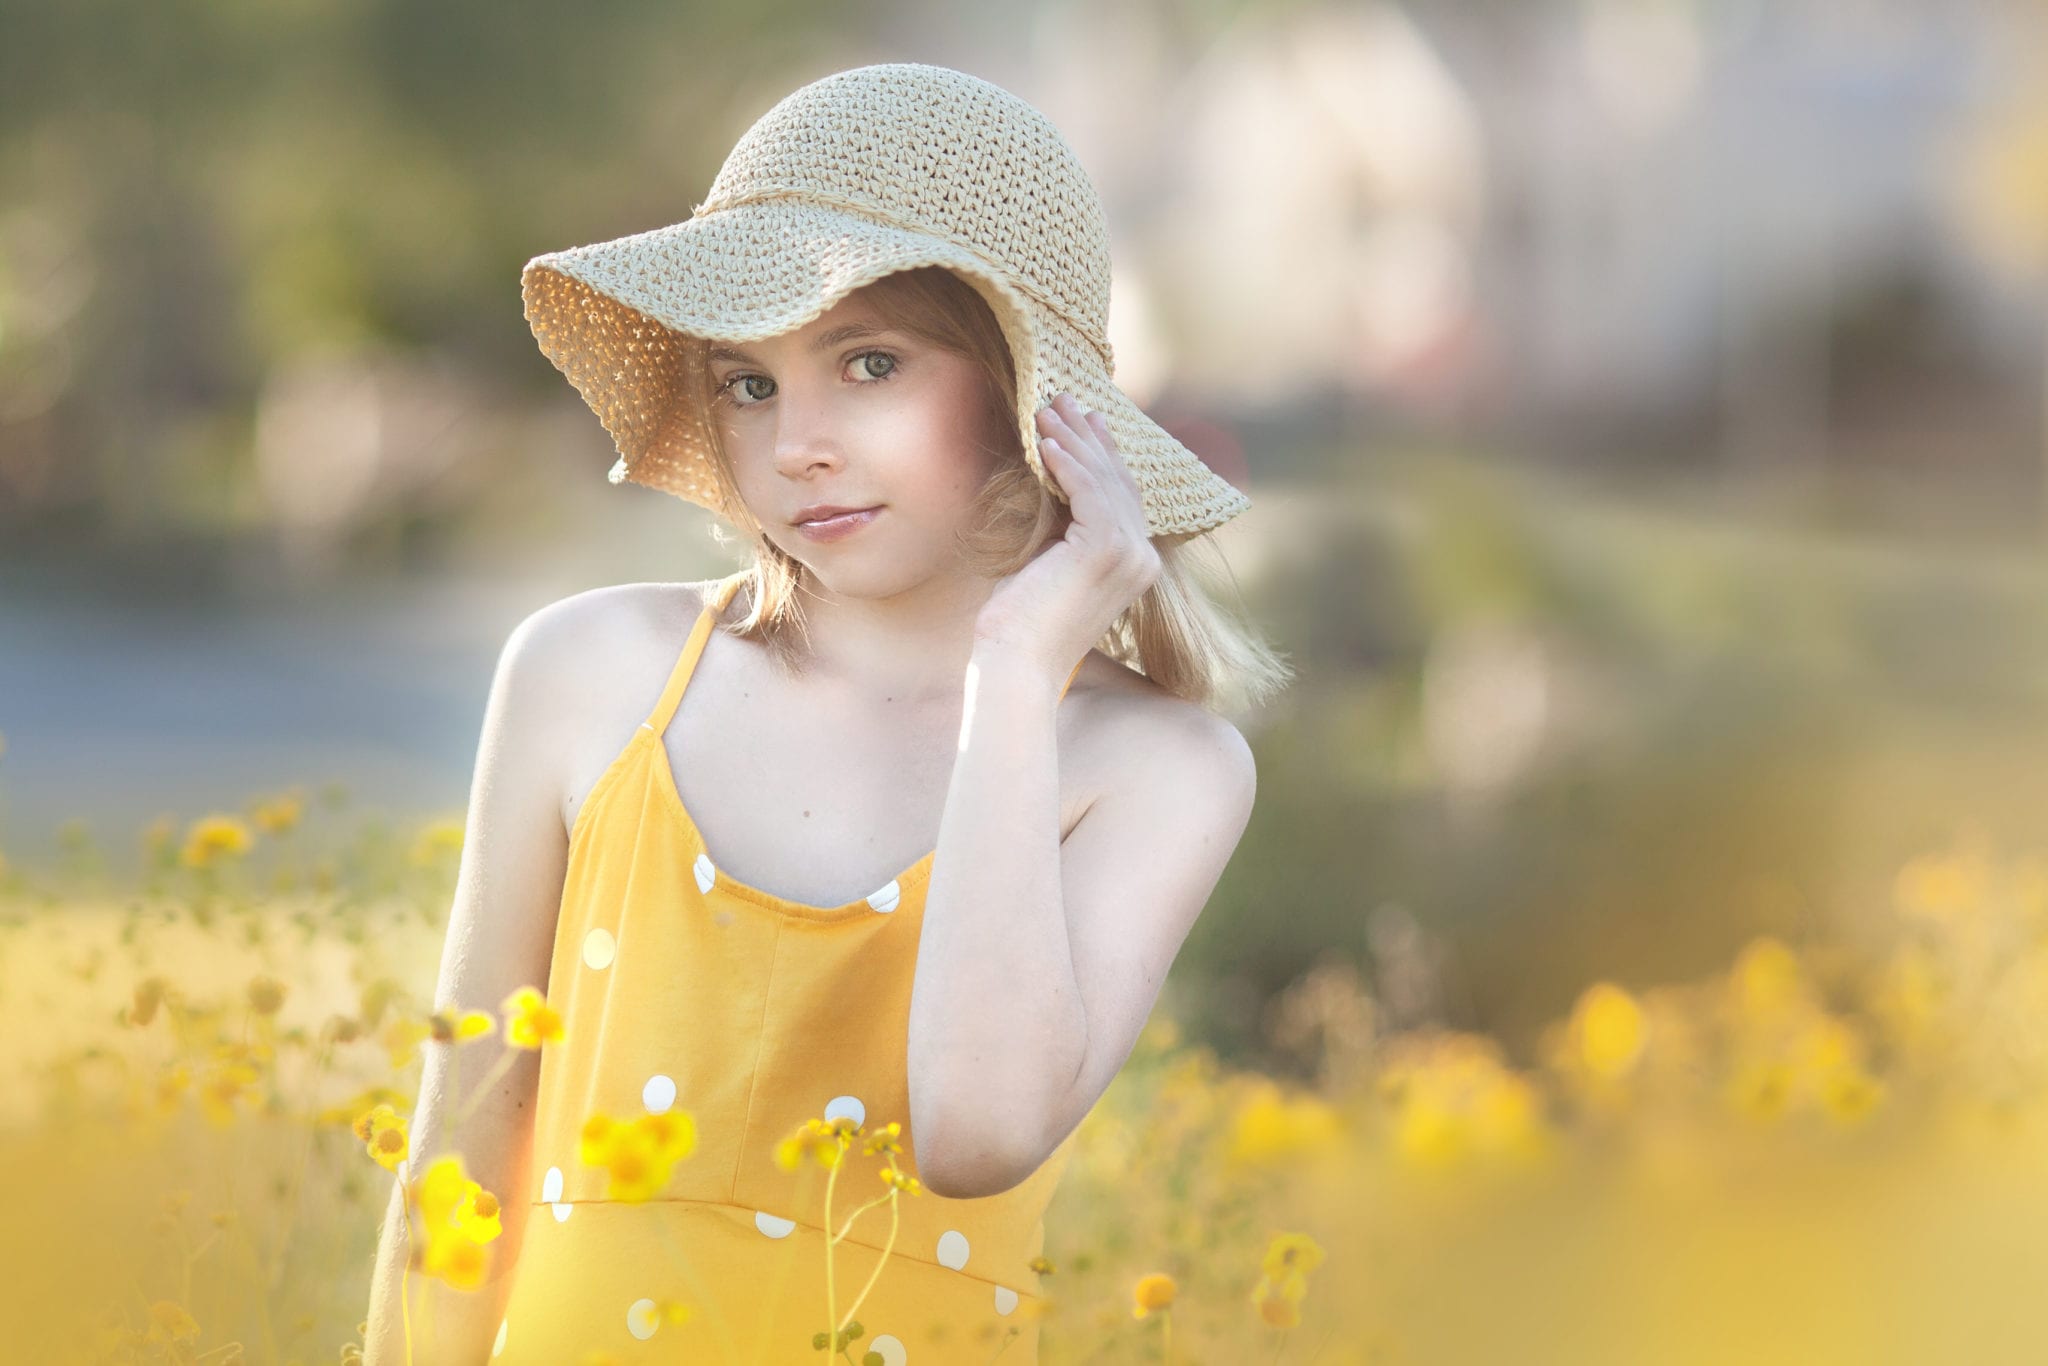
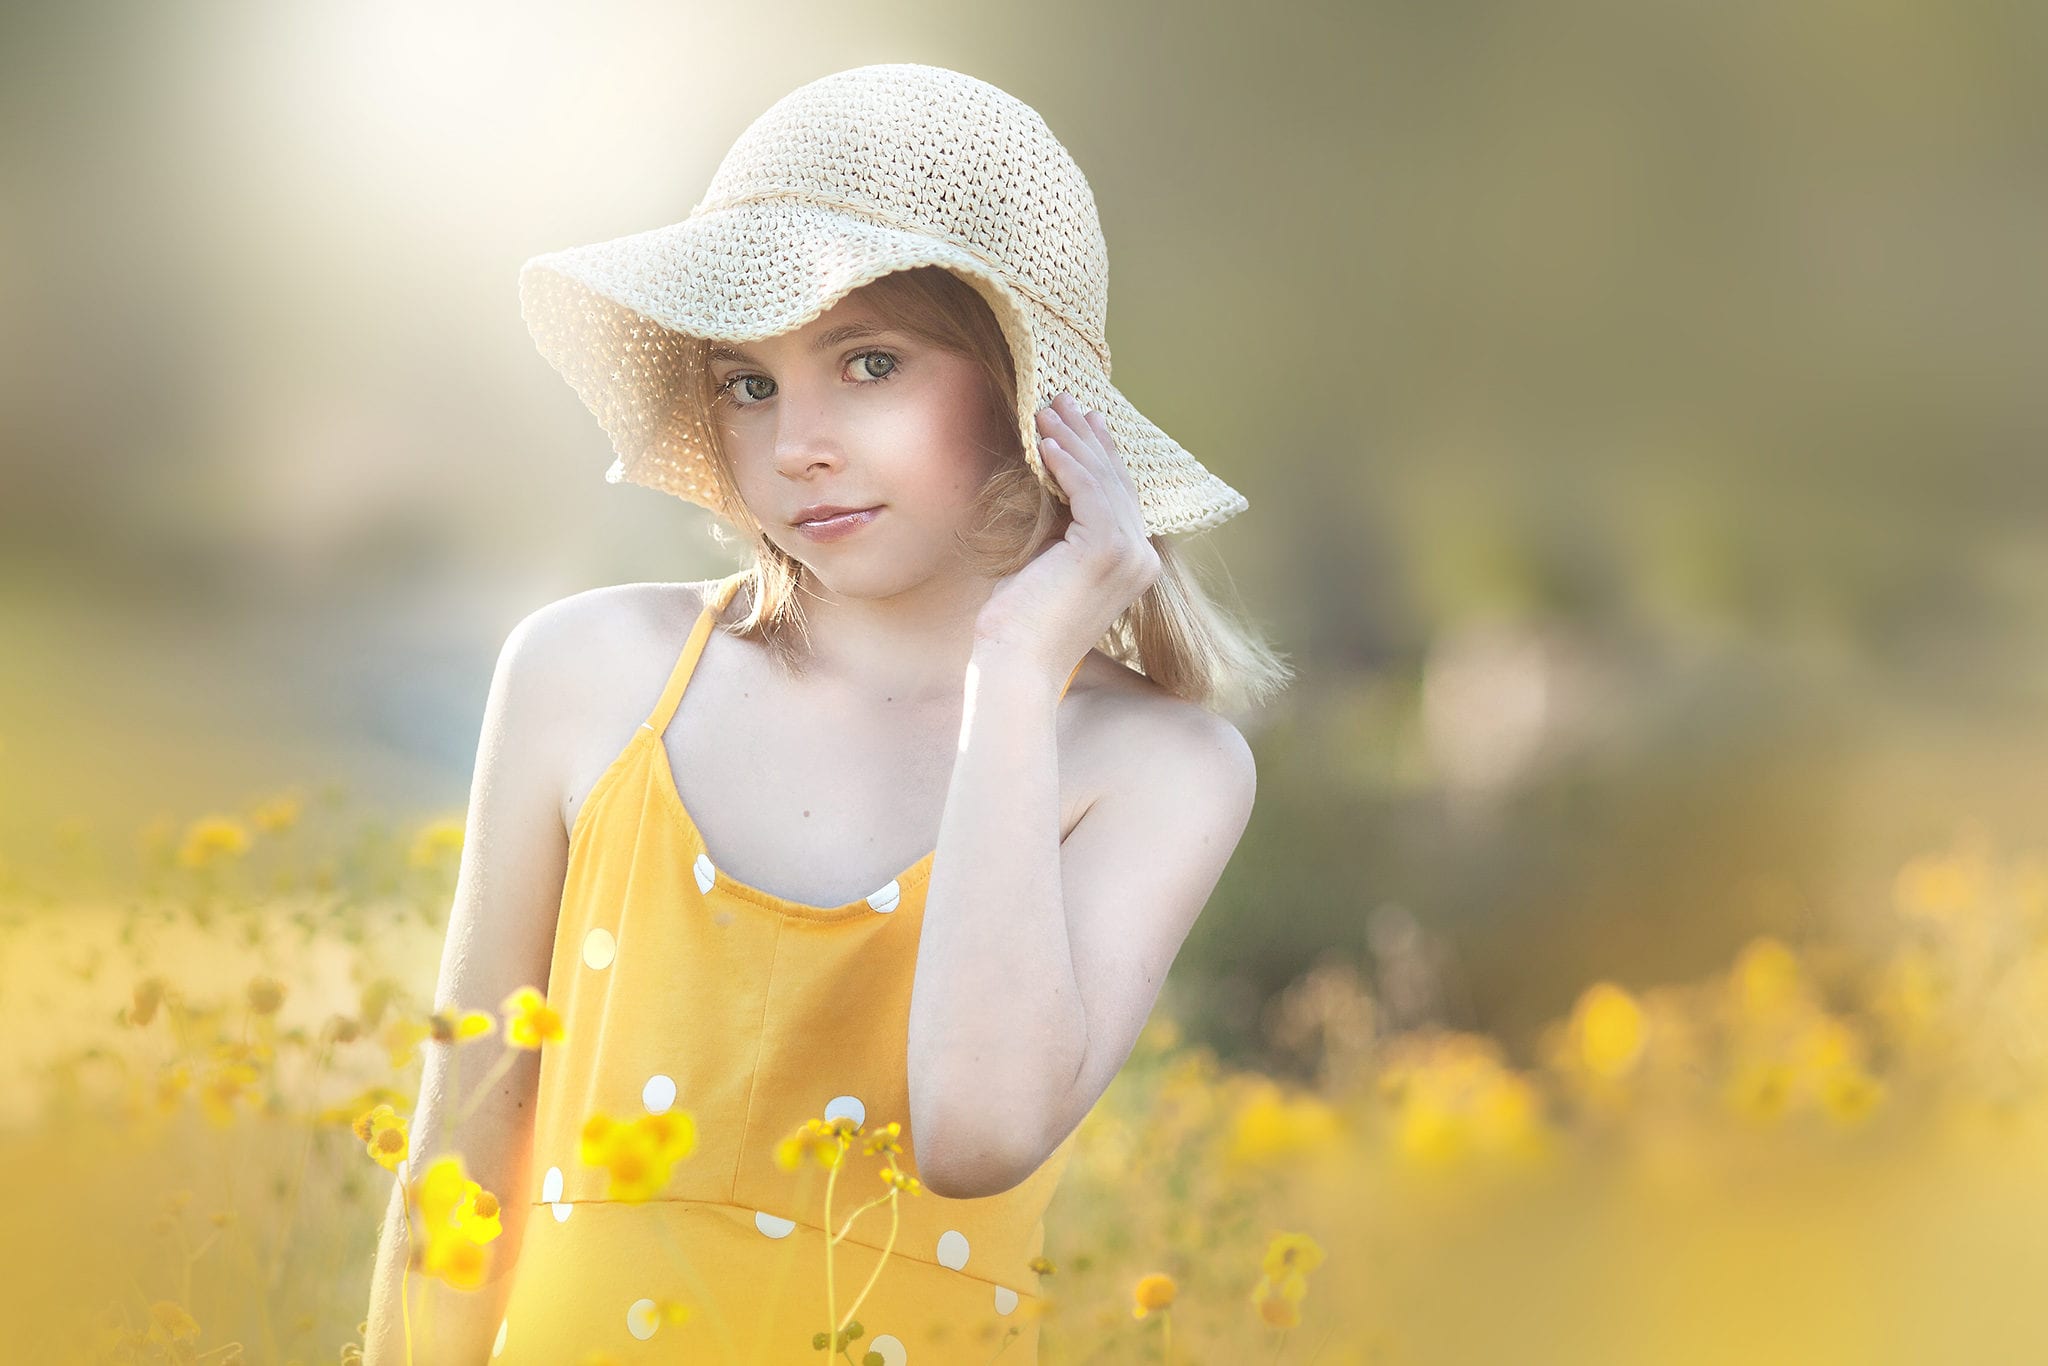
Before applying this technique, take a good look at your photo and where the light source is naturally coming from. This is important to make it look as natural as possible. See in the first photo where the light is hitting her hat. That is where the light is and where I would put the extra glow!
Next
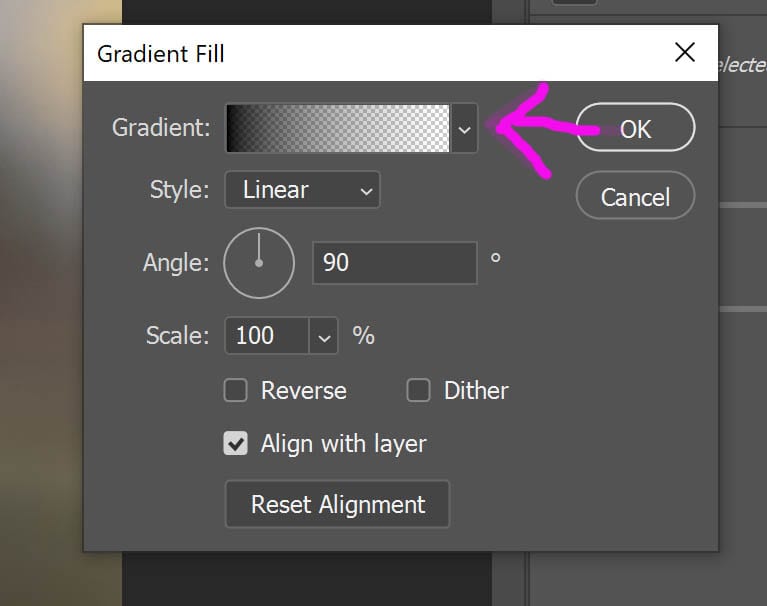
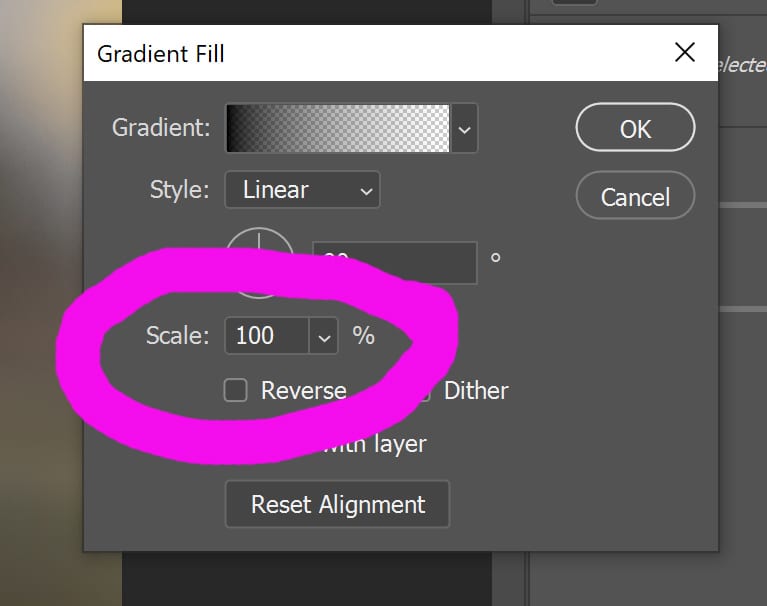
Create a gradient layer in Photoshop. Double click directly on the gradient to change to color to one that matches your color palette and creates the color glow you desire. (Confused? Watch the video above to see step by step!)
RELATED PRODUCT: BRILLIANCE AND LIGHT PHOTOSHOP ACTIONS
Then
Click OK once you have your colors selected and choose either radial or diamond from the drop down menu. Use the move tool to place the gradient where you wish. Adjust the size by sliding the “scale” slider.
RELATED PODCAST: ALL THINGS EDITING!
Finally
Brush off on the layer mask any parts of your image you do not wish to see that glow. ( specific tricks on how to make it look natural in the video tutorial!)
Bonus!
Change the blend mode of the gradient for even more creative choices to how that glow in your photo looks!
Have fun creating!