

Looking to create an edit on your photo that is dark and moody? I’ve got not one, but three different techniques you can use to achieve this look inside of Photoshop! You can stack them, pair them up or just use one a at time. Learn how to create a dark and moody edit here!
First
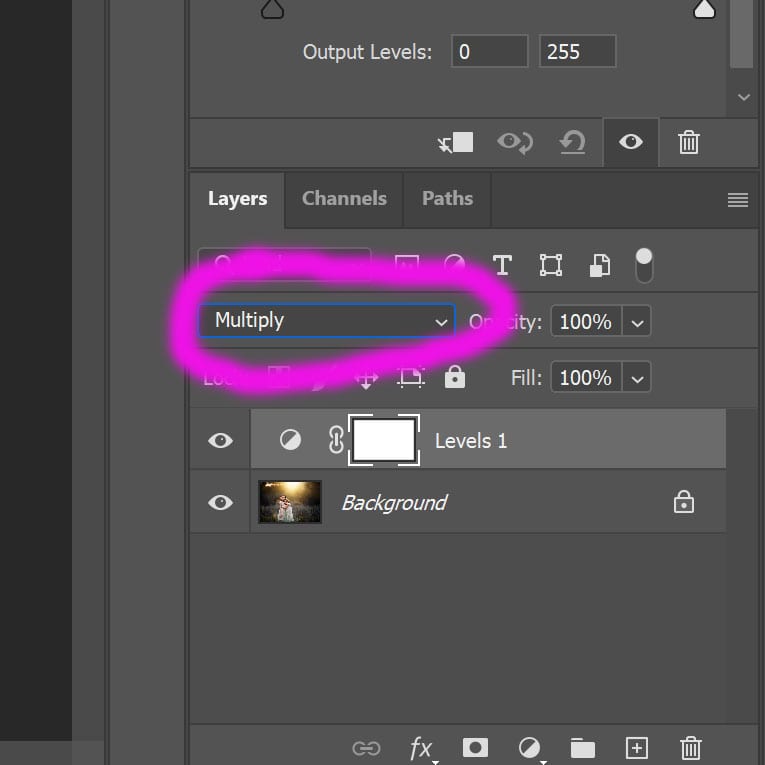
Create a new adjustment layer. It can really be any of them it doesn’t matter for this technique. But for this example, let’s choose “levels”. With that new adjustment layer create change the blend mode of the layer from “normal” to “multiply”. Doing this alone will create an instant dark and moody edit. You can even adjust the opacity of this layer to make it work for you and your photo!
RELATED ARTICLE: HOW TO EDIT LIGHT AND AIRY IN PHOTOSHOP
Second
You can also create a dark and moody edit by using the curves adjustment layer. Simply create a curve layer. Lift up the midpoint and move the top point over toward the left.
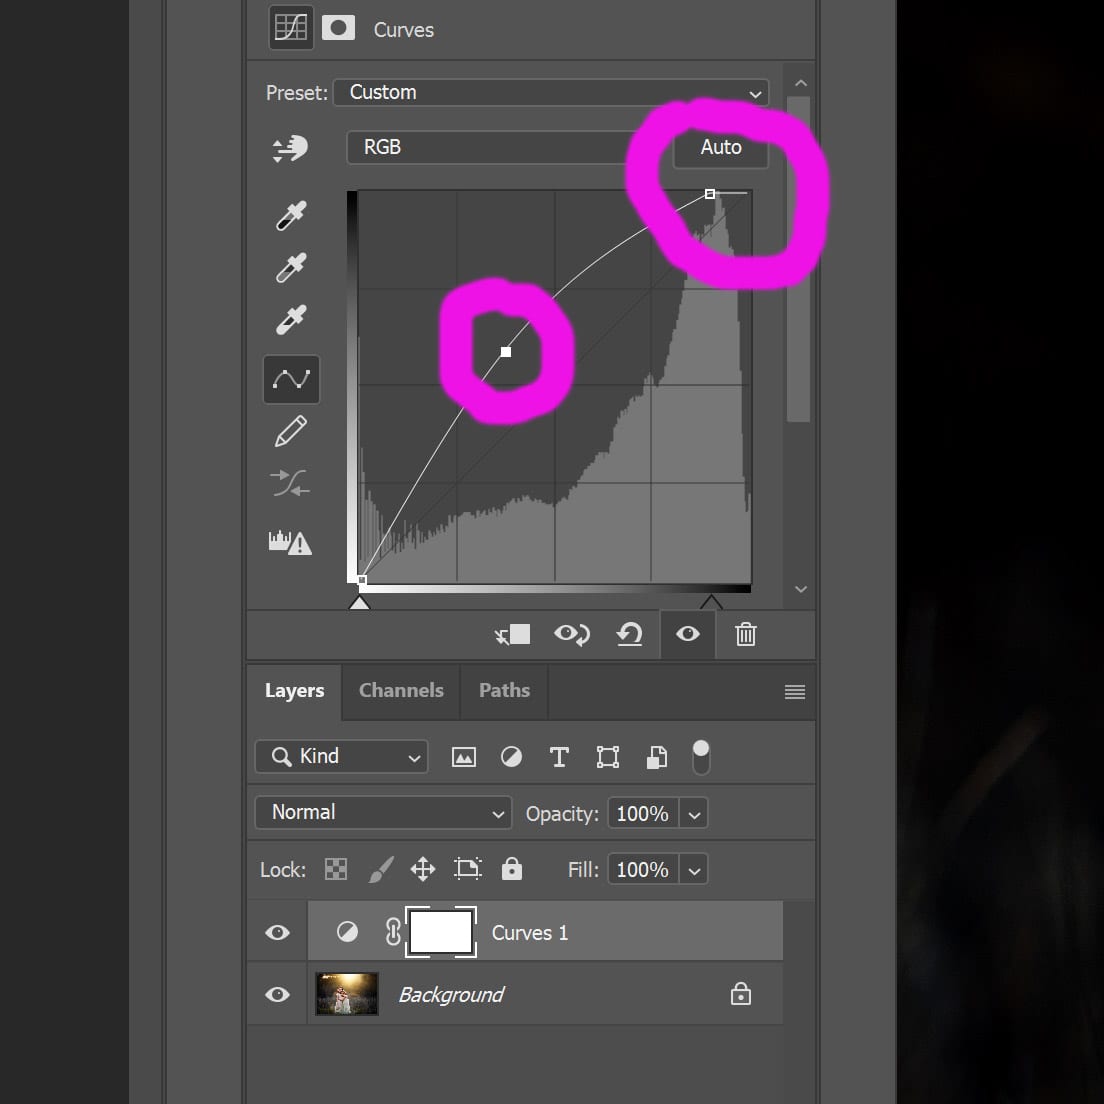
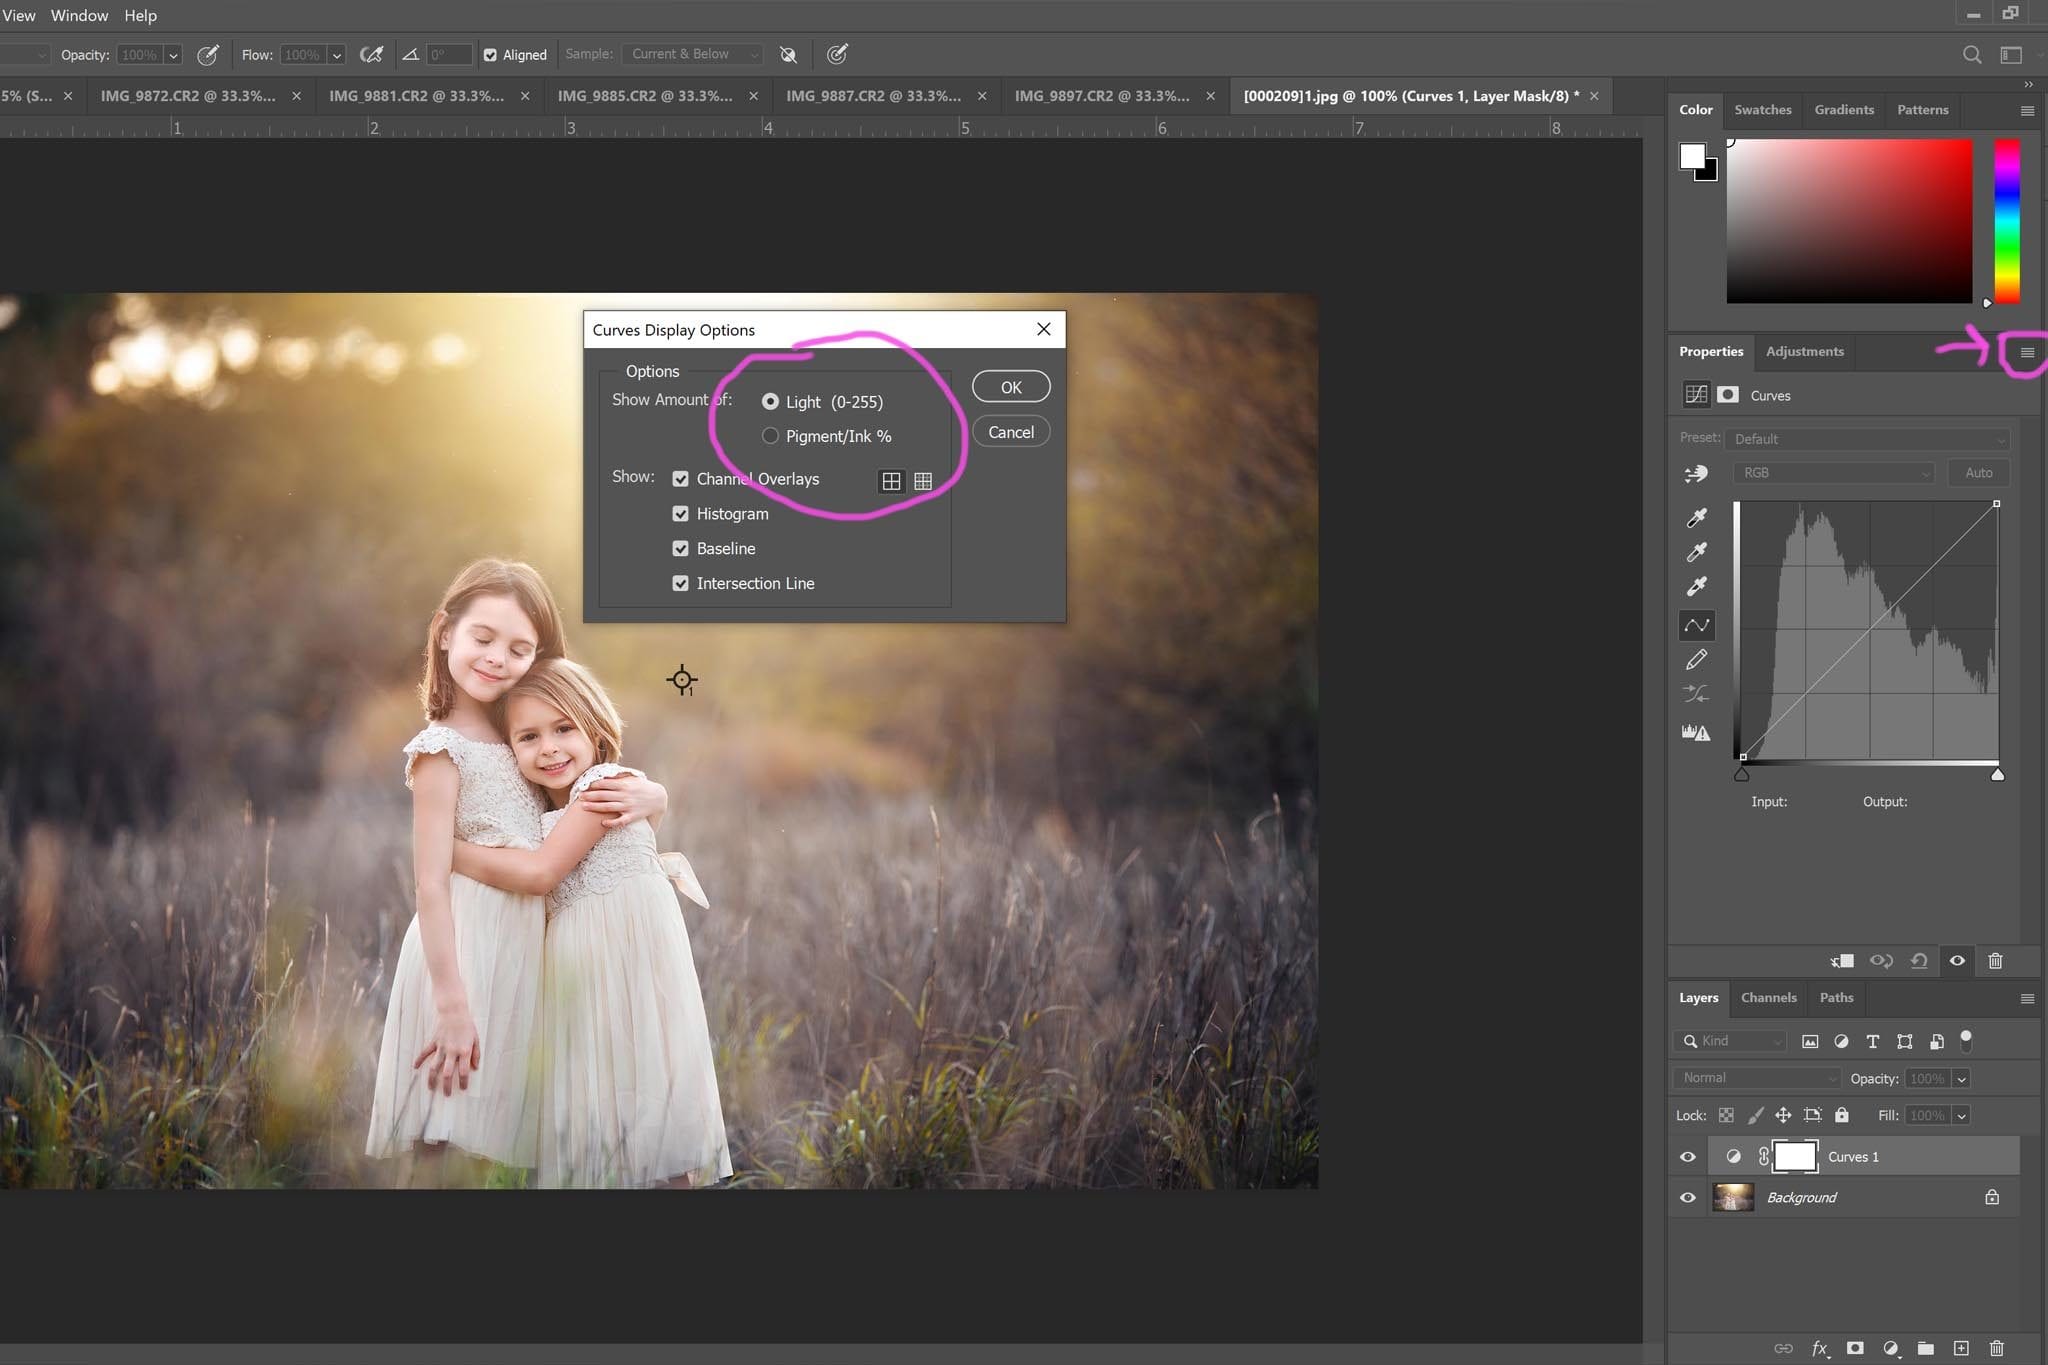
**IMPORTANT** Your curves adjustment layer may appear reverse to what you see here. If it does, just switch the direction of the points and drag the curve downward!
Last
To create cooler or warmer tones in your dark and moody edit, use a selective color layer. Use the drop down menu select “neutral” as your color. For a cooler dark edit, move the cyn slider to the right. For a warmer edit, move the cyan slider to the left and the yellow slider to the right.


RELATED PRODUCT: THE COZY CLICKS ULTIMATE PRO EDITING MEMBERSHIP!
Finally you can use all, one, two or all three of these techniques to really get the dark and moody edit you are wanting to create!
If you give this a try, show me your results! Post your photo over in the Cozy Clicks Facebook group or tag and mention me over on Instagram @cozyclicks so I can see what you created!