Â
Â
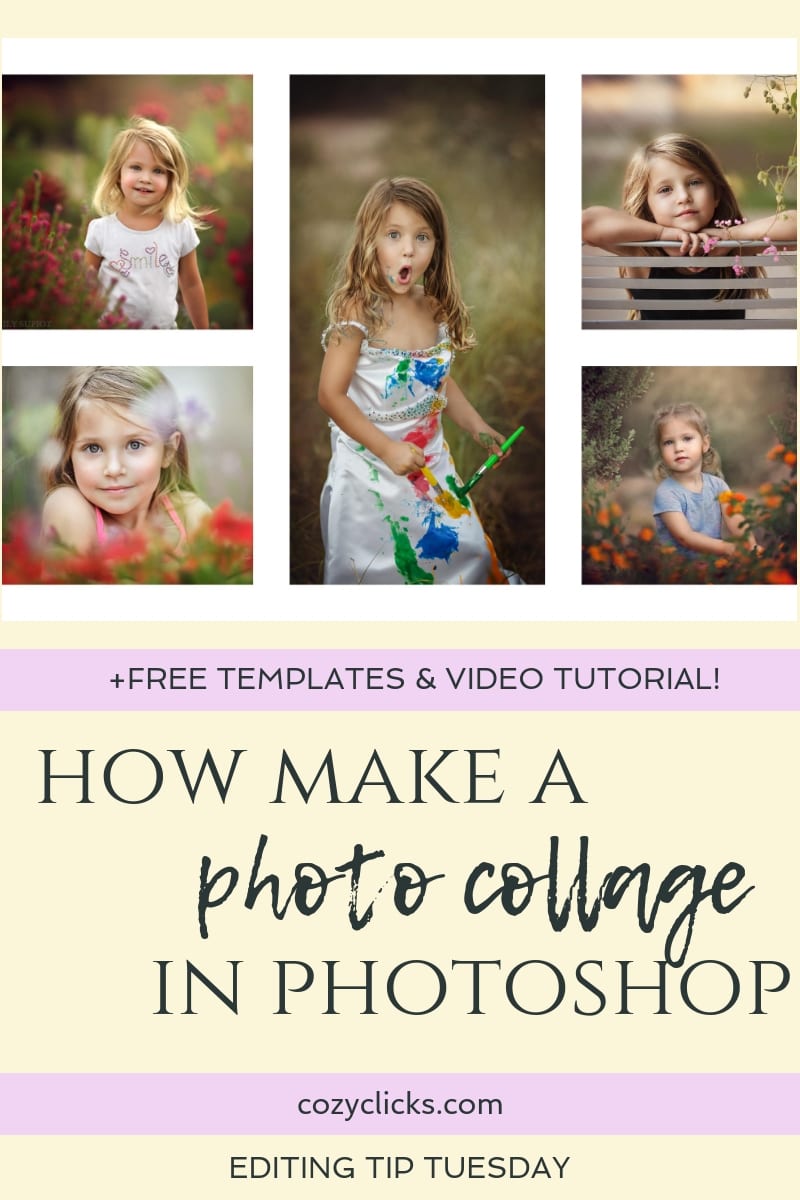
How To Create A Photo Collage In Photoshop + FREEBIE templates!
Creating collages in Photoshop is not as hard as you might think! Collages are awesome for creating holiday cards or birthday invitations. Collages can easily be used to help spice up your blog posts or posts on social media OR you could use them to put together a collage of photos to print and hang! Learn EXACTLY how you can customize your own photo collage here + head to them bottom where you can grab your FREE photo collage template!
Create A New File
Start by creating a new file. Simply go to the upper left side and click file>new. From there you can customize your exact dimensions you’d like for your collage.
Show the Grid
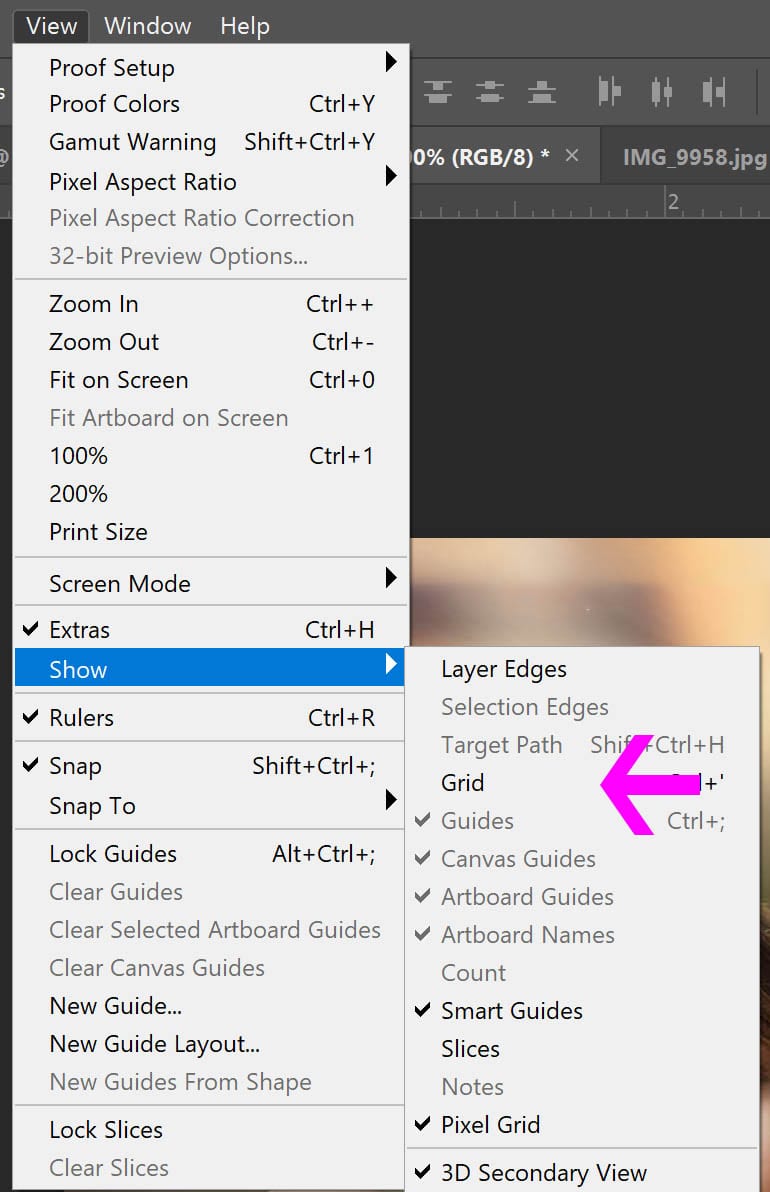
This isn’t totally necessary, but will helps you TONS in measuring and making sure your lines are in proportion. Super easy to do. Just go to view>show>grid. And don’t worry, we can easily get rid of this later on.
Â
Â
Use The Rectangular Marquee Tool
Grab this too from the left hand side bar (it looks like a square with a dotted line) Place your cursor down on your file and pull down the rectangle to your desired size. Use your grid to guide you so the lines are proportionate.
Â
Set Your Rectangle
Once you’ve selected and drawn the position for the rectangle, left click and select layer via copy. You’ll see a new layer pop up on your layers panel!? This layer will be hard to see so there are some things you’ll want to do to help keep it organized for you.
Â
Â
Color In The Rectangle
This step also isn’t 100% necessary, but I find that it helps soooo much with organizing your collage when you go to add in the photos, so you probably want to do it. Select a color (any color) Grab the paint bucket tool and click inside that square you just cut out.
 Repeat These Steps
Go back and redo these steps creating as many rectangles on your collage as you wish. There is no correct number. You’ll see below is my completed collage template with 5 opening all colored in for ease of organization. Now it’s ready to add the photos. (hey, did I tell you, you can have this template for free? Yup, just grab the download below!)
Add Your Photos
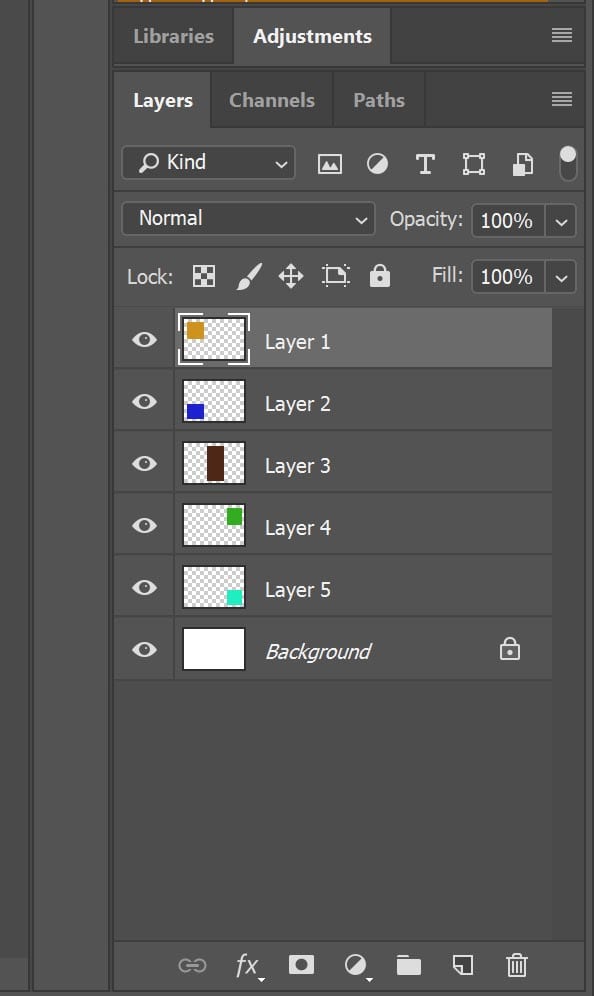
Click on the layer in your adjustment panel where you want your photo to appear. (see below) The yellow square layer is selected in the panel and that is where the first pic will be placed. Select the photo you want by going to file>place embedded and then select the photo you want in the college. It won’t be the right size and that is ok. Resize to fit over the square you want it to appear in. Then left click and select create clipping mask. Continue to do this until all photos are placed.
Â
Â
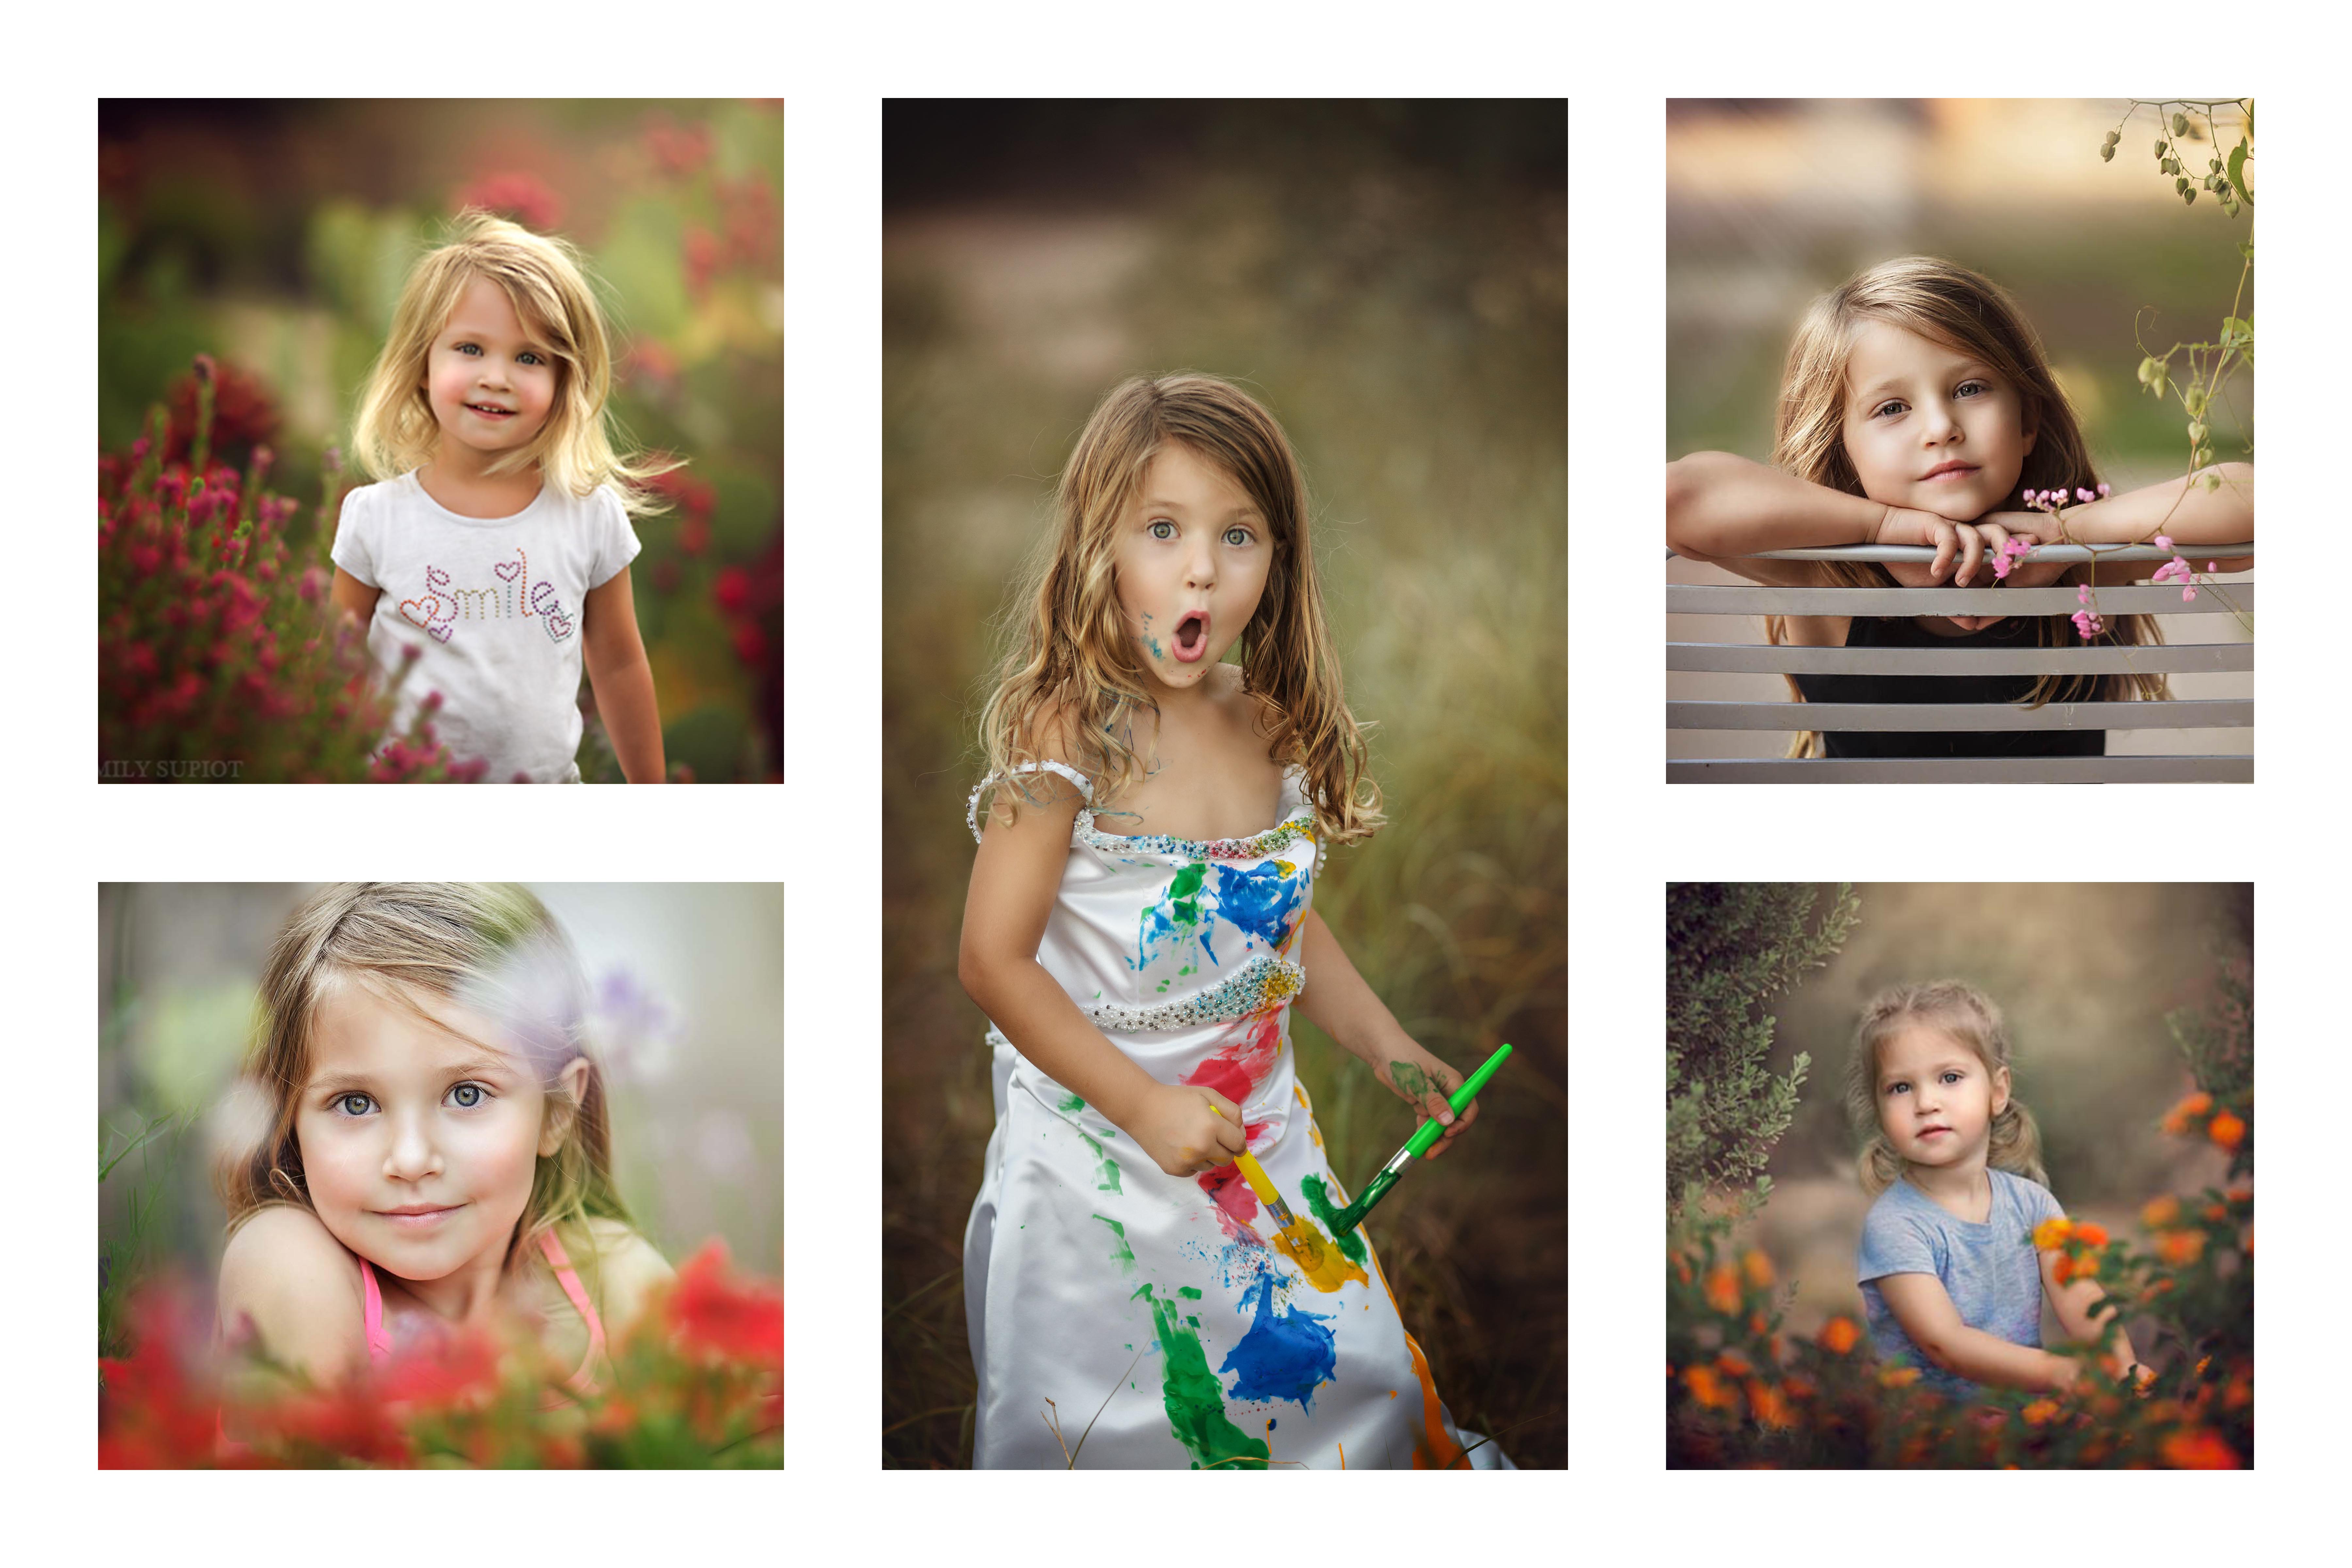
And there you have it! Your final college will look something like this! Just save and post or print up! Still feeling confused? Make sure to watch the video tutorial above as I walk you through step by step!
Thanks for watching and reading with me today! If you do use this template, I’d love to see what you create! Make sure to tag me over on IG @cozyclicks so I can see what you made!

Â
Â



Thanks, Emily! You’re the best at making these videos! You are so easy to follow. I thought making a collage was hard to create, but it’s not. You clearly showed how easy it’s to make one.