


Important Tips For Taking Photos At The Golden Hour
Ok, let’s get clear first. ( and we all want to be clear & focused, right?)
The golden hour is that magical time of day about 1 hour before the sunsets or within the first hour after the sun rises. It creates beautiful flattering light that most photographers just drool over.
But there are a few things you should know to make this beautiful time of day work best for you.
Here are some Important Tips For Taking Photos At The Golden Hour.
Plan Ahead Of Time
Don’t just guess or estimate when sunset will be- look it up!
There are so many resources on your phone nowadays or online that will pinpoint EXACTLY when that sun will go down in the EXACT location you want to shoot at.
Start shooting too early and your pictures might be too bright- start too late and they could get too dark. Make sure you get the time right.
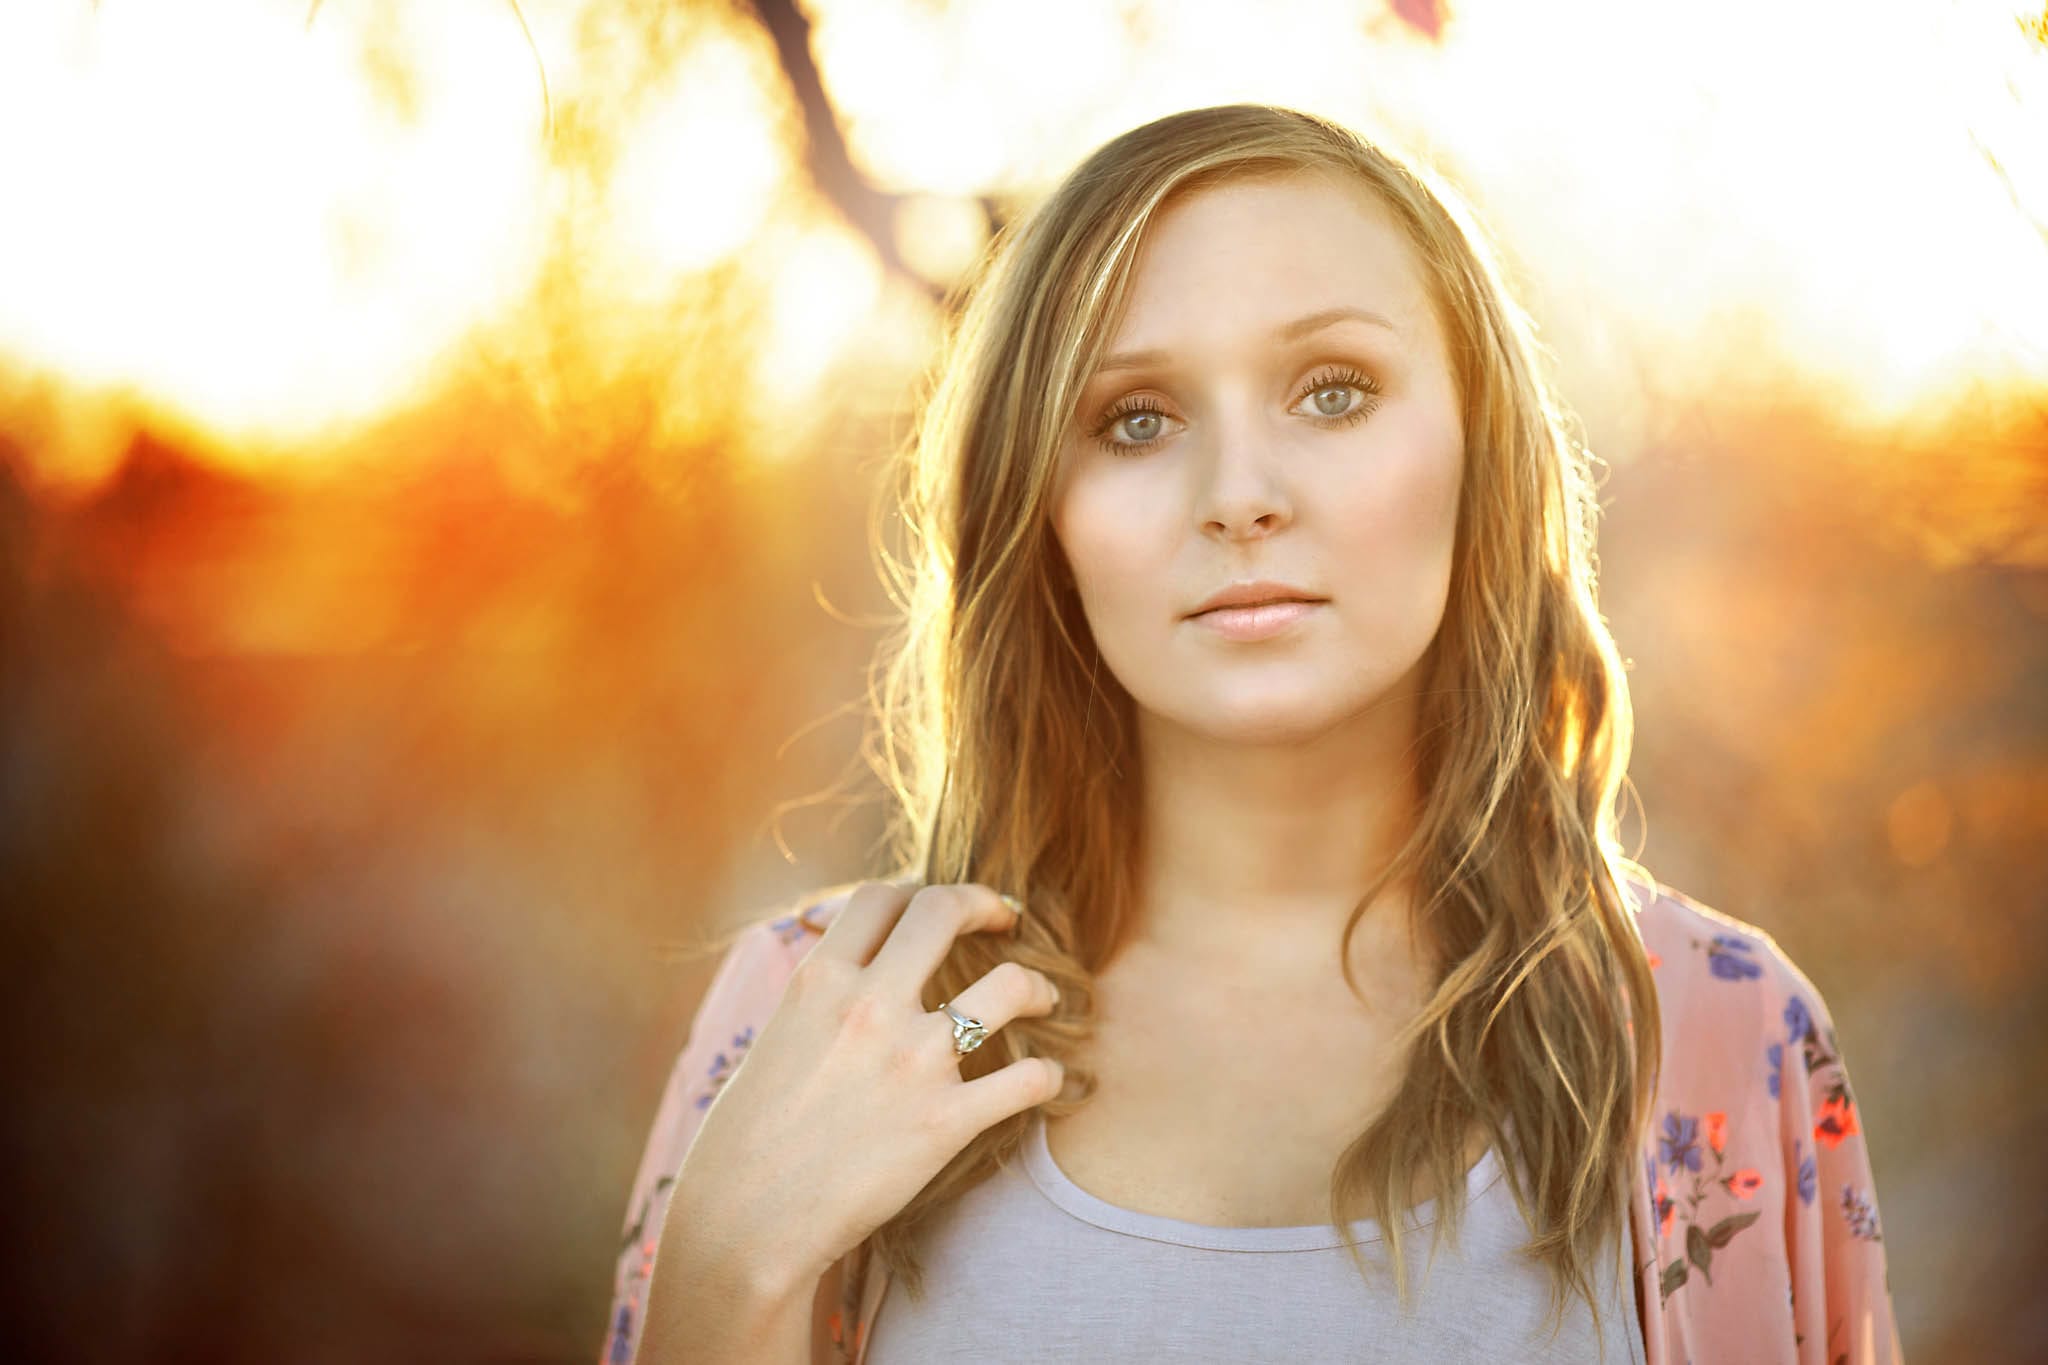
Backlight It
Try to shoot placing the sun behind your subject.
You waited until the perfect time to get that beautiful glow, right? Make sure you get it in the picture!
Move your body and subject around to try and capture the light in your photo.
Use A Reflector
Sometimes by placing the sun behind your subject, your subject may fall flat (not every time- but some of the time)
To get around this, just pop that reflector up to add an extra boost of light into your subject and their eyes.
RELATED ARTICLE: HOW TO USE A REFLECTOR

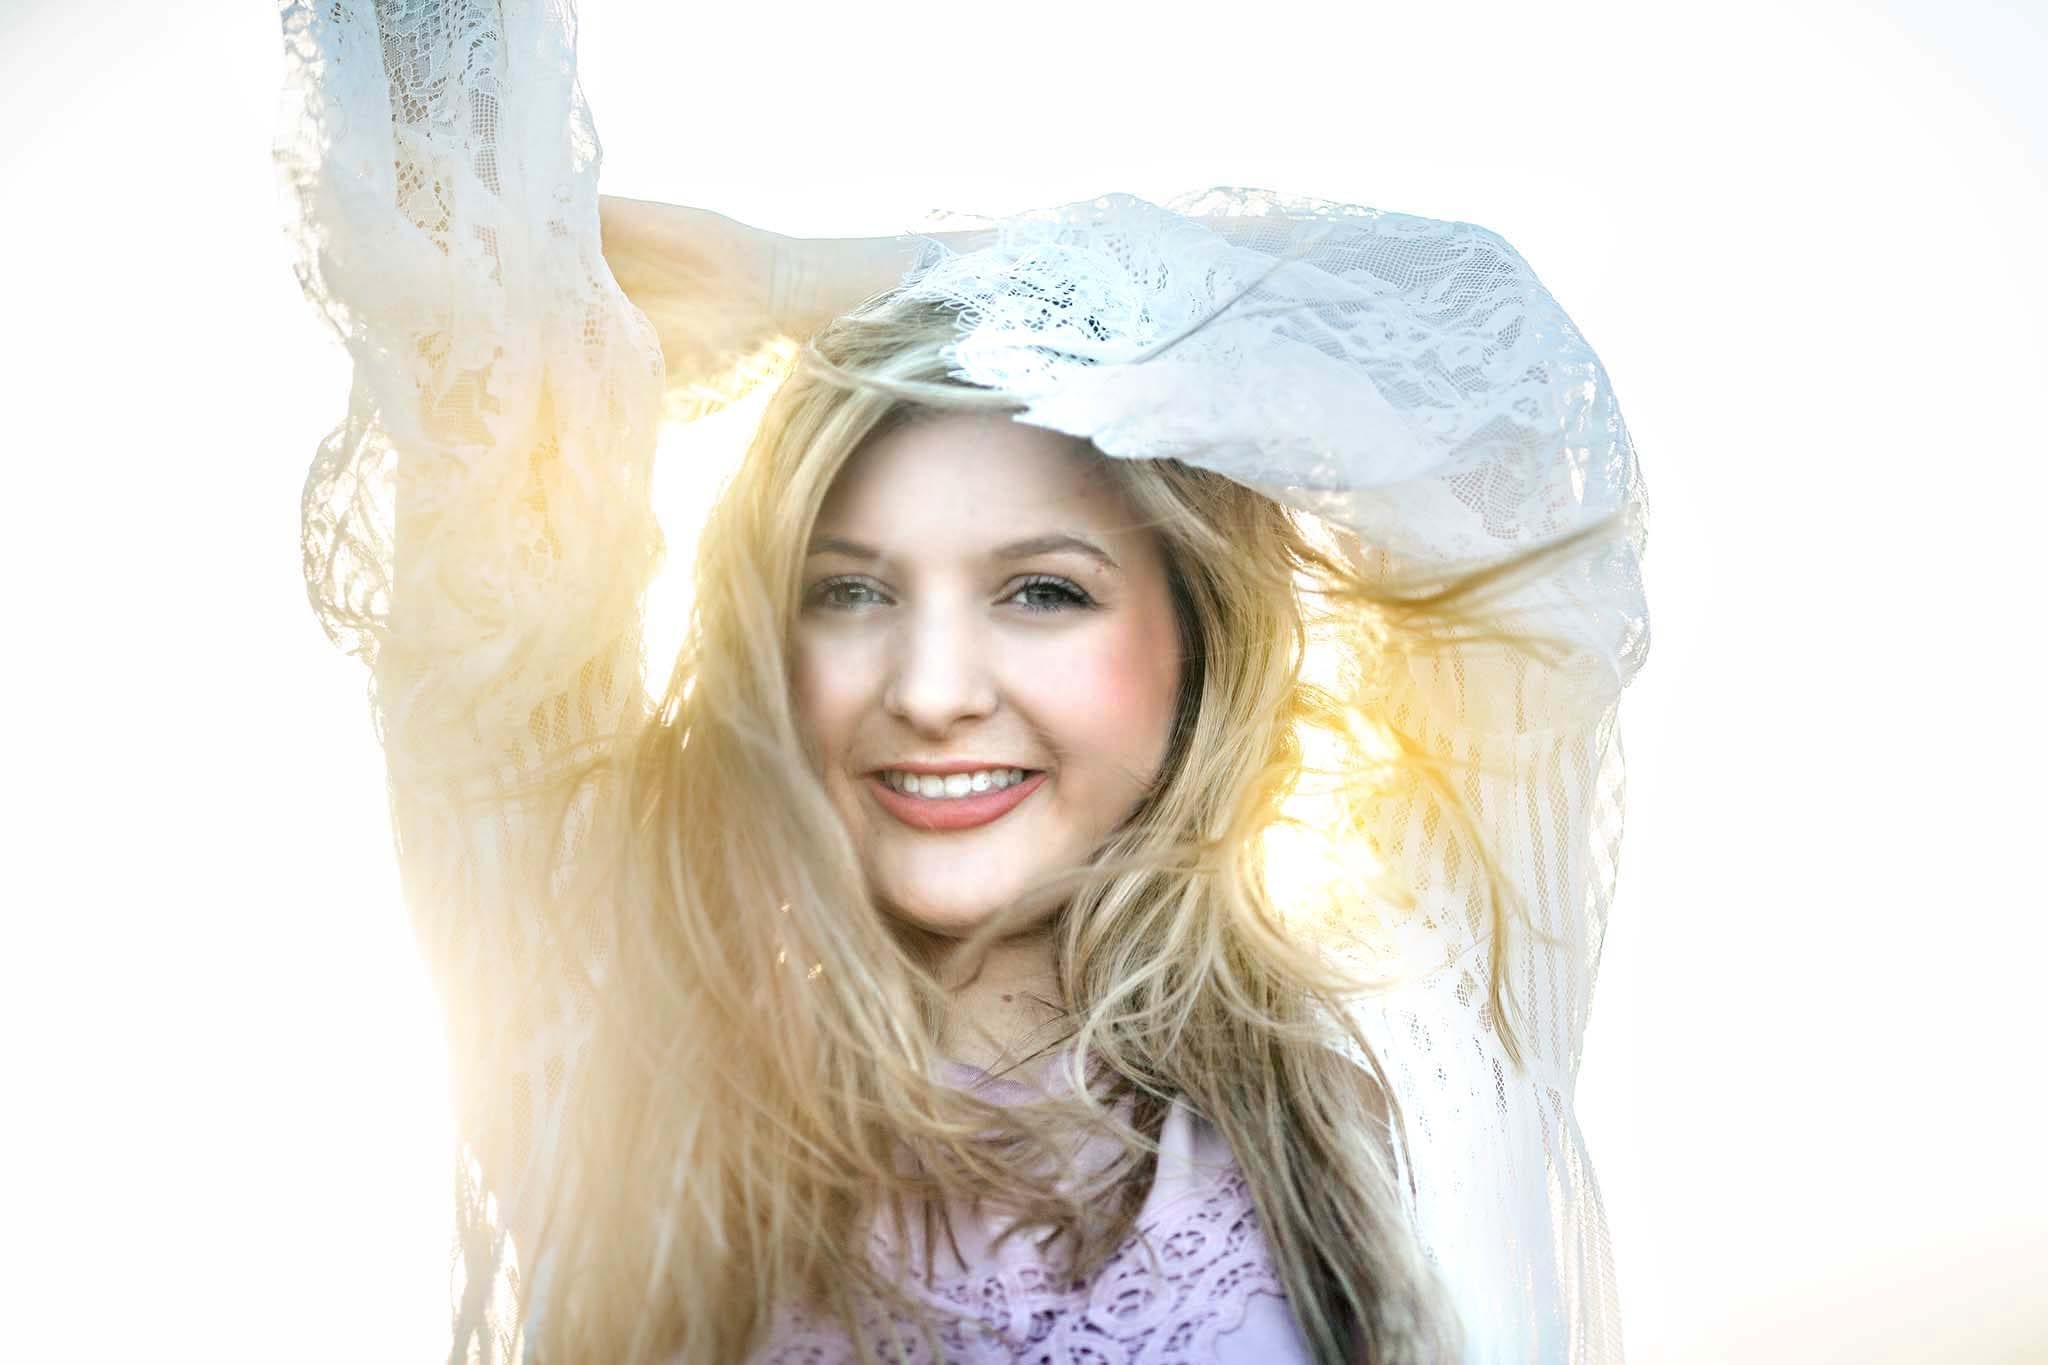
Shoot Through Something
If the backlight is creating too bright of a glare or washing out your photo, look for something in the environment to shoot through and filter the sun.
This is usually trees or bushes, but could be buildings or fabric that you hold up.
Use a Lens Hood
This is almost a must have if you are shooting at golden hour.
A lens hood can dramatically help reduce glare and haze. Without a lens hood your photos might appear washed out. You can pick one up pretty inexpensive (there are different sizes for different lenses)
BONUS TIP* Don’t have a lens hood or still seeing a lot of haze coming through? Use your hand to extend around the hood (or lens) to prevent more glare from coming through.
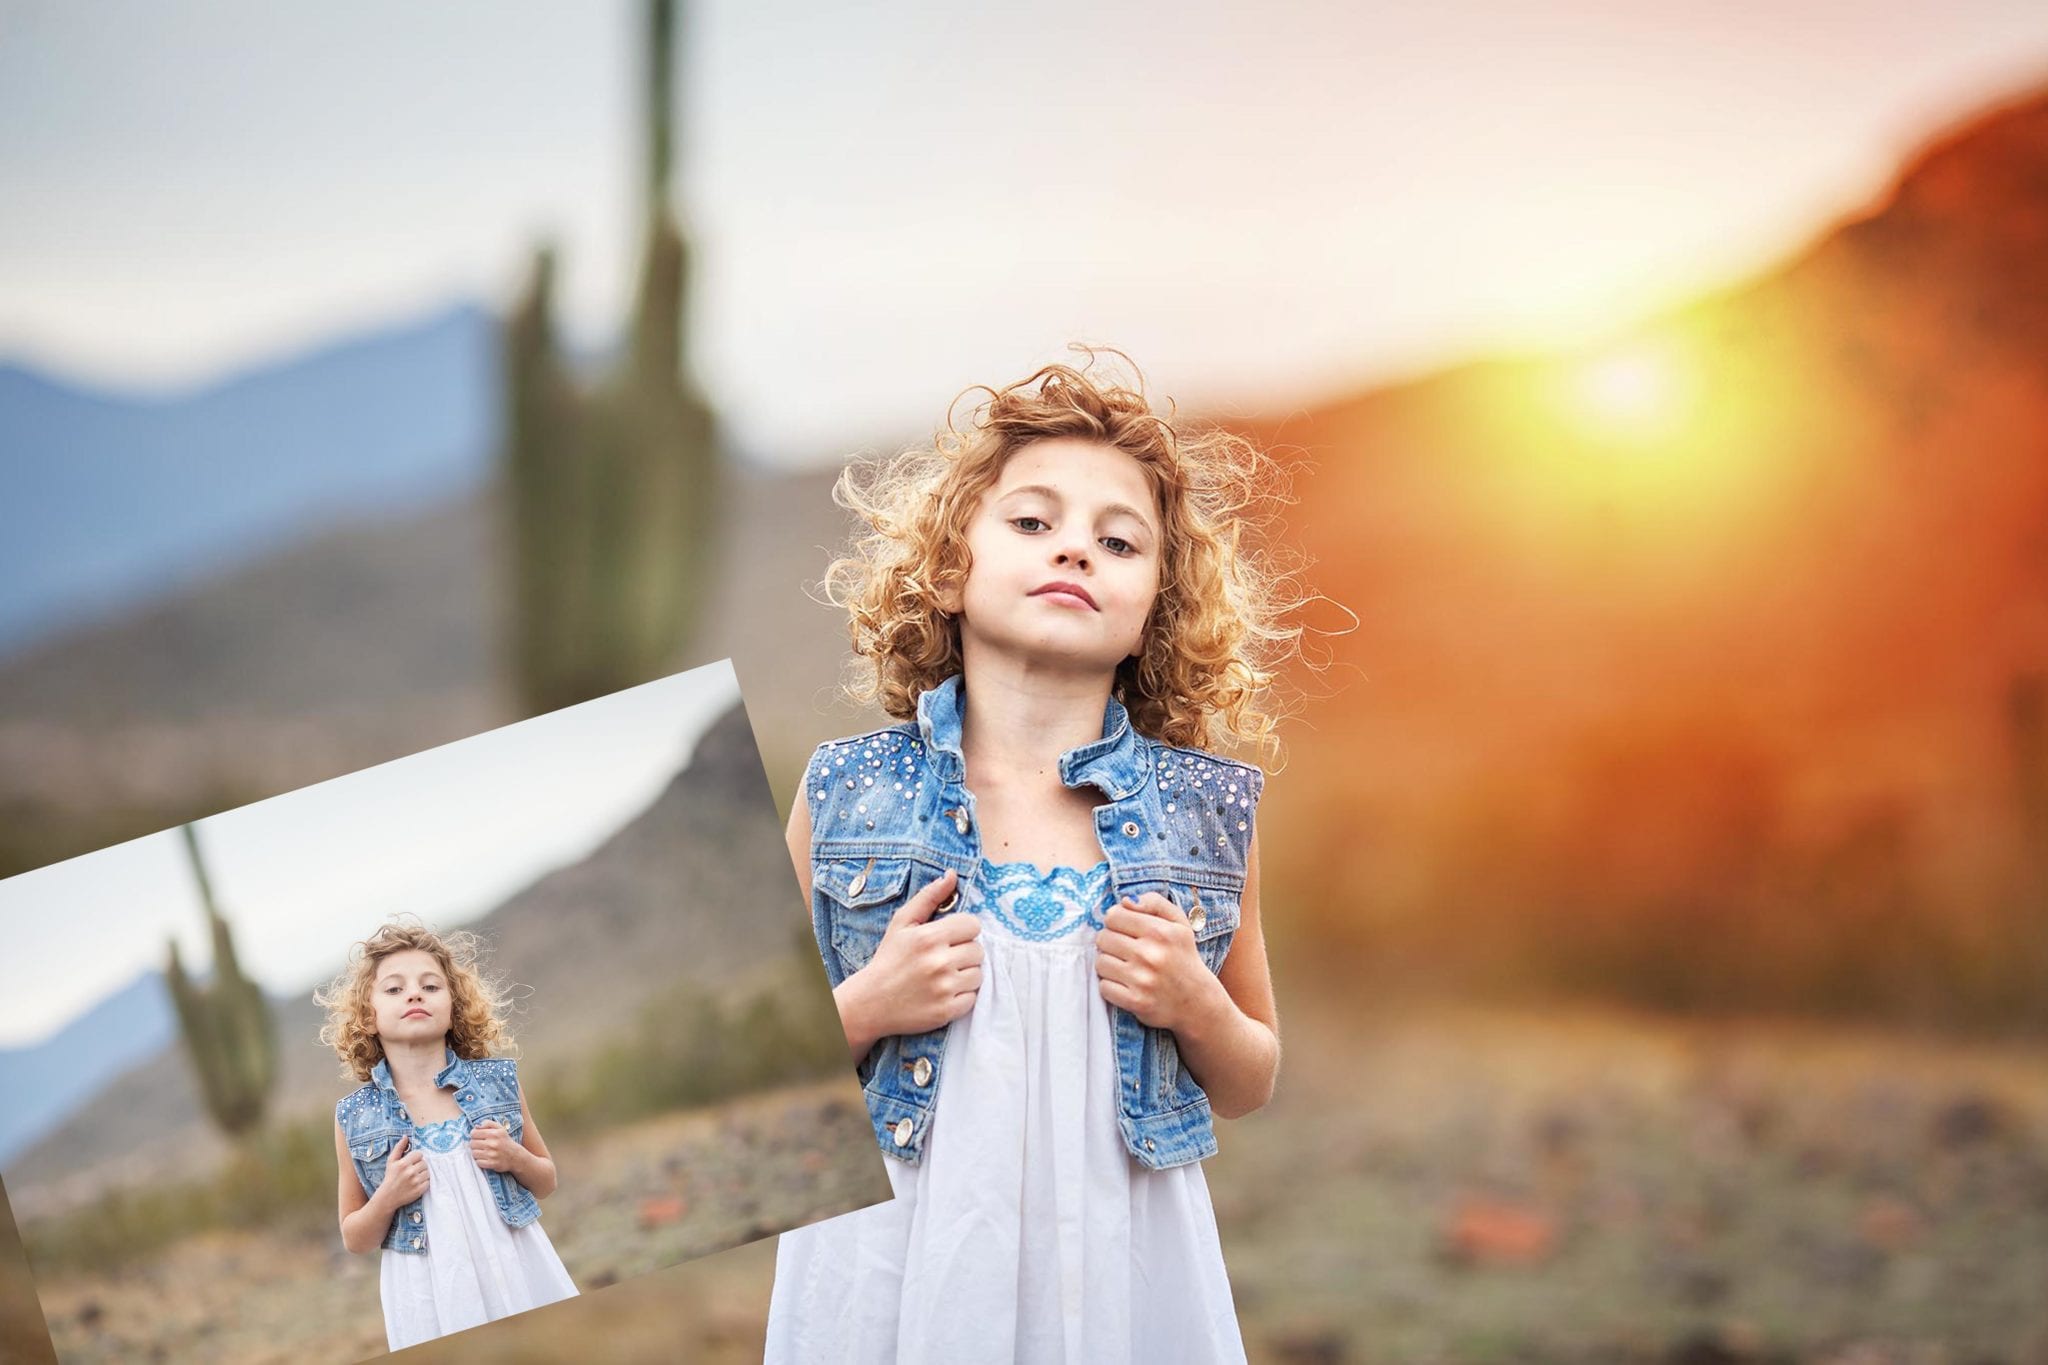
Add It In Later
Ok, I’m gonna let you in on a little secret.
Sometimes when you shoot at the golden hour, the sun moves a little faster than you might have anticipated.
When that happens, don’t worry! You can always add in moveable light in post processing later.
Photoshop makes it pretty simple to add that subtle golden glow. Here I Used the Brilliance and Light Moveable Light Photoshop Actions, to give the illusion that the sun was still in view, even though it dropped below to mountain seconds before.
Related Product: Brilliance and Light Photoshop Actions
Follow these important tips for taking photos at the golden hour, really focusing on the first five and trying to get your photo looking great in camera first.
Now get out there and give it a try! And as always if you do take some golden hour shots, I’d love to see what you create! Make sure to tag or mention me over on Instagram @cozyclicks so I can see your work!

