Having a creamy, dreamy background can sure make a photo look dreamy and can really make your subject pop out. It’s always best to try to achieve a blurry background right in camera. (Don’t Know how Read 4 Ways to Get a Blurry Background right here) But, if you just didn’t capture the blur the way you hoped there are ways you can add it in later.
The problem most people have when trying to add blur in in Photoshop is that once they add in the blur, it’s difficult to mask it off the subject- especially if the subject has lots of crazy hair or detailed edges around them. Many times this leads to haloing around the subject and doesn’t look too hot or realistic.
But you CAN get it to look great! Read here to learn how to cut out tricky subjects and add in that extra blur!
These steps will work best when working in Photoshop Cc
To Cut Out A Tricky Subject
- Open Your Photo in Photoshop
- Use the Quick selection Tool to Make a selection around your subject – Does not need to be perfect.
- Click the select and mask button on the upper left hand side.
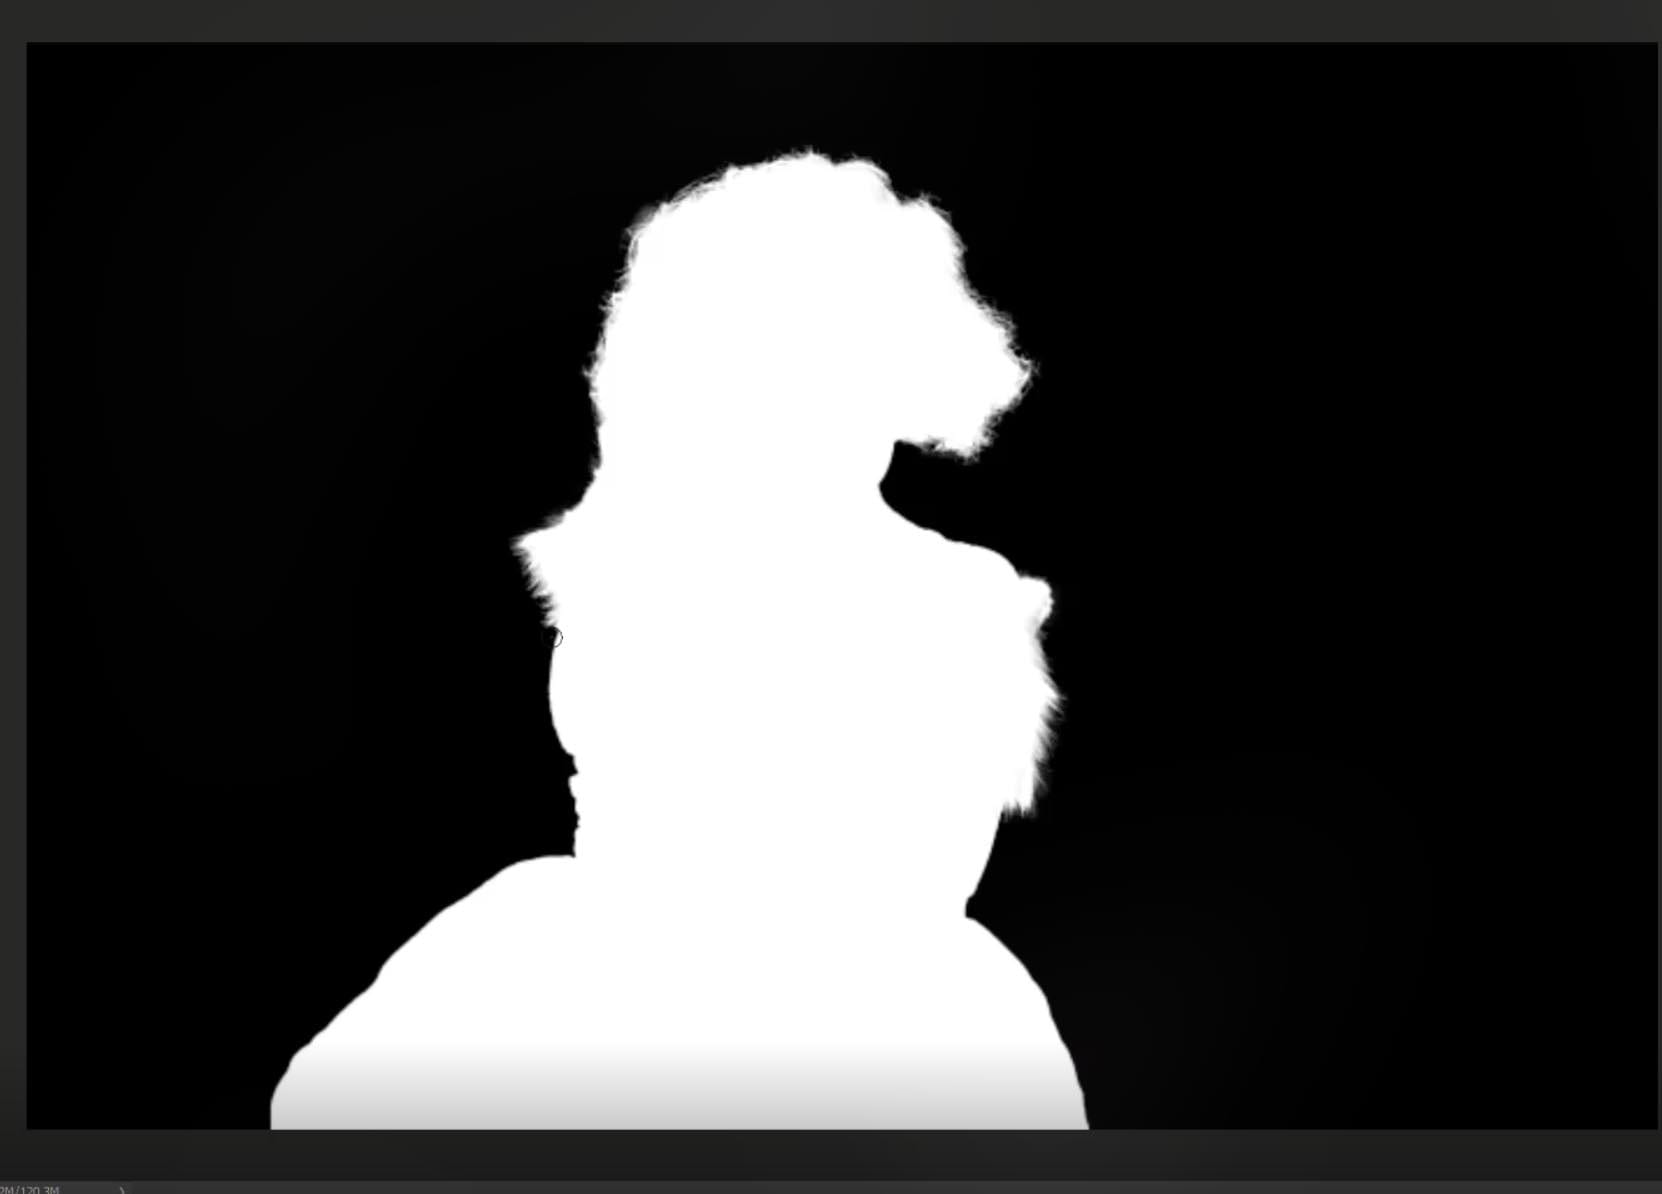
- In the new window change your view mode to black and white (or whichever mode you prefer)
- On the upper left side choose the refine edge brush tool (second one down)
- Carefully brush over the edges of your image where there are tricky or fine lines. Photoshop will instantly detect those edges.
- At the bottom right select your output to new layer and open.

To Add In Extra Blur
- Select your background layer
- Go to Layer> Duplicate layer
- Go to Filter> Blur> Gaussian Blur
- Move the radius to select your desired amount of blur
- Click OK
*Make sure your Blur Layer is under your cut out subject layer in the layers panel
To watch the steps in action click below:
Have a photographer friend that might like this? I would LOVE it if you would share it with them. Click on any of those colored buttons below to share on the social media platform you like most!
Emily


It worked grate. Thanks!
Happy to help!!