


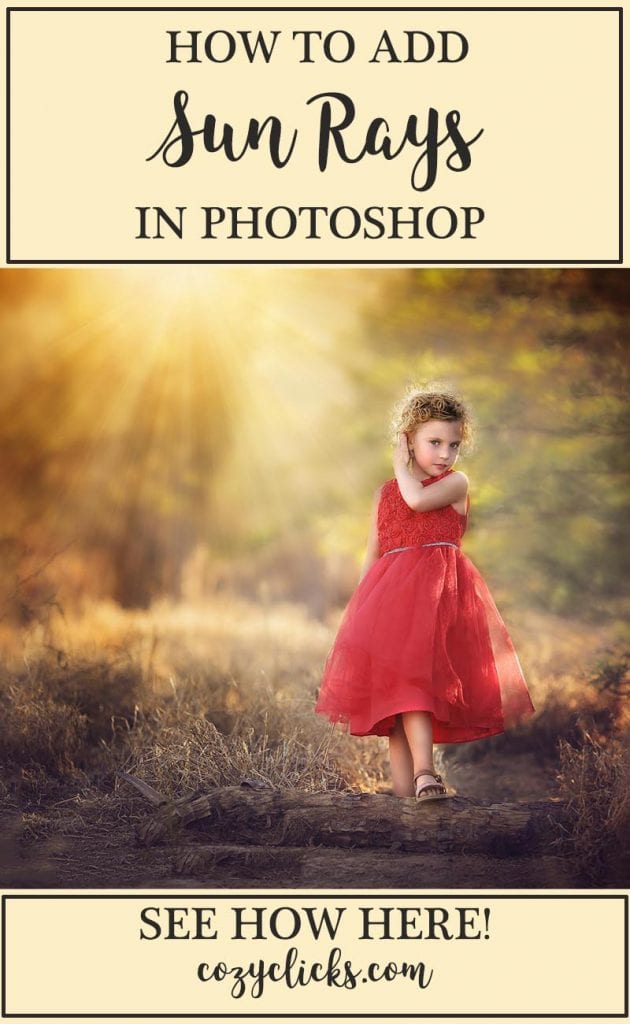
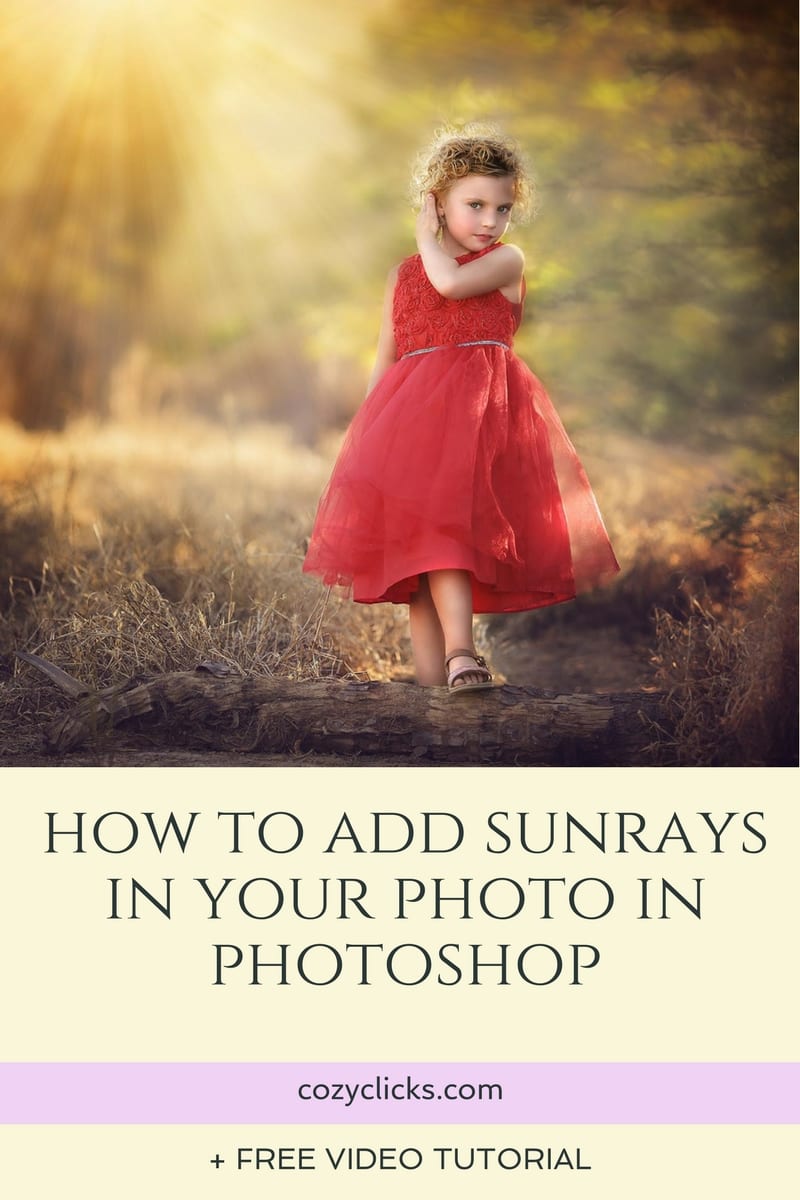
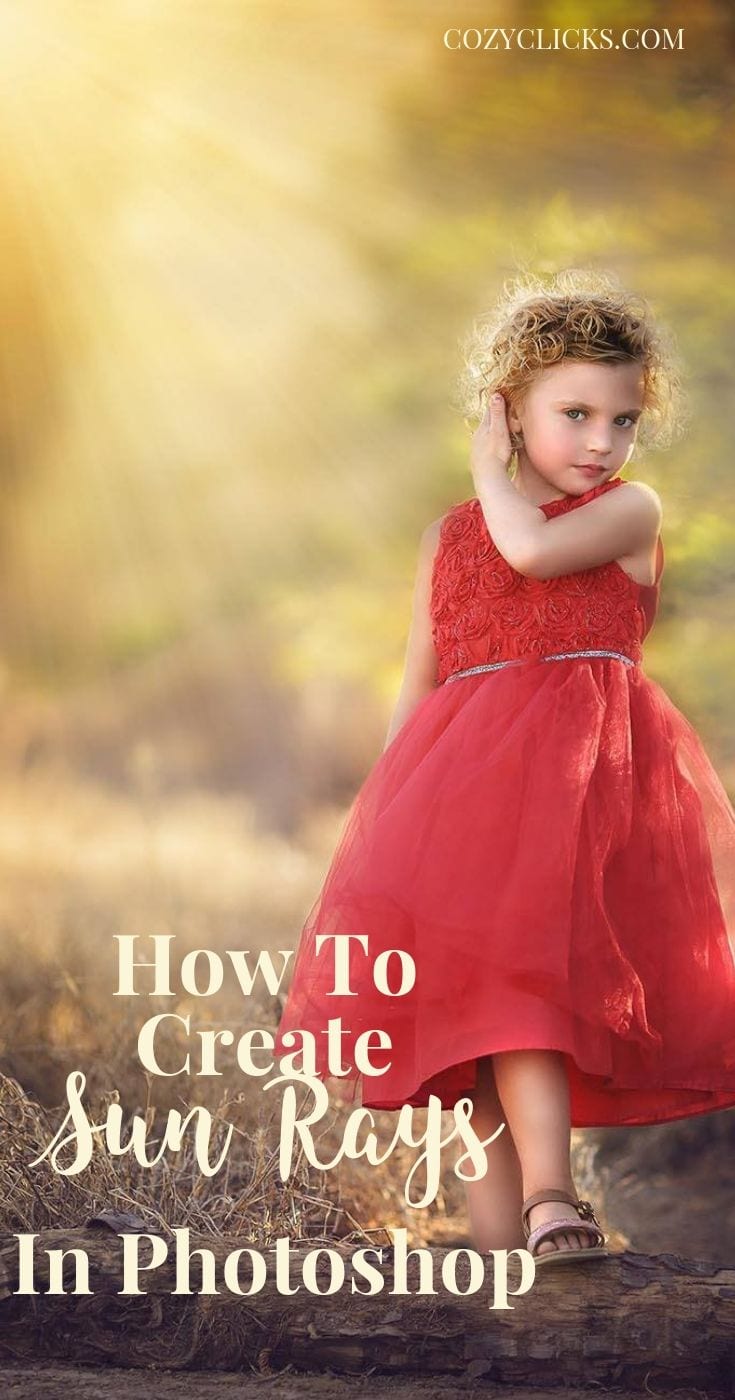
Wanna Know how to add sun rays in your photo by using Photoshop? Then you are in the right place! Keep reading to learn a super easy way to give your photo that little bit of creative flair by adding in some sun rays to your picture. You can scroll right down to the bottom if you want to start viewing the tutorial now (It’s only a couple minutes long and then you can apply the technique on how to add sun rays in Photoshop to your photos right away!)

Don’t have that couple minutes to watch? Let me break it down for you right here:
-
Add a gradient layer and change the style angle
-
Change the gradient type to noise and the style to HSB
-
Move the “S” slider all the way to the left
-
Move your “rays” where you’d like them to be
-
Change your blending mode to soft light
-
Add A Layer mask and erase the rays off your subject and adjust the opacity
Still a little confused? Watch the couple minute tutorial below on how to add in sun rays and it will start to make more sense!
{quick side note- while this is one of my most popular tutorials- it was also one of my first! I never realized it would reach and help so many of you and when it was created, the audio wasn’t top notch, so make sure to turn it up just a bit!? This technique is also updated and retaught in my FREE 1-hour Photoshop tips online class! You can register for that on here!}
Adding in extra rays of sun in Photoshop can give a more creative look to the photo that you are working on. The technique gives you flexibility in adjusting how much or how little you want to show through.
Want lots of sun rays? Keep the opacity at 100% or make another gradient layer on top of the first one to add in more!
Want the rays to appear more subtle? Just lower the opacity or brush more of them off in your layer mask.
Related Tutorial: A Simple Way To Add Extra Light Into Your Photo In Photoshop
Did you try this out? If you did, I’d LOVE to see your results! make sure to mention or tag me over on Instagram @cozyclicks so I can see what you created!

If you know another photographer that might like this, I would LOVE it if you’d share it with them! Just click any colored button below to share on your fave social media site!
Related Product: The Brilliance & Light Photoshop Action Set

Emily you are the best! I am addicted to your videos 🙂 I love them, my editing has improved since I started watching your videos, thank you so much! I’m so happy I found you!
Aww! Thanks so much Monika! That makes me smile! Glad to help:) -Emily
What a great little tutorial. I’ve been looking for a simple way of doing this for ages. Thank you!!
I can’t get the mark layer to move. I have tried to drag it, but, it won’t move.
Hey Janet! Make sure you are moving the layer before you close out the gradient box. That should help:) -Emily
Hey Janet!
Make sure that you move the layer BEFORE you close out the gradient pop up box. That should do it:) -Emily
Hello Emily,
I have a question for you. When I apply the layer after I have followed your tutorial on sunrays, the rays are coming out dark and making my picture dark, whereas yours came out light. What am I doing wrong? Help please. Thank you!
Hi Sandi!
A couple things might be happening- 1. This techniques doesn’t work the same on all photos. I’ve found that images that start out a little darker get better results. or 2. Make sure that you are brushing off some of that soft light layer on the areas of your photo that you don’t want to be light.
Hope that helps a little . Good luck!
-Emily
Amazing tutorial!
Thanks Renee! -Emily
Great tutorial!!! thank you!!
You are welcome Silvina!
Thank you so much for this tutorial Emily! I can’t wait to try it out! :o)
Love it!!! Thanks for sharing. Your work is stunning Emily, congrats!!
Glad you like it! And thank you:)
Wow.. this is an amazing little tutorial! Looking forward to test it out! Thanks! 😀
Great tips for sunrays (especially for fall and winter)! I will definitely try this one out!
Thanks Heather!
Thanks for the very informative photoshop tutorial on sun rays.
You got it!
thanks!
You got it!