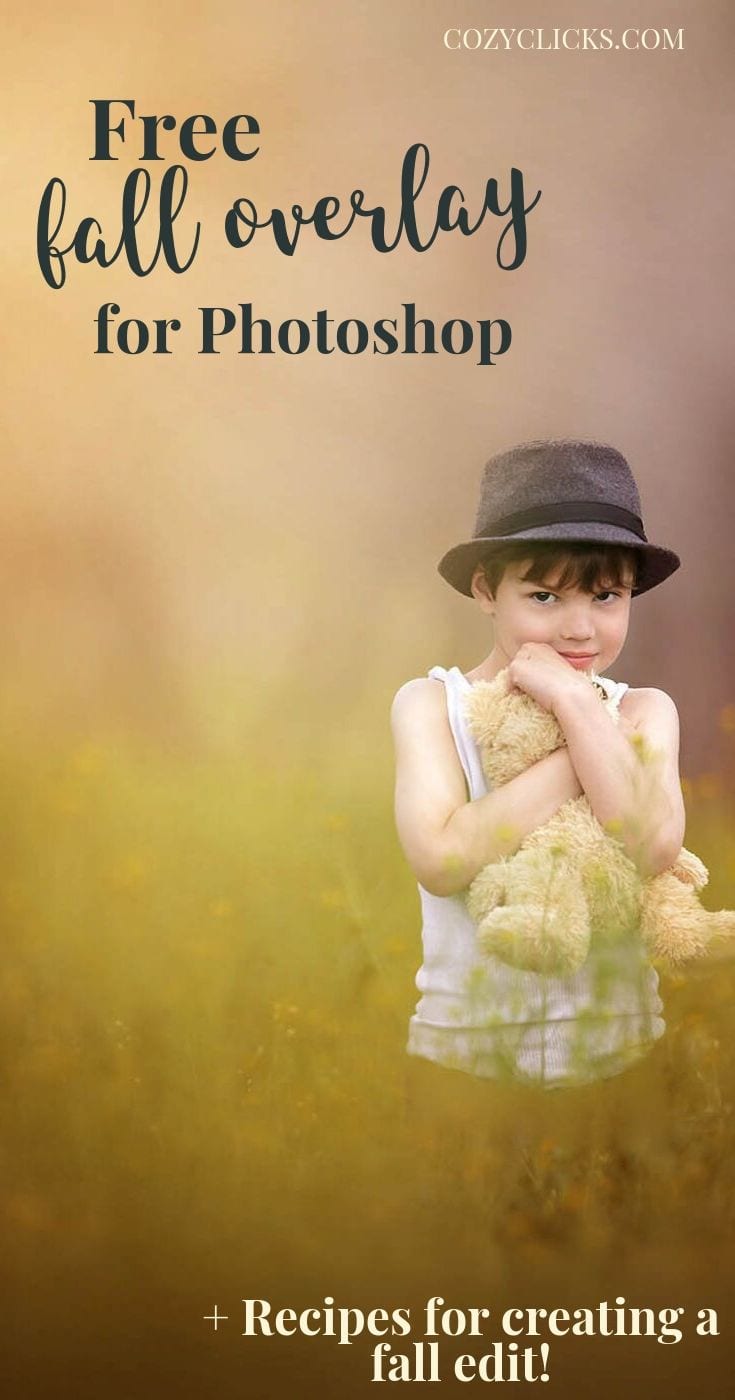


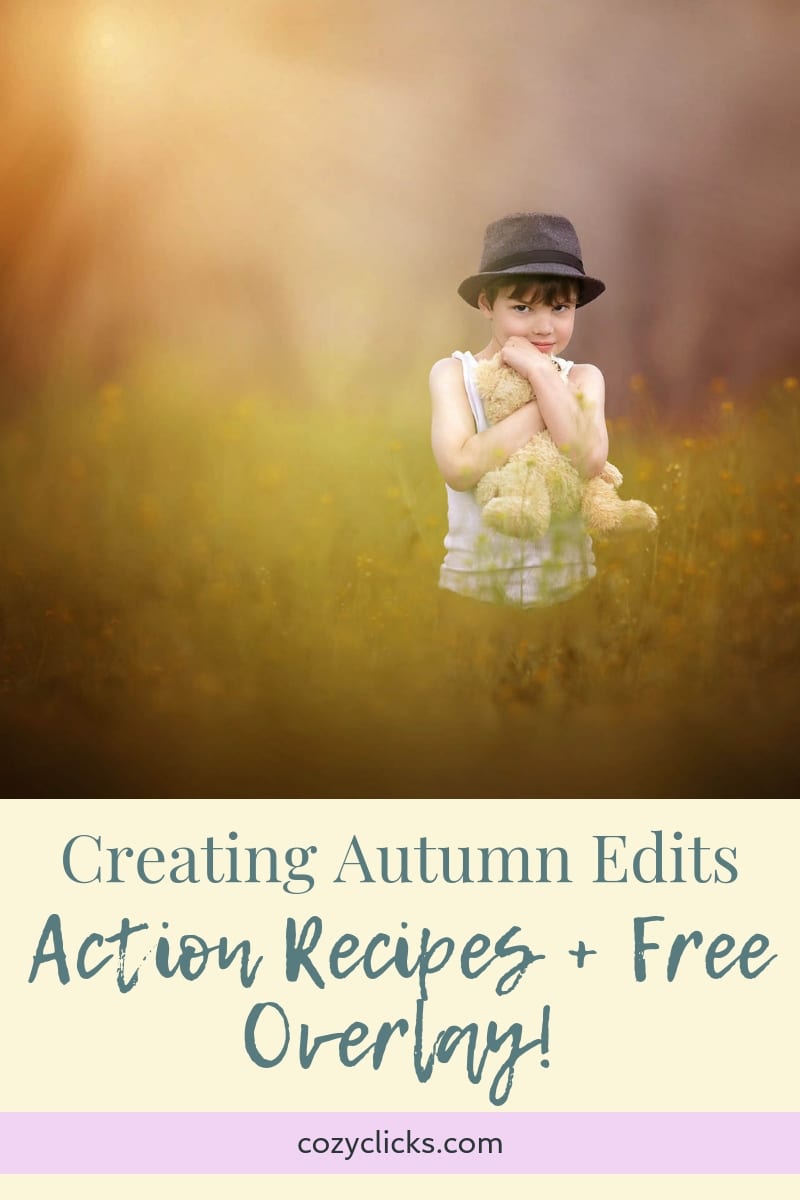
Creating A Fall Edit | Recipes + Free Fall Overlay!
Looking for inspiration for how to use your Autumn Inspired Photoshop Actions and Fall Overlays from Cozy Clicks? Learn how to use them and simple recipes to turn your green summery images into instant fall tones colors!
Recipe One
Use Cozy Clicks Autumn Overlay #12 to place over your image. These versatile overlays give subtle fall toning without affecting much of your subject. Use the move or transform tool to place transparent or light center over your subject. Doing so will create toning that will not require much (if any!) brushing off your subject.
Wanna try out a sample of the Cozy Clicks Autumn Overlays for free? These will work in Photoshop CC, CS and Elements. Click here to give it a try!
Recipe 2
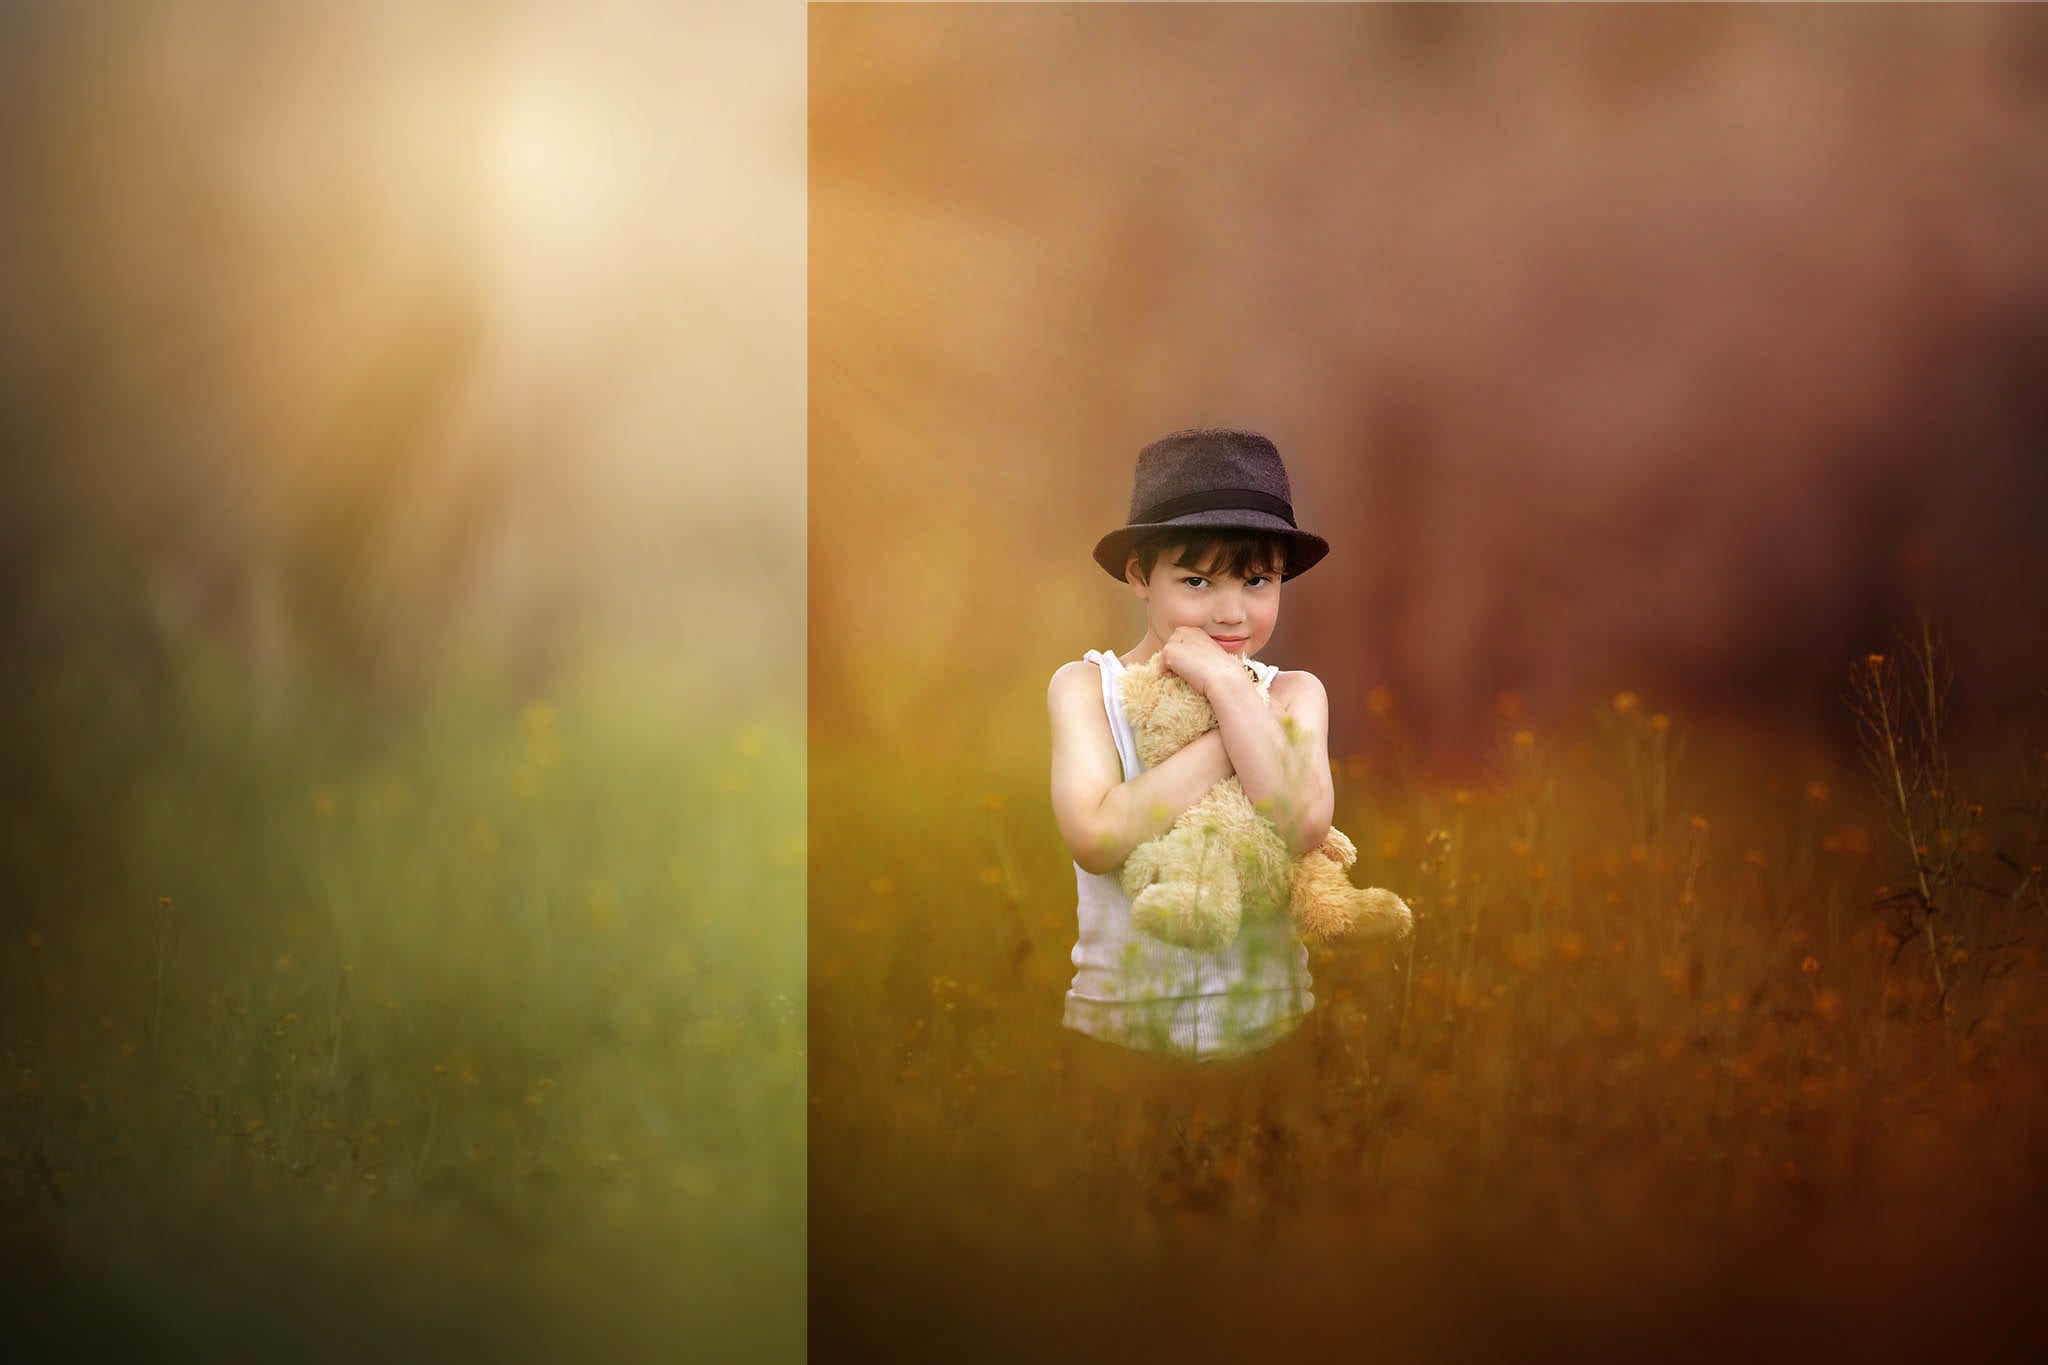
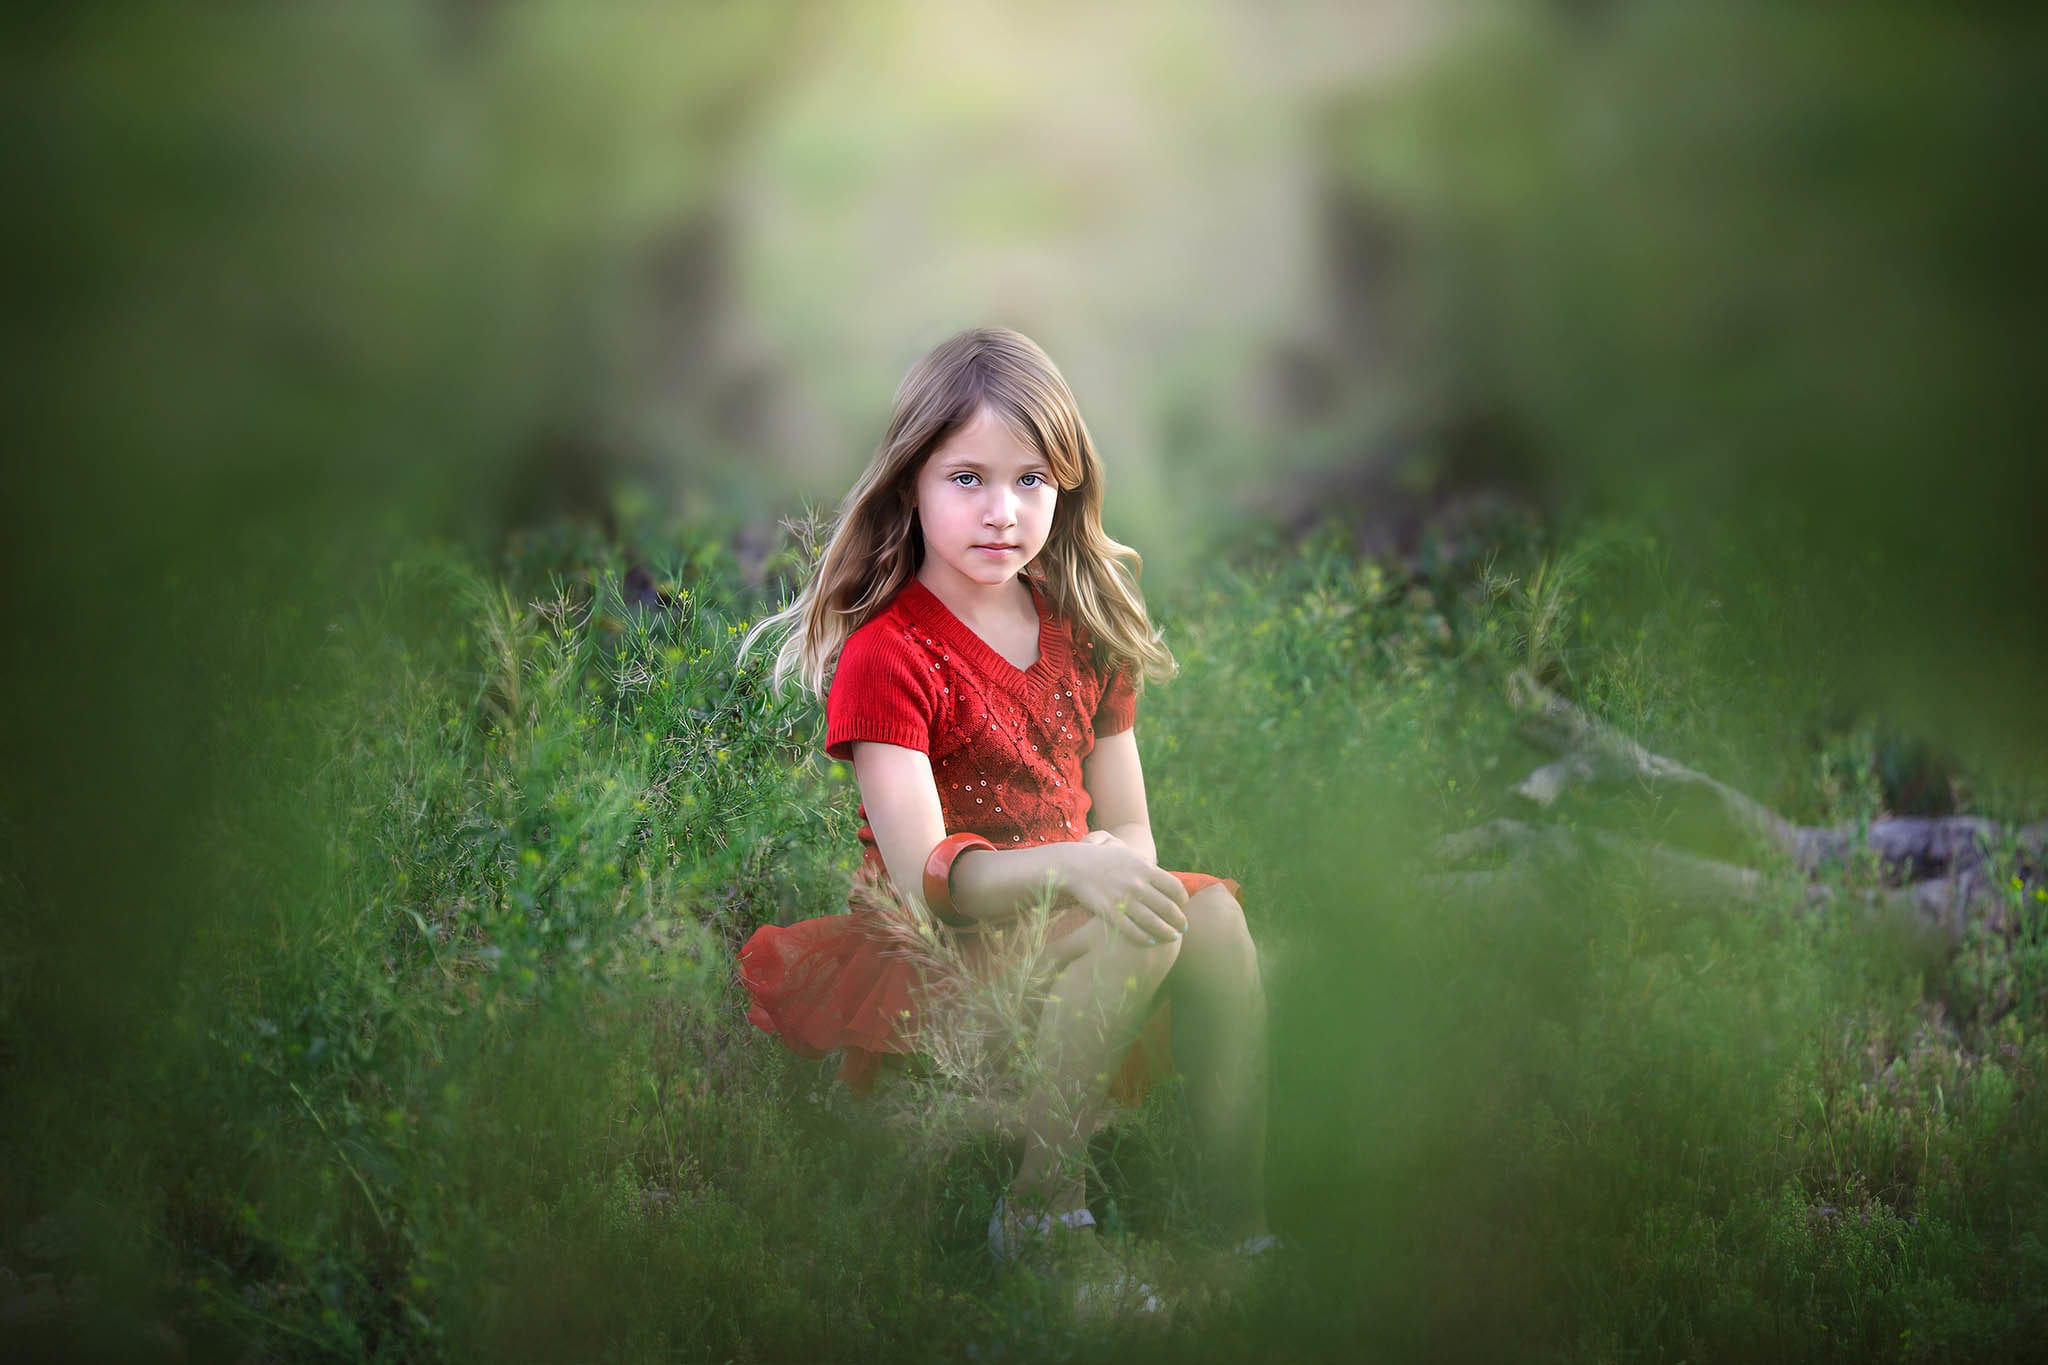
Using the carefully crafted Autumn Inspired Photoshop Actions, choose an image that originally contains a lot of greens that you want to transform. Like the one below.
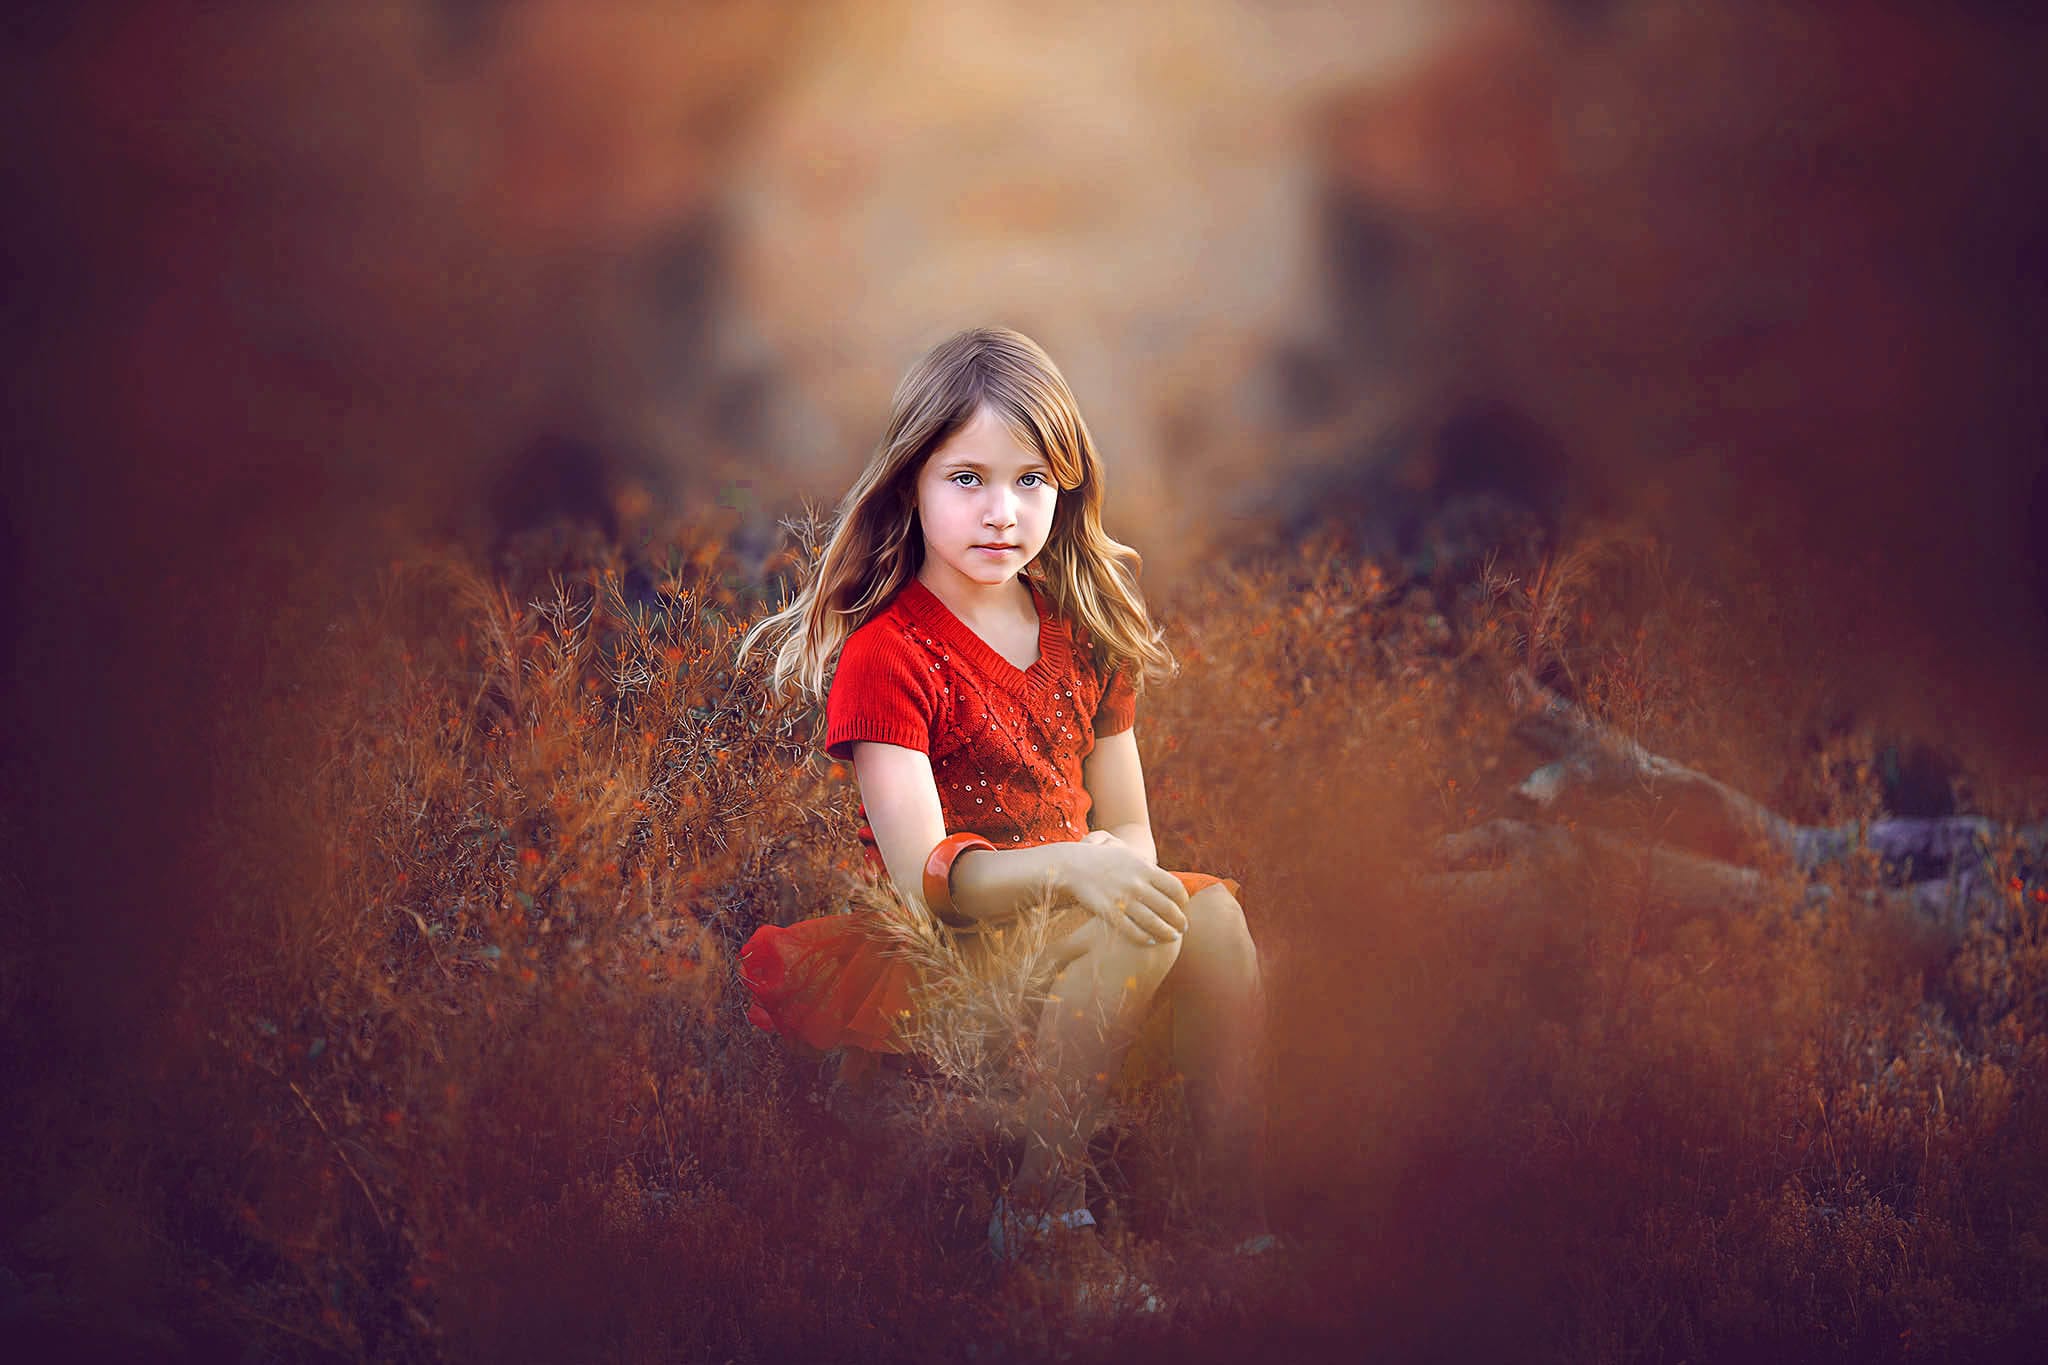
This image first was retouched using all the actions in The Perfect Portrait Retouching Set. Next, Pecan Pie + Oak Tree + Crisp Breeze were applied from the Autumn Inspired Photoshop Action Set. And the coolest part about this recipe? NO ADJUSTMENTS OR BRUSHING OFF were required! All three actions were just played and left as is (even on the subject!) See the after below.
RELATED ARTICLE: CREATE YOUR OWN FALL EDIT IN PHOTOSHOP_ NO ACTIONS REQUIRED!
Recipe 3
Using both overlays and Photoshop actions can dramatically increase fall toning in your image. The image before fall toning applied is below. (The Perfect Portrait Retouching actions and Sunshine Peek through from the Brilliance & Light Set applied to background.)

Next, From the Autumn Overlay Set, #23 was placed over the subject at a 79% opacity and lightly brushed off subject. Then, from the Autumn Inspired Collection, the image was processed with Honey Crisp {NO adjustments} and Candy Corn at 32% opacity and lightly brushed off subject.

And there you have it! 3 different fall toned recipes using fall overlays and Autumn inspired Photoshop actions. Download the freebie about the play around or check out the complete overlay or action sets here!
Have fun editing!