

 Reflectors are a cool piece of photography equipment that can really change the look of your photo! Just making slight changes to the reflector can really give your photo a completely different look! Not only that, but you can grab one usually for under $20 bucks! That’s one inexpensive piece of photo gear:)
Watch below at exactly what I did to get three different looks in just minutes using one reflector!
* All photos below are edited VERY minimally to show the difference in how just a reflector can make a change on the photo!!*
From the Side
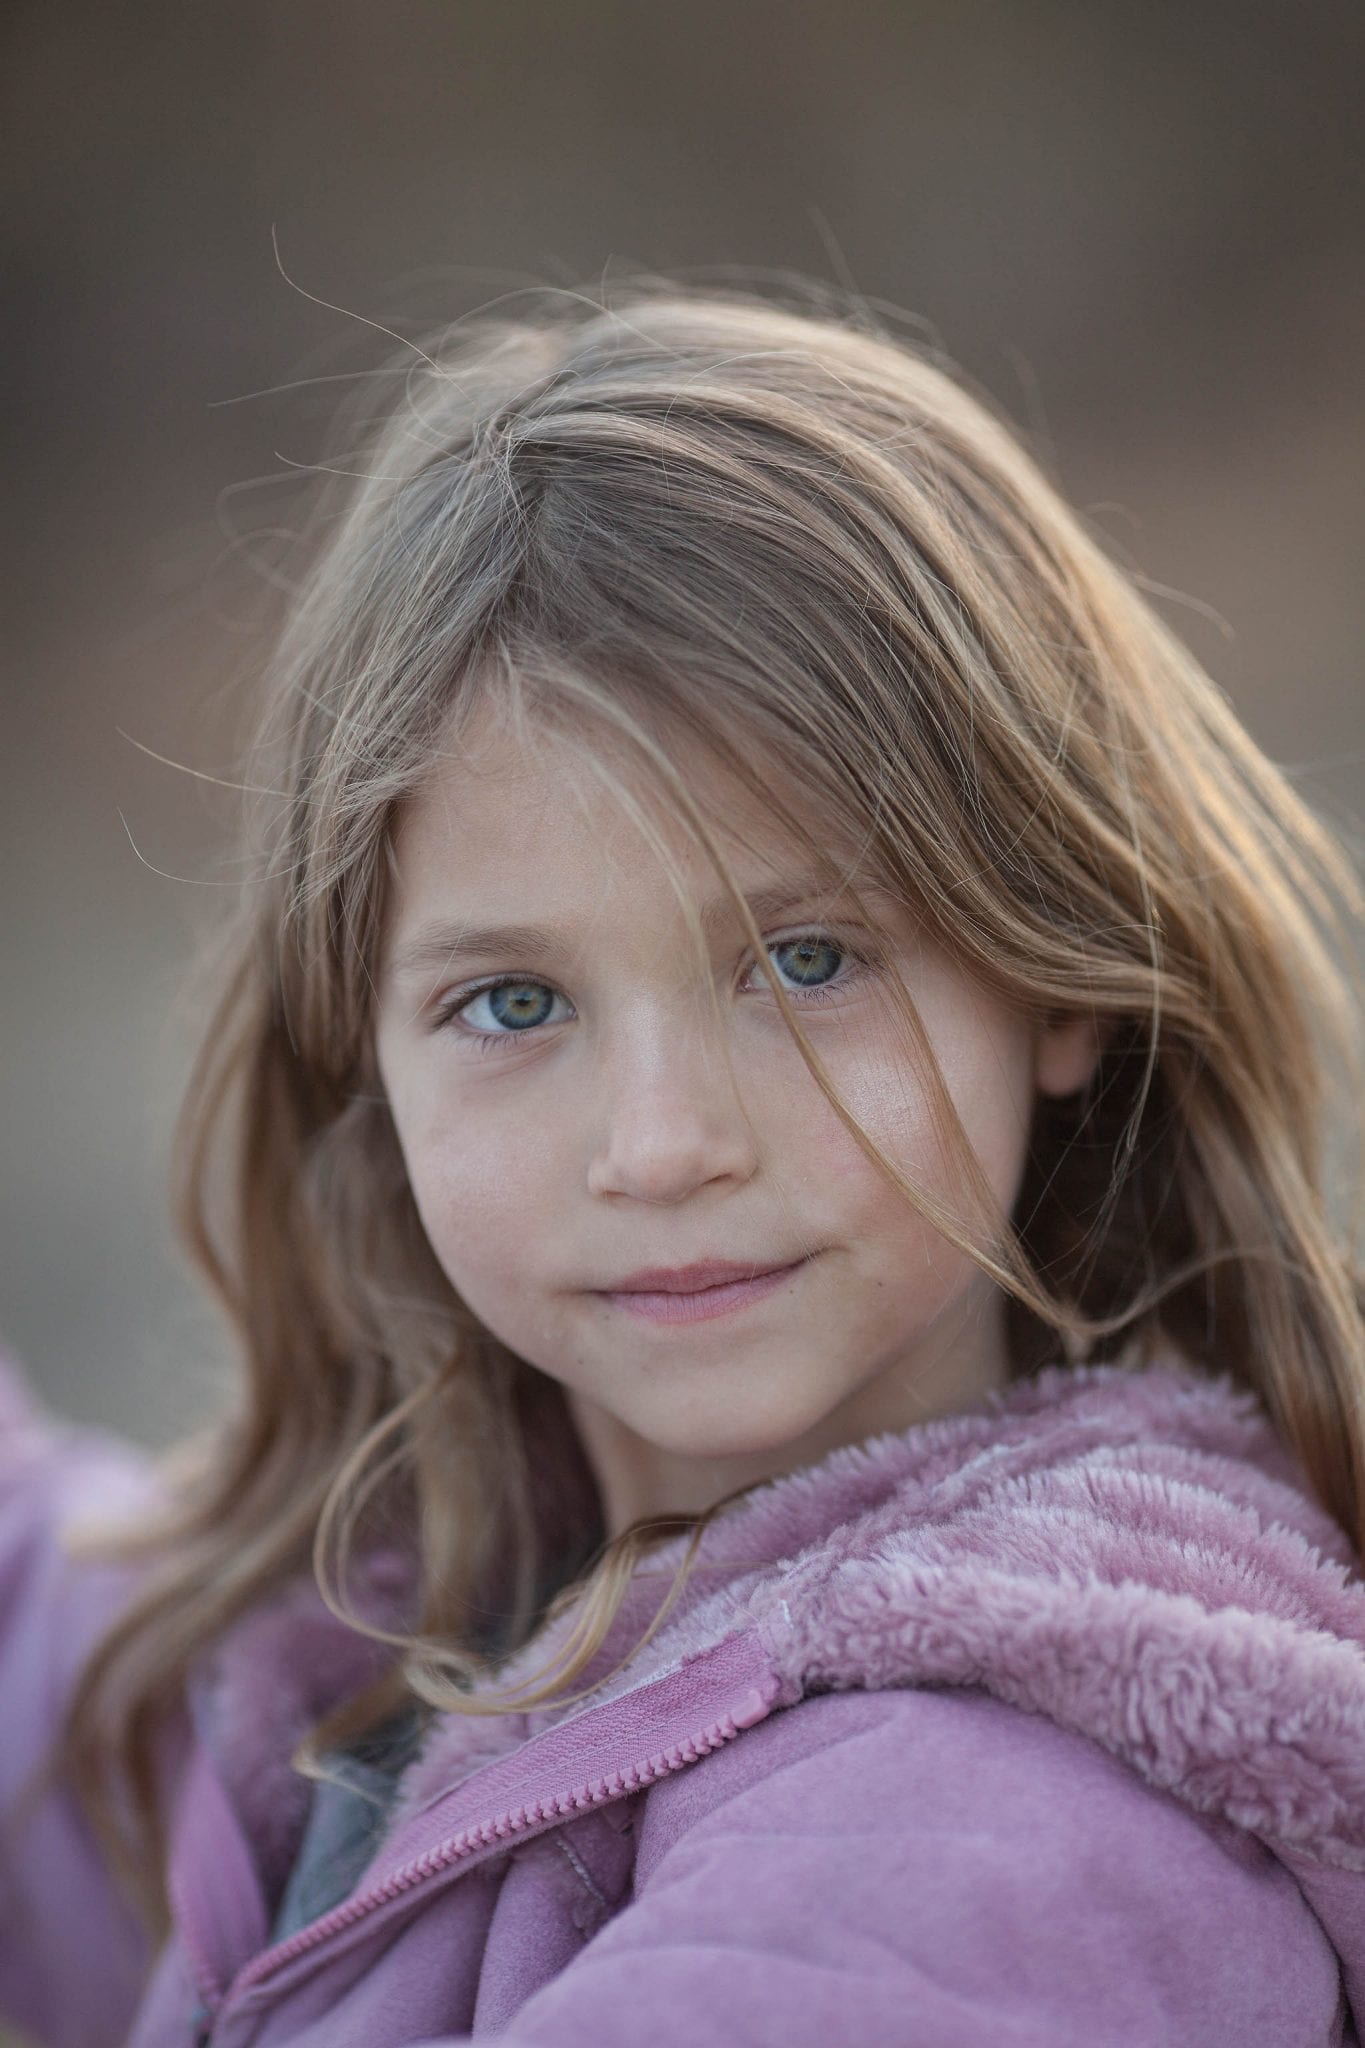
Hold the white side of the reflector so it is facing your light source AND your subject. This comes in handy when backlighting your photo. Back lighting makes for a beautiful photo, but often times your subject will come out looking dark and flat. Using a reflector this way will pop in that extra bit of light to the face that you will lose when backlighting. (Unsure how to backlight a photo , read 5 Tips For How To Take A Beautiful Backlit Photo)
 (Notice the catch-lights in her eyes creating by the reflector!)
Use the Gold Side
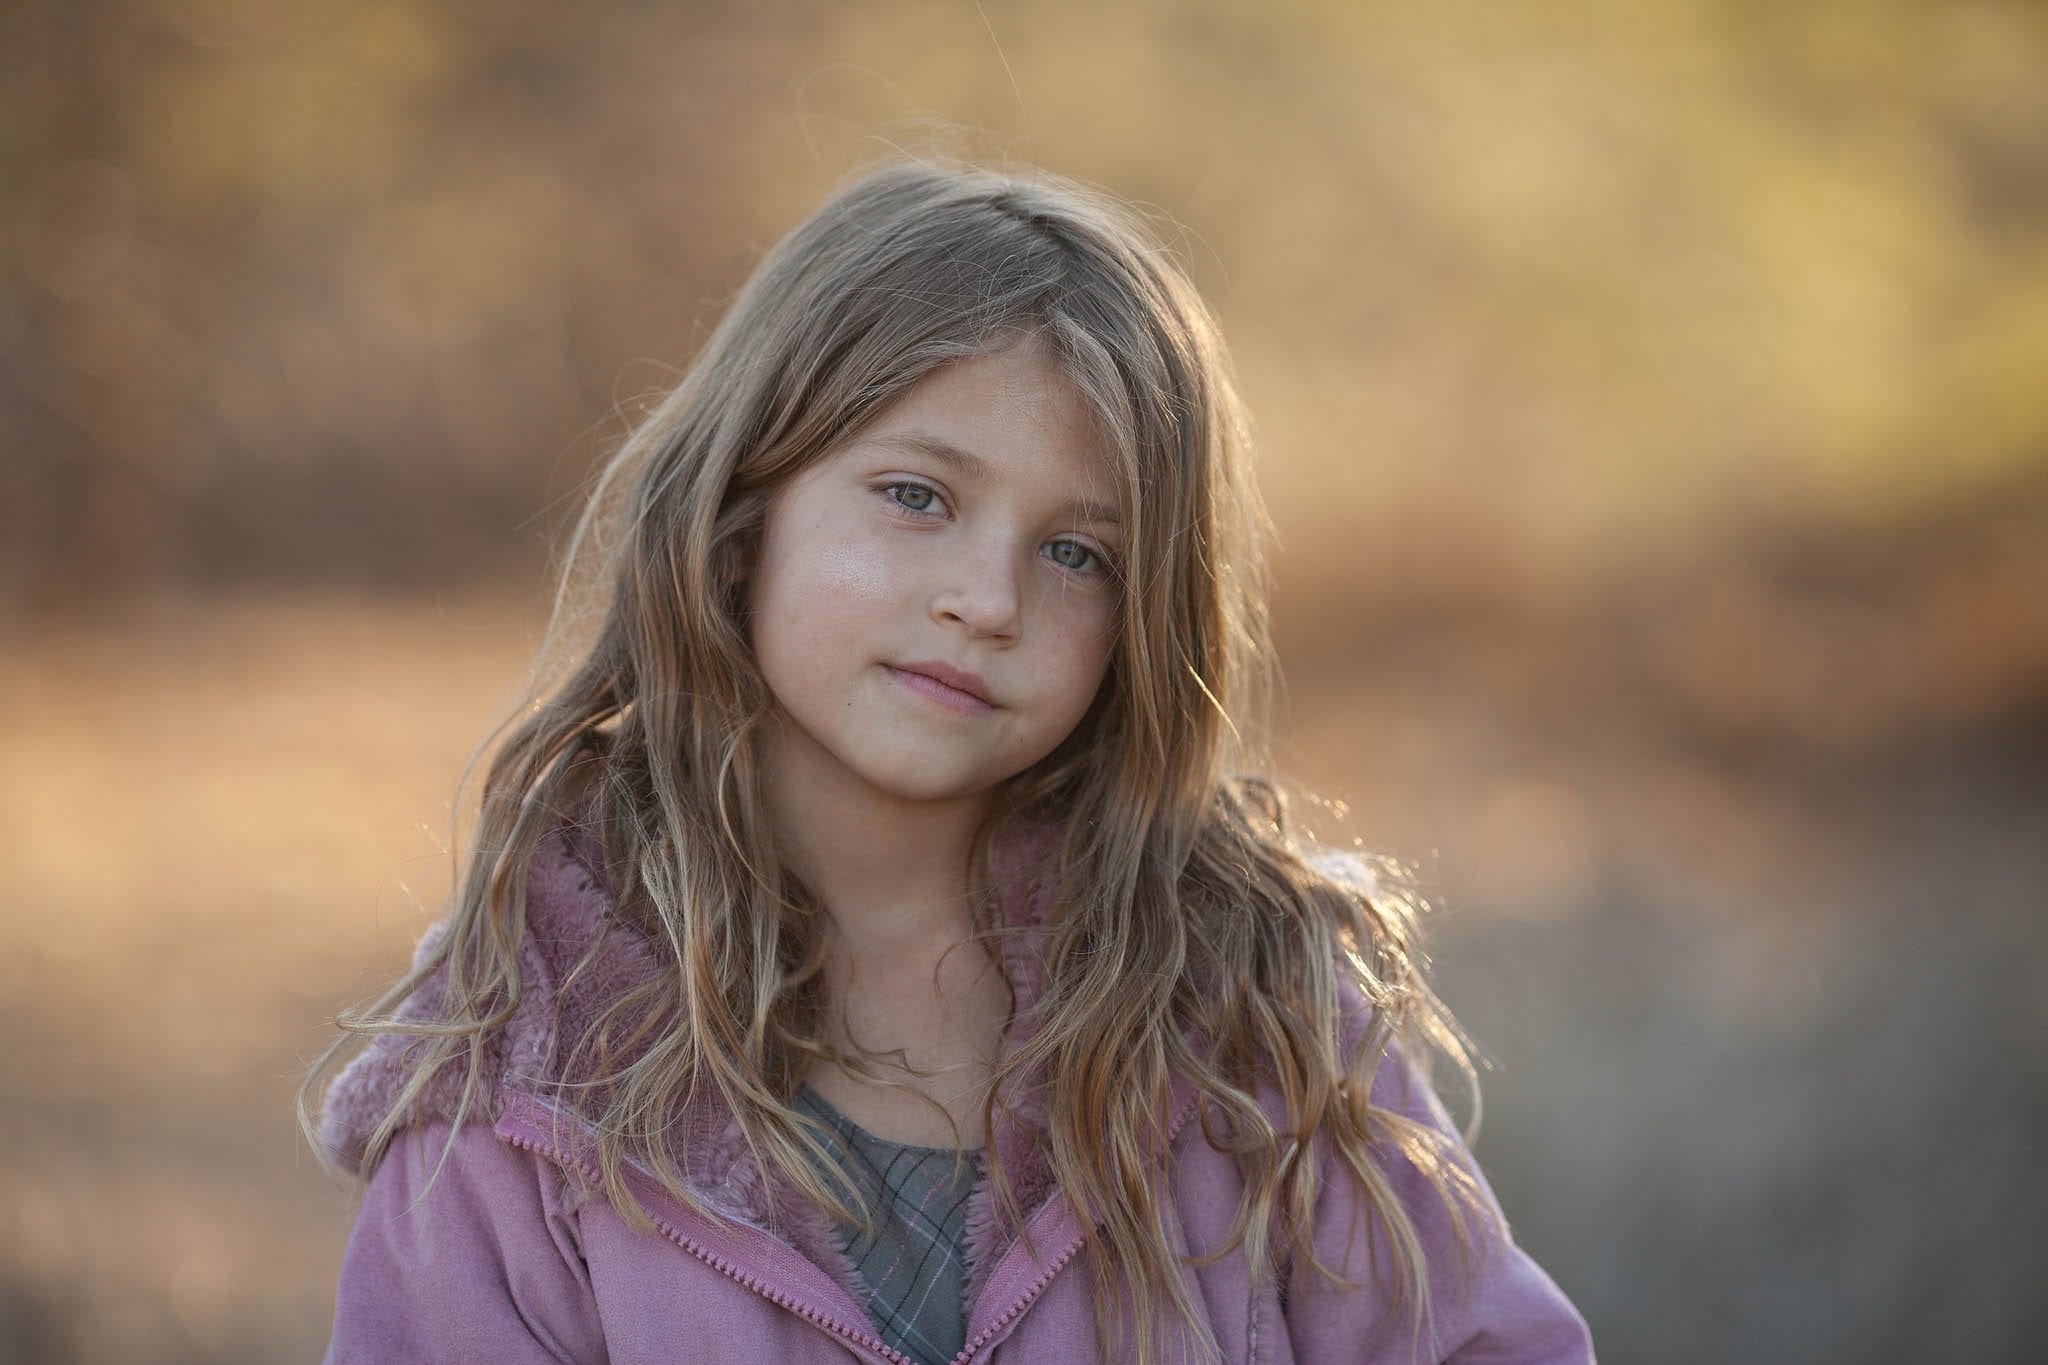
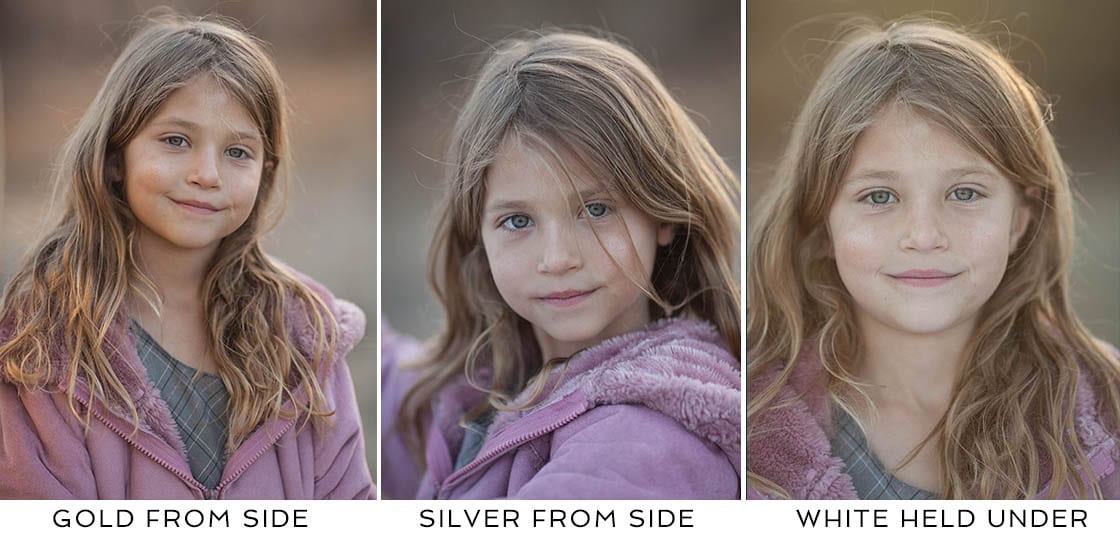
Using this side of the reflector will warm up your subject and make them appear golden. It works beautiful once again, when backlighting your subject. You can have your subject hold it underneath or if you have an assistant, hold it off to one side. (Most reflectors will have an option to easily convert to different color sides. Check out the 5 in 1 reflector I use in the video right here)
(Observe the golden glow- especially on the highlights of here hair to the left where the reflector was being held.)

Underneath
To lessen the shadows under the eyes and help eliminate heavy darkness that can fall over the face, have your subject hold the reflector directly under their face (see the video for exact placement) This instantly brightens the face and lowers the amount of harsh shadowing on places where we don’t want it!
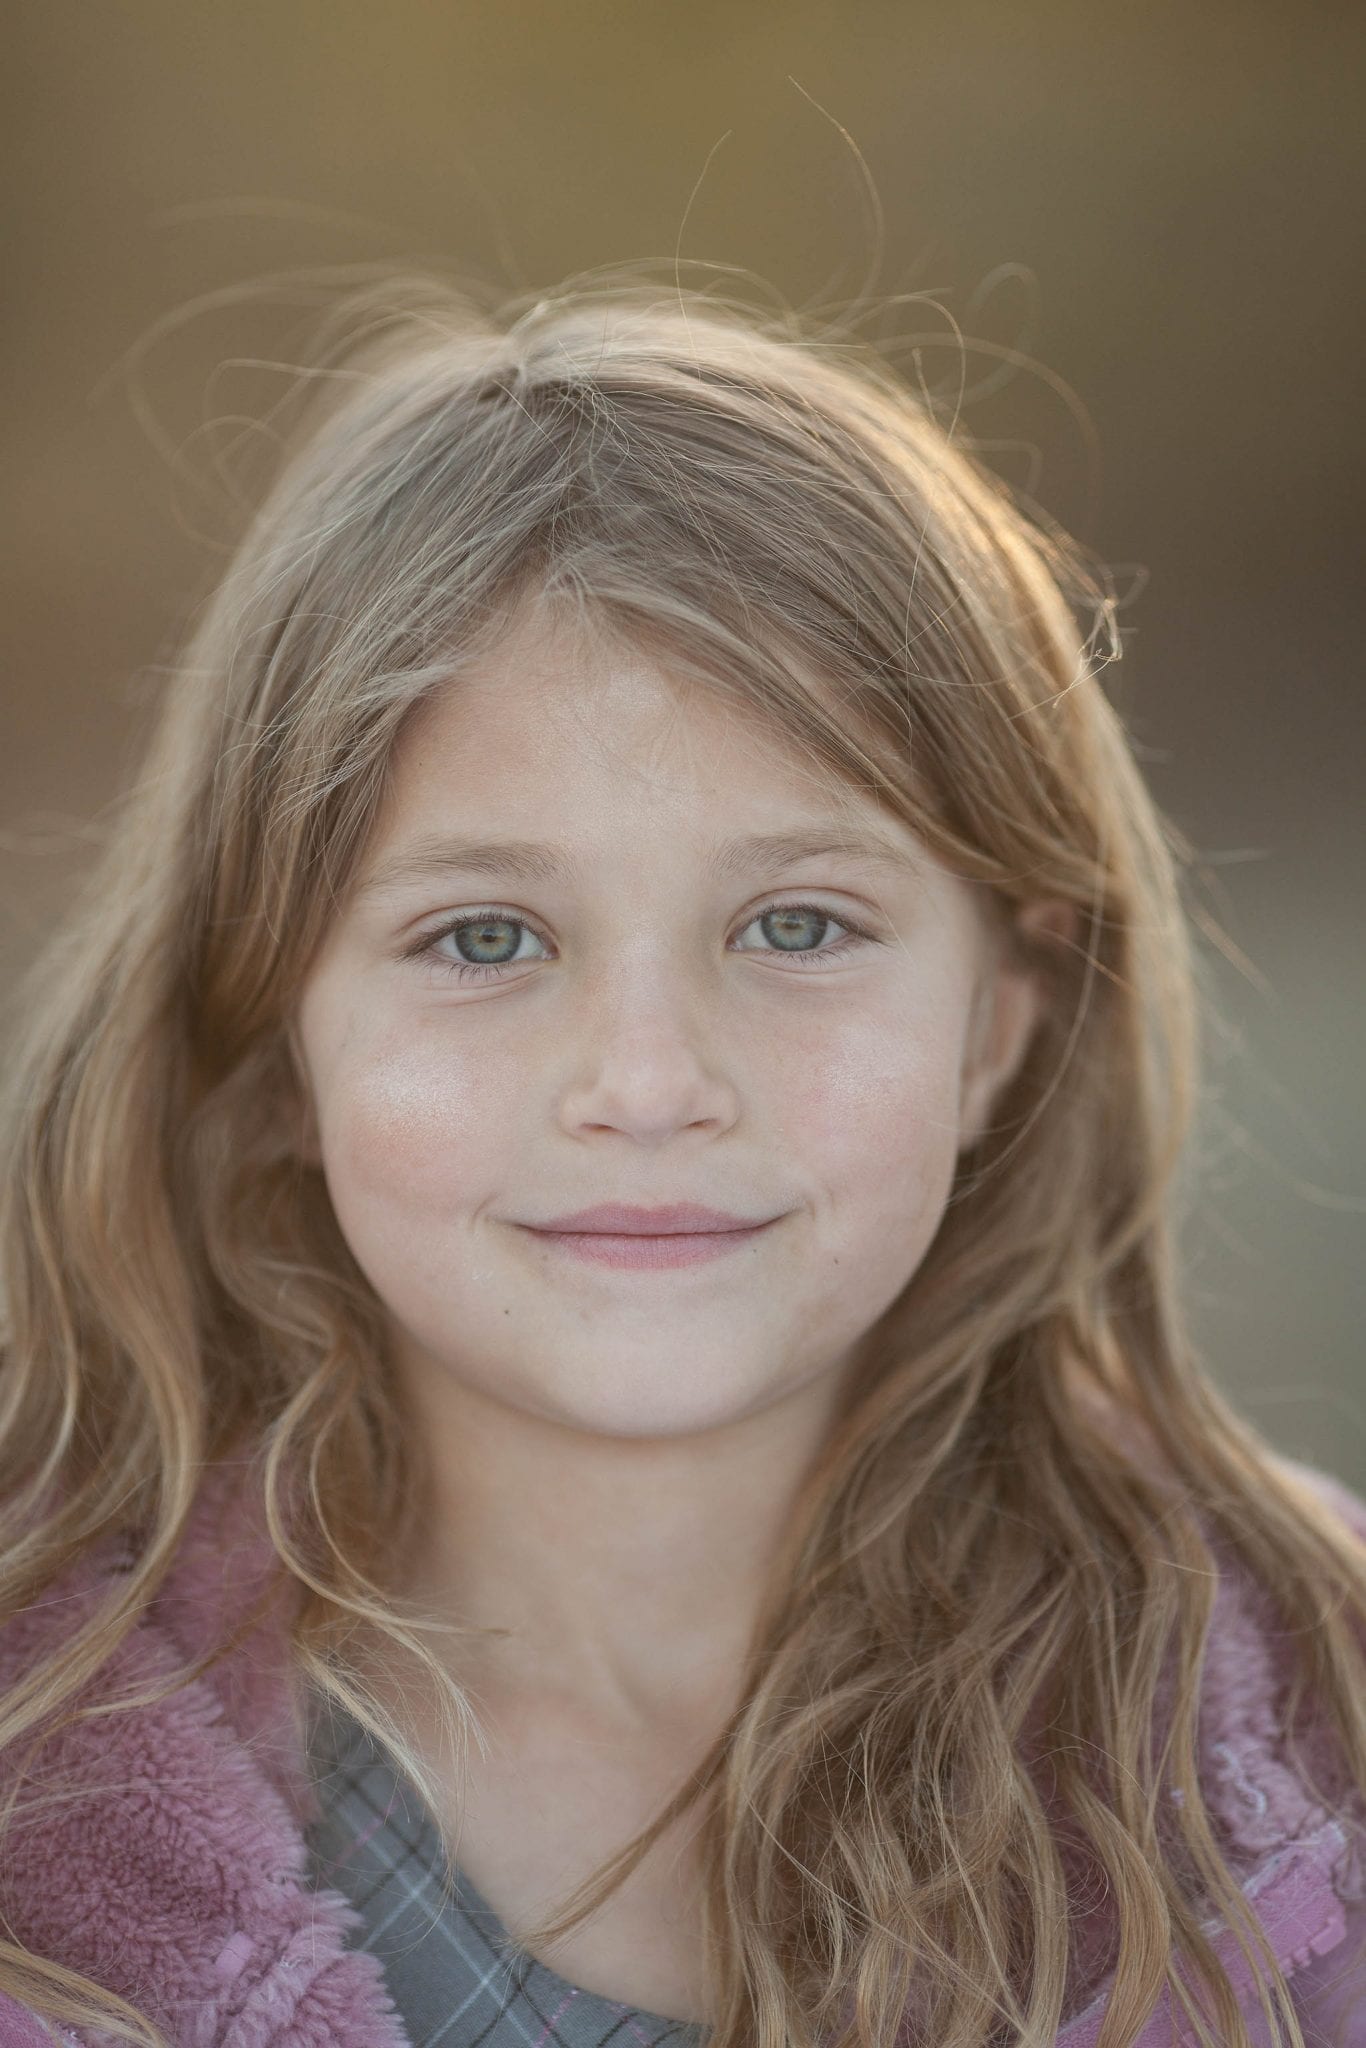
(See how there is a brightness over her entire face)
Use the Silver side
Using the silver side will create a coolness to your subject. This look can look particularly nice on black and white converted images, but also gives a very creative look to color photos. Give it a try and see what happens to your photos!
(Much cooler than the other photos, this may make a more contrasted black and white photo)
These are not the only ways to use a reflector!
YOU try it! Play around with yours. Move it around your subject in different ways bringing it closer and farther in. Change out the different color sides and see what magic you can create!

Have a friend that might like this? Share it with them! Click on any of those colored buttons below to share on the social media platform of you choice!
Â

U are the best !!! I do not have the funds for everyones classes. Your info has helped me so very much!! I am a photo volunteer for my church, so I need to learn all I can.. thank you !!!
You are so welcome Lois! Happy to help:)