How To Create A Canvas Painting Look In Photoshop
Making your photo look like it was painted onto a canvas is a lot easier than you might think! Photoshop has all the tools you need and it can be done in just a few clicks! Wanna learn how to Create A Canvas Painting Look In Photoshop? Watch or read here!
First
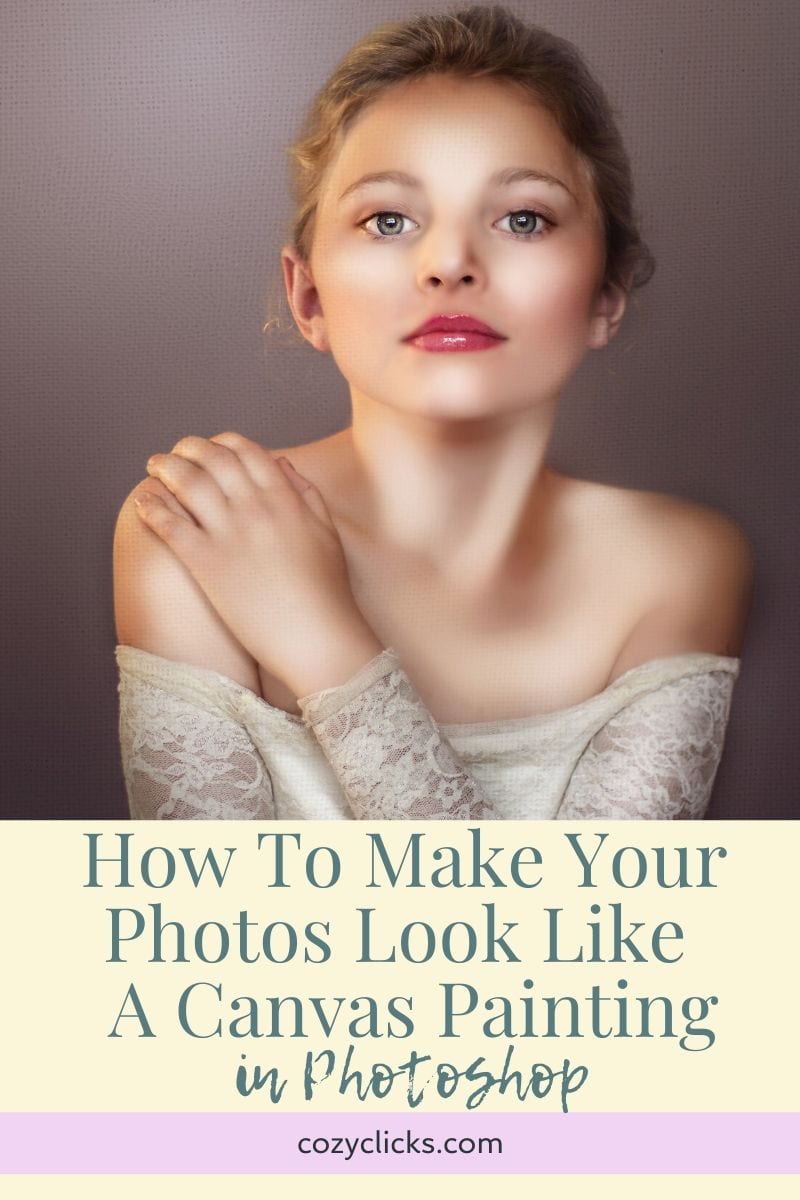
Pull the photo you want to use up into Photoshop. It really can be any kind of photo at all you want to to have the canvas type look. But here, I choose one that had the paintery look to begin with.
RELATED PRODUCT: COZY CLICKS PERFECT PORTRAIT RETOUCHING ACTIONS

Next
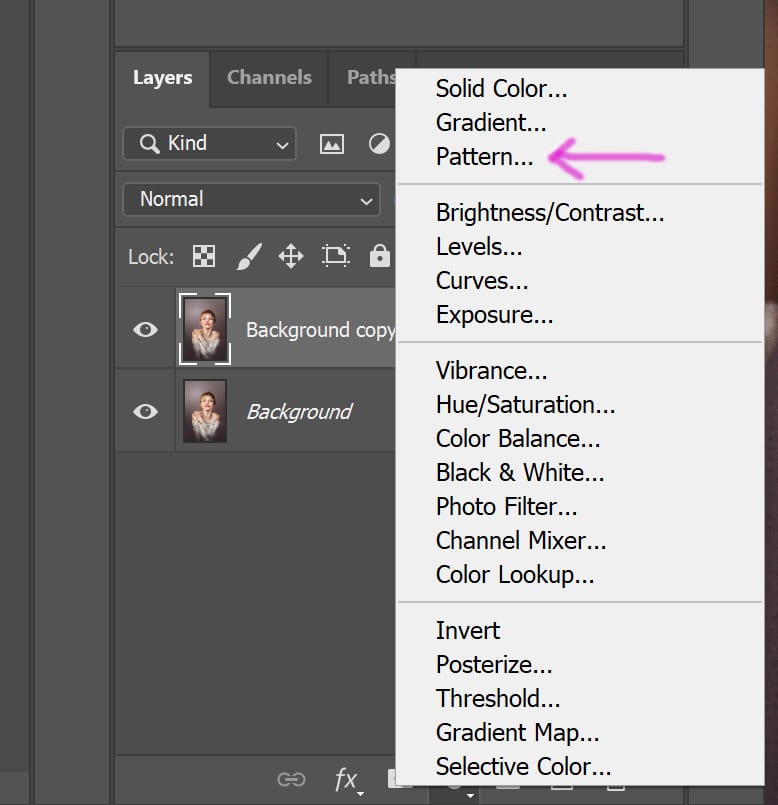
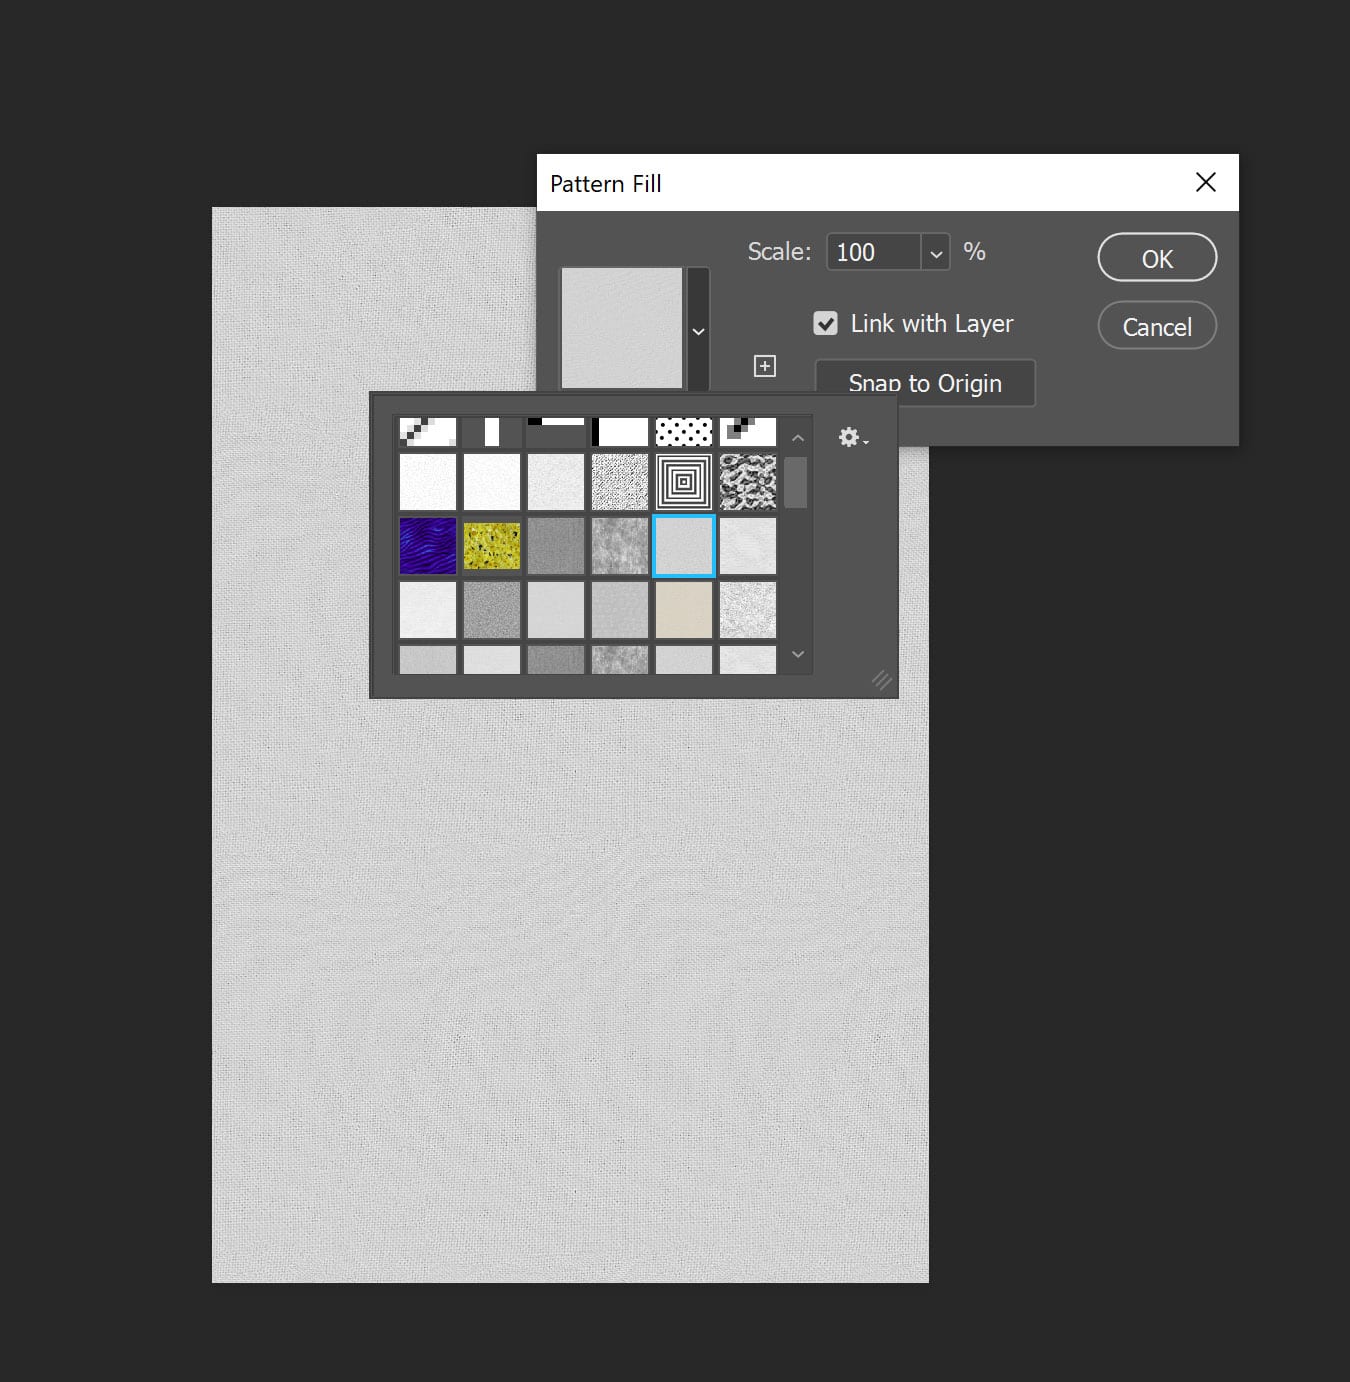
Create a new adjustment layer and select pattern from the list. A new pop up will appear. Here’s where you can get creative! Photoshop has a whole bunch of preset canvas patterns for you look choose on! Pick one, adjust the scale and place on your photo! Easy, right?

Then
You’ll need to change the blend mode so you can see your subject. Multiply, screen, overlay or soft light tend to work best for me- but there is no right or wrong one to choose. After you select a blend mode, adjust the opacity to your liking.
RELATED TUTORIAL: A QUICK LESSON ON BLEND MODES
Finally
If you find the effect too harsh on your subject, simply brush off any of the areas you don’t want the canvas to appear. And that’s it!
Give it a try and let me see what you’ve created! Post your new “canvas” over in the Cozy Clicks Facebook group a tag me over on Instagram @cozyclicks so I can check out what you’re working on!


I have Photoshop 2020 and there were only three choices for patterns…trees, water and grass. 🙁
Hey Carol! Try this:
Try going up top to window>patterns. You’ll see a pop up on the side. In the upper right hand side of that pop up is a menu (looks like several horizontal lines) Click that and select legacy patterns and more. This should load in the canvas. You might have to close out and open back up PS after this.