How to Get Water To Look Blue In Photoshop
I’ve been beach dreaming lately.
So get out those beach photos of yours and lets pretend like we’re out by the sun, sand and water! Today I’m going to share with you how to make the water in your photos look blue and vibrant!
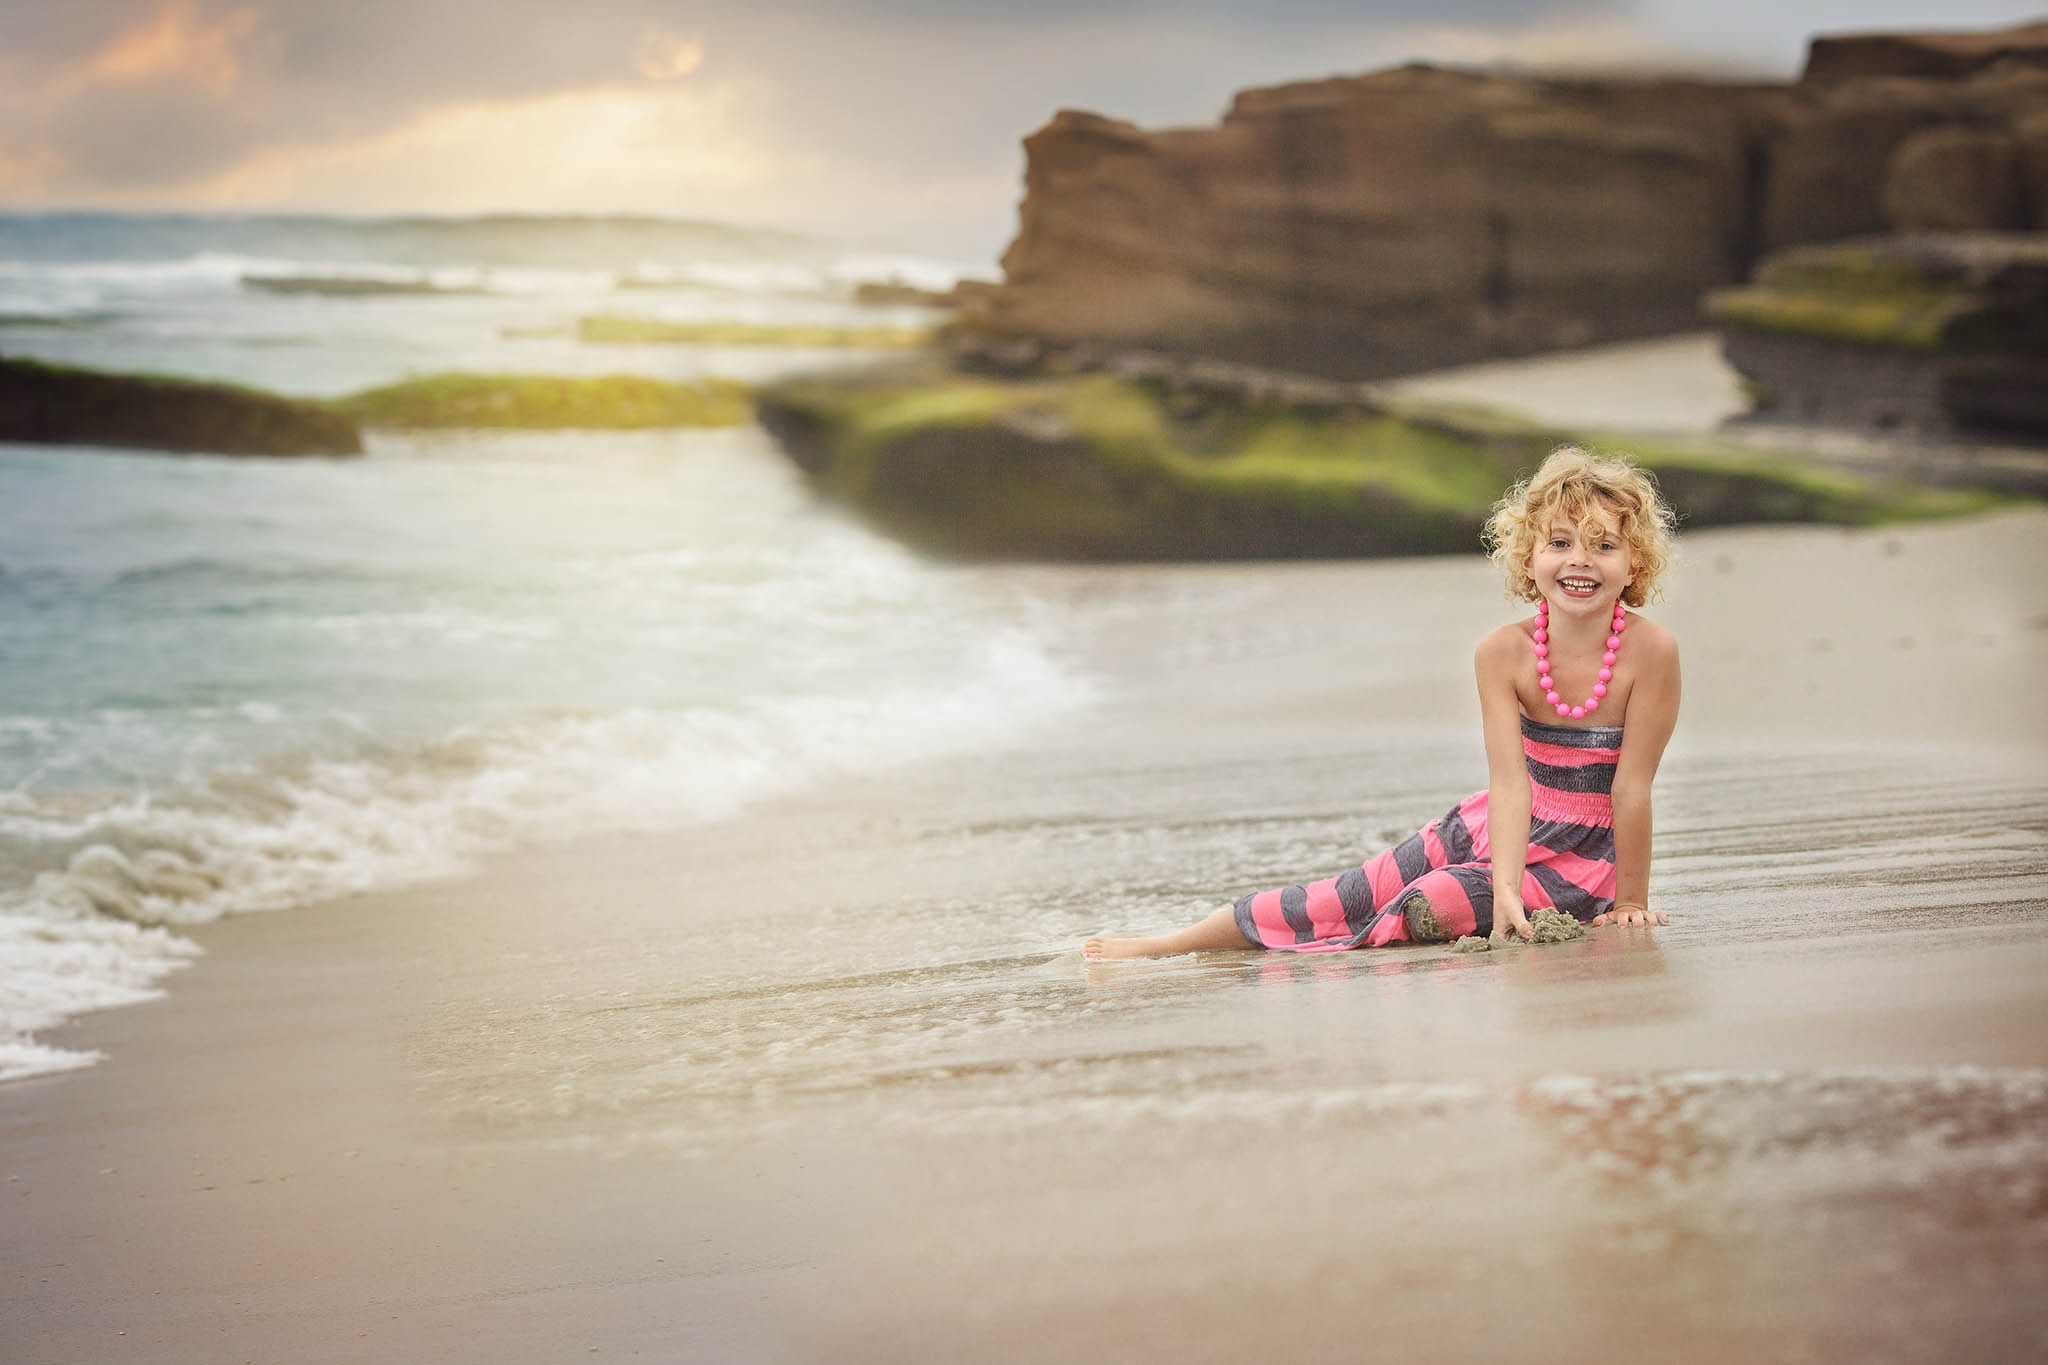
If you’ve ever looked close at the water in one of your beach photos, you might have realized that the water didn’t come out looking quite as tropical and blue as it looked in real life.
That’s because there are actually a lot of colors in the water- and most of them are not the blue you’re wanting.
First
You could sample some of the colors in the water to see what you?re actually working with. Just get out the eyedropper tool and click on a few areas of the water. I bet you’re probably finding some yellow or greens there.
Next
Create a new solid color adjustment layer. Choose the color you’d like the water to look. Maybe a beautiful turquoise one or light blue? Then change the blending mode to screen
You?ll notice it covers the whole image. You don’t want that, so invert the layer mask by pressing cnt+I .
Related Article: 7 Tips To Taking Pictures At The Beach
Related Podcast: PRO TIPS FOR TAKING BEACH PHOTOS!
Listen here!
Finally
Grab a soft white brush and brush the color onto your water. If it’s too intense- just lower the opacity. Be careful not to paint on the white caps or areas of the water where it is naturally white (otherwise it’s gonna look pretty fake)

Tips
Play around with different solid color layers for more looks OR change up the blending mode and see what happens!
If you give this one a try, I’d love to see how it turns out from you! Tag or mention me over on Instagram so I can see what you’re creating! @cozyclicks