
Using the natural light for a window can create some of the most beautiful and flattering photos. Especially when taking pictures of people. When you know how to use light from a window correctly you can get some really outstanding shots. Keep reading to learn three ways you can light your subject using the window light-and what NOT to do when using natural light from a window.
Would you rather listen? Push play on the RELATED PODCAST (and learn even more ways to work with window light!)
Check the lighting conditions
What you are looking for is a soft light that is coming in through a window, preferably a large window or a sliding door, but a smaller one could work to. What you want is a smooth, even light that is not harsh. This typically occur when the sun is not coming straight through the glass. If the sun is hitting the window, there is probably a very bright patch of light near the window. Do NOT use this as your light source. It will cause harsh lighting on your subject. Instead wait until a later (or earlier) part of the day when the sun is not super bright coming in. Look and see how the light falls on the floor from the window in these two photos to get a better idea of what you would be looking for.
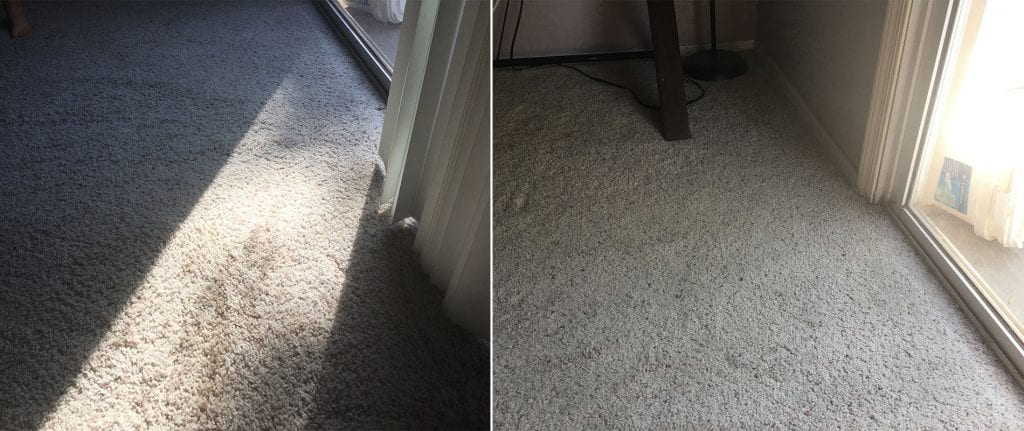
(NOT harsh light like the left photo—-YES! Soft and even light like the photo on the right)
Position Your Subject
Once you have found a time of day when the natural light pours in smoothly through the window you’ve choose, now is the time to position your subject. These three ways will give different looks with minimal set up or transition time.
Position #1
Set your subject up at a 45 degree angle from the window. This will allow for more dimensional lighting making one side of the face more lit than the other. Take a look below to see some examples where the subject was positioned at a 45 degree angle from the window (light source). If you want to pop a little more light into that dark side, just grab a reflector (or white blanket) and prop it up so that it reflects the light from the window onto the darker side of their face. This will create yet another look that might not be quite as intense.

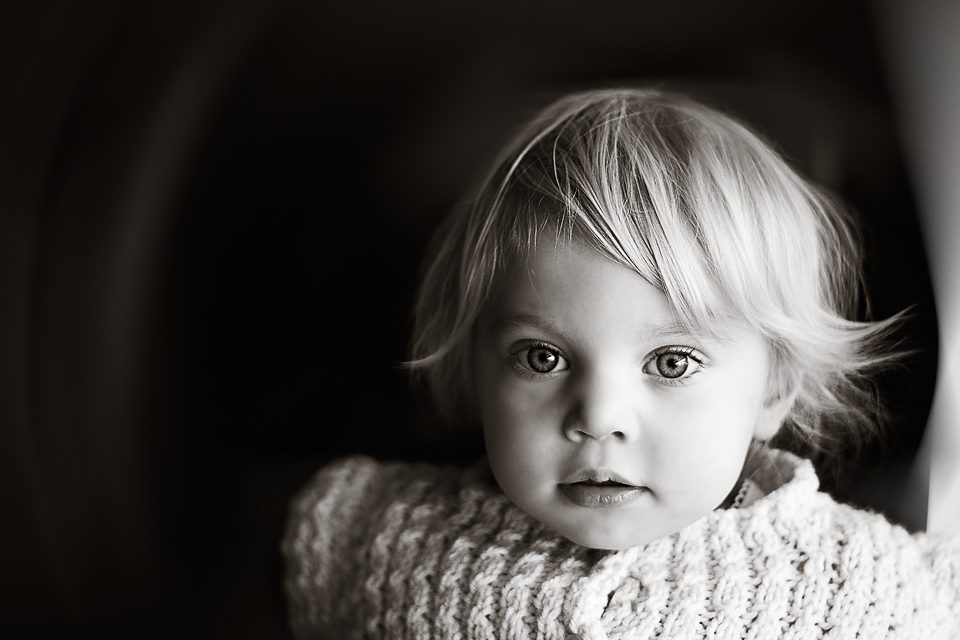
(Notice the catch lights in the eyes of these photos is directly to the side of the eye)
Position #2
Place your subject so that they are looking into the window. This will light them up. The light won’t be quite as dramatic, but it will provide a nice smooth and bright look over the subject. If the light is too bright for you, you could try placing something dark on the ground (like a dark colored blanket) to help from the light bouncing off from underneath.
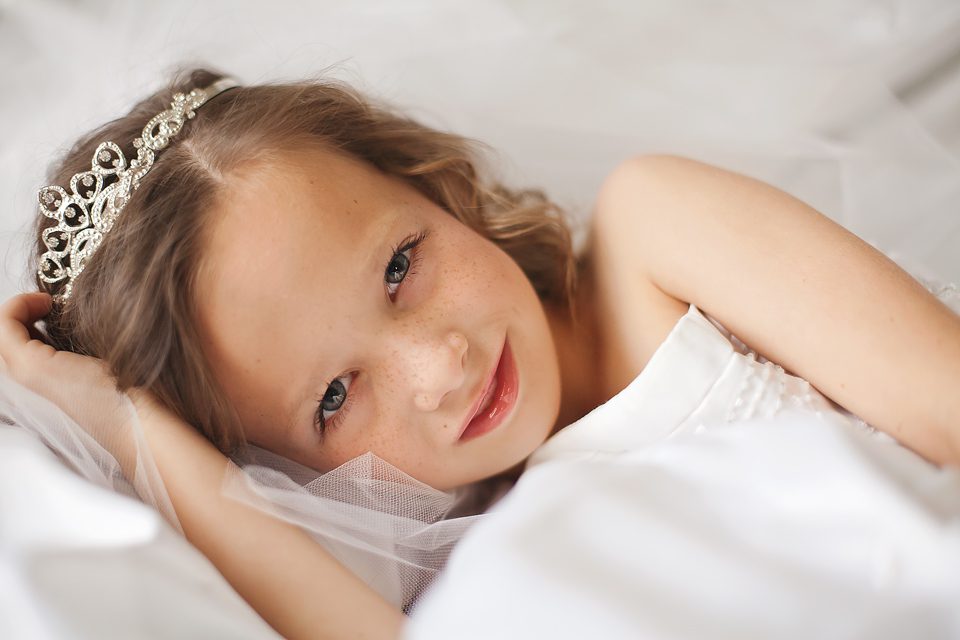
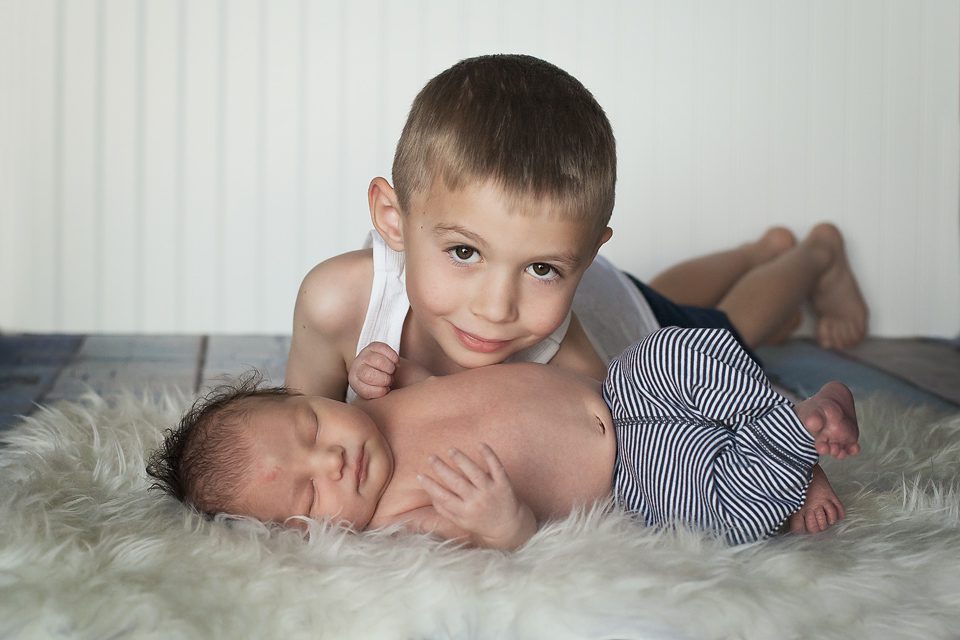 (The catch lights in the eyes where the light source is directly in front will be in the center of the eye, as in the above photos)
Position #3
For a really dramatic look, position your subject at a 90 degree angle toward the window, or so they are perpendicular to the light source (the window). This will create the most intense light with heavy shadows on one side, like in the photo below.
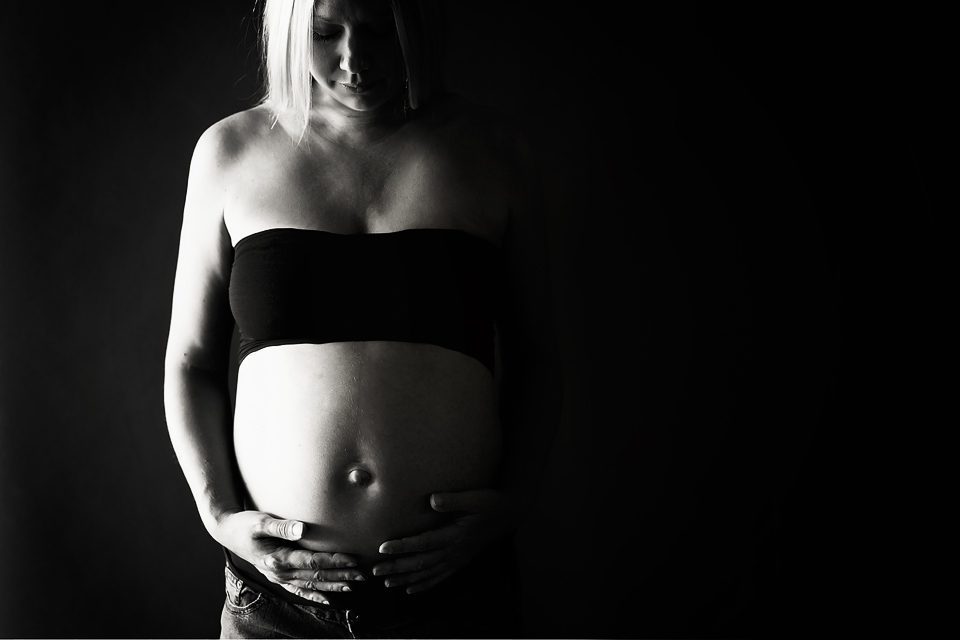
(Just in case you didn’t know, this is a self portrait of me a few years back with my 4th baby;) )
Give a try and let me know how it turned out for you! I also love seeing your work, make sure to tag me on Instagram or post it over in the Cozy Clicks Facebook group if you play with window light this week!




Hi!! Hope you can help me as my husband bought a Canon EOS Rebel T6. I want to capture background blur. I just bought a Canon EF 50 mm f/1.8 lens which I have read can get me to the blur. What other shutter speed and ISO and do I set it the camera in a Af MODE. I am just learning and am a bit scared, ha!!! I am 67 years old but love taking pics. Thank you so much!
Hi Sharon!
That’s a great camera and lens, and yes, you can achieve blur with both of those . This article should help you get a good grasp. http://cozyclicks.com/4-simple-ways-get-blurry-background-photos/ Have fun!
-Emily
You always keep things so simple 😉
Happy to help!!
Great inputs to where I am as an amateur photographer, thanks