You’ve seen these photos all over Facebook. You know, those pictures that are so light and so airy. They have that bright beautiful feel to them, and you want yours to look that way too! There are several ways to get that look and I’m going to share 4 of them with you right here. Keep reading to learn 4 Ways To Get a Light and Airy Look in Your Photo Using Photoshop.
1. Watch Your Light
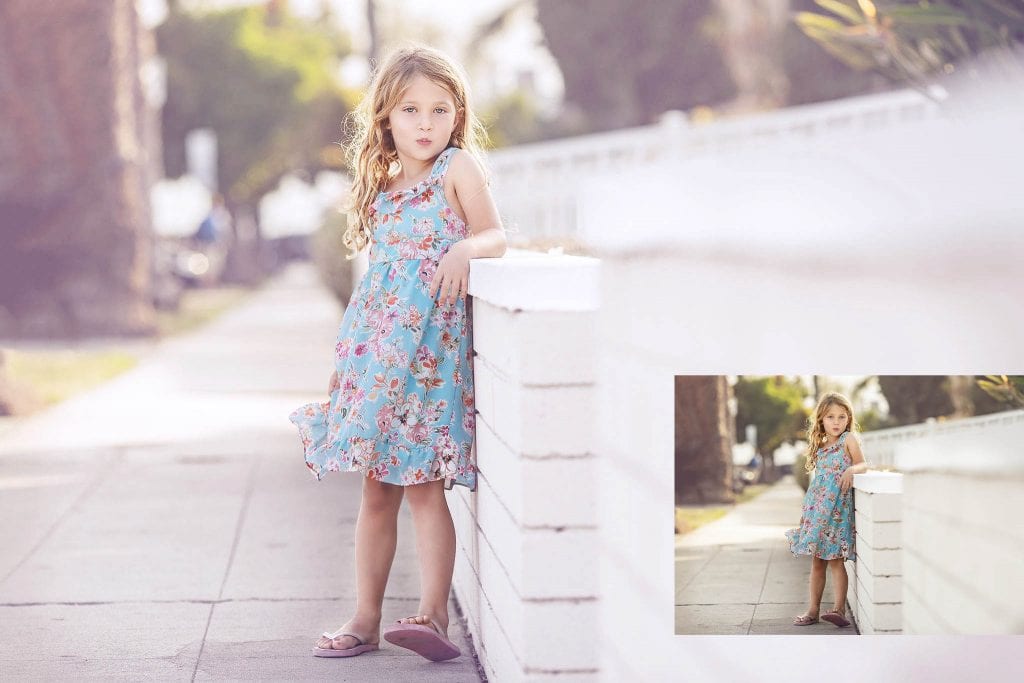
To have bright, light and airy photos, your pictures have to be shot that way! Look for areas that are bright and white. Do not shoot in places that are heavily shadowed and have a natural darkness to them – like an alley way or dark brick building. Try to make sure that the majority of your background is brighter than your subject. Look around for that natural brightness! Like in the photo below.
(Shot with a Canon Mark 5d Mark ii and 135mm 2.0 lens)
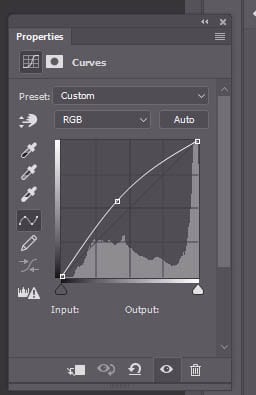
2. Use curves
This will give instant brightness to your photo. Simple create a new curves adjustment layer , grab the middle and drag it up to the brightness of your liking.
3. Use selective color
This technique will add that airiness to your photo. Simply create a selective color layer. Change the color to black and then move the black slider to the left. Change the color to neutrals and once again move the black slider left.
4. Use Color Balance
This technique can be altered quite a bit to get the look that you really love. First, create an adjustment layer with color balance. In these photos I took out a little green and a little yellow by simply moving each of those sliders in the opposite direction. I like the look this color combination creates, but you can play around with the colors until you get a look that matches your style!
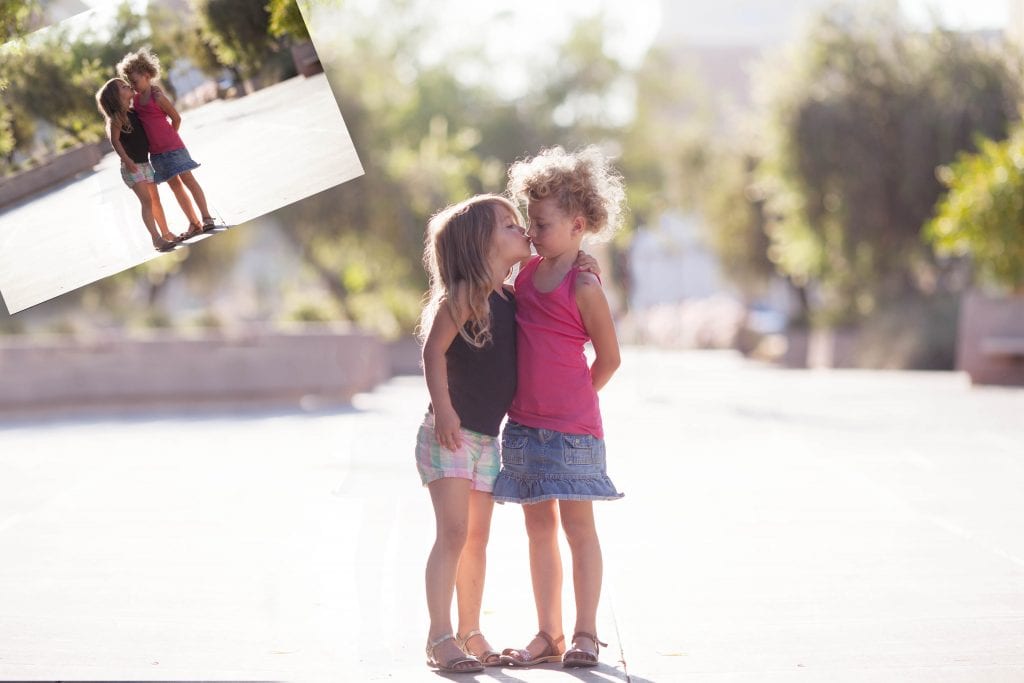
(Shot with a Canon Mark 5d Mark ii and 135mm 2.0 lens)
All 4 of these steps were used in both of the examples shown here.
Want to see it in action? Watch the short video tutorial below.